Here’s a sad story. I decided to try and build a pretty plane. I was going to build a FT Mustang but they said that the P47 would be easier.
The wing went together easily. I used particle board for the wood spars.
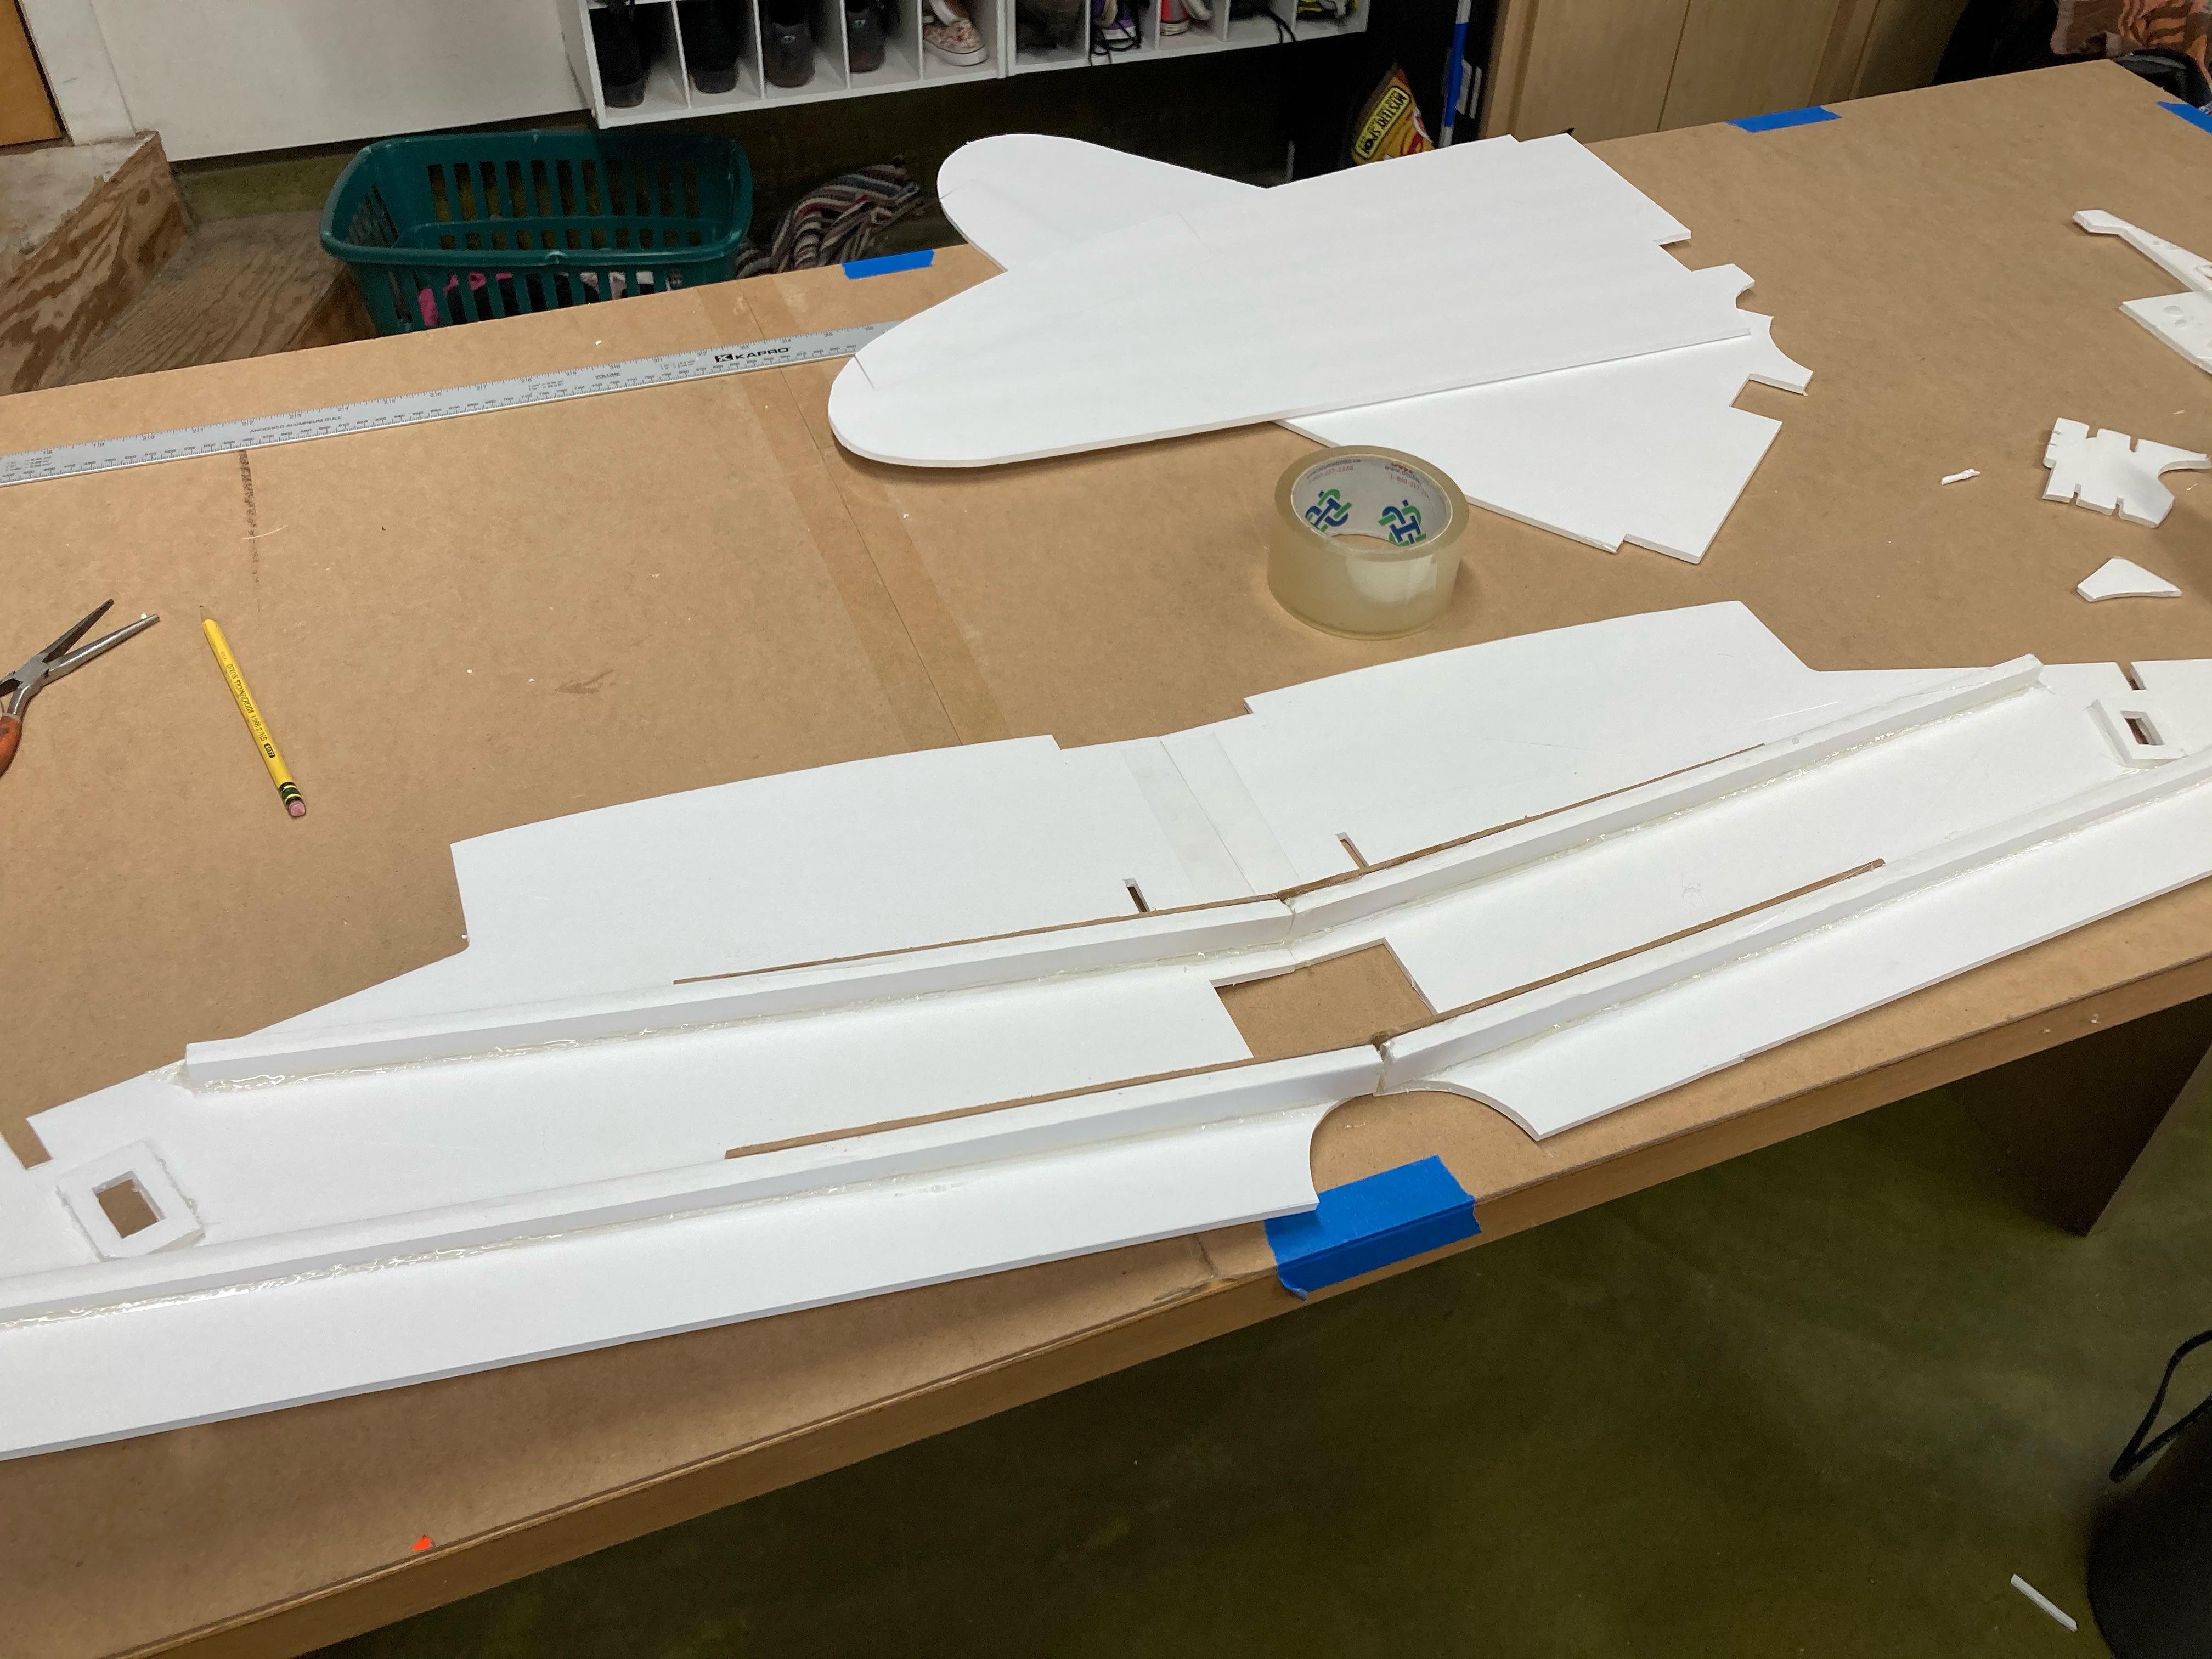
The curvy part of the body was kind of annoying to bend and fix in place. There’s a few creases but it’s not awful.
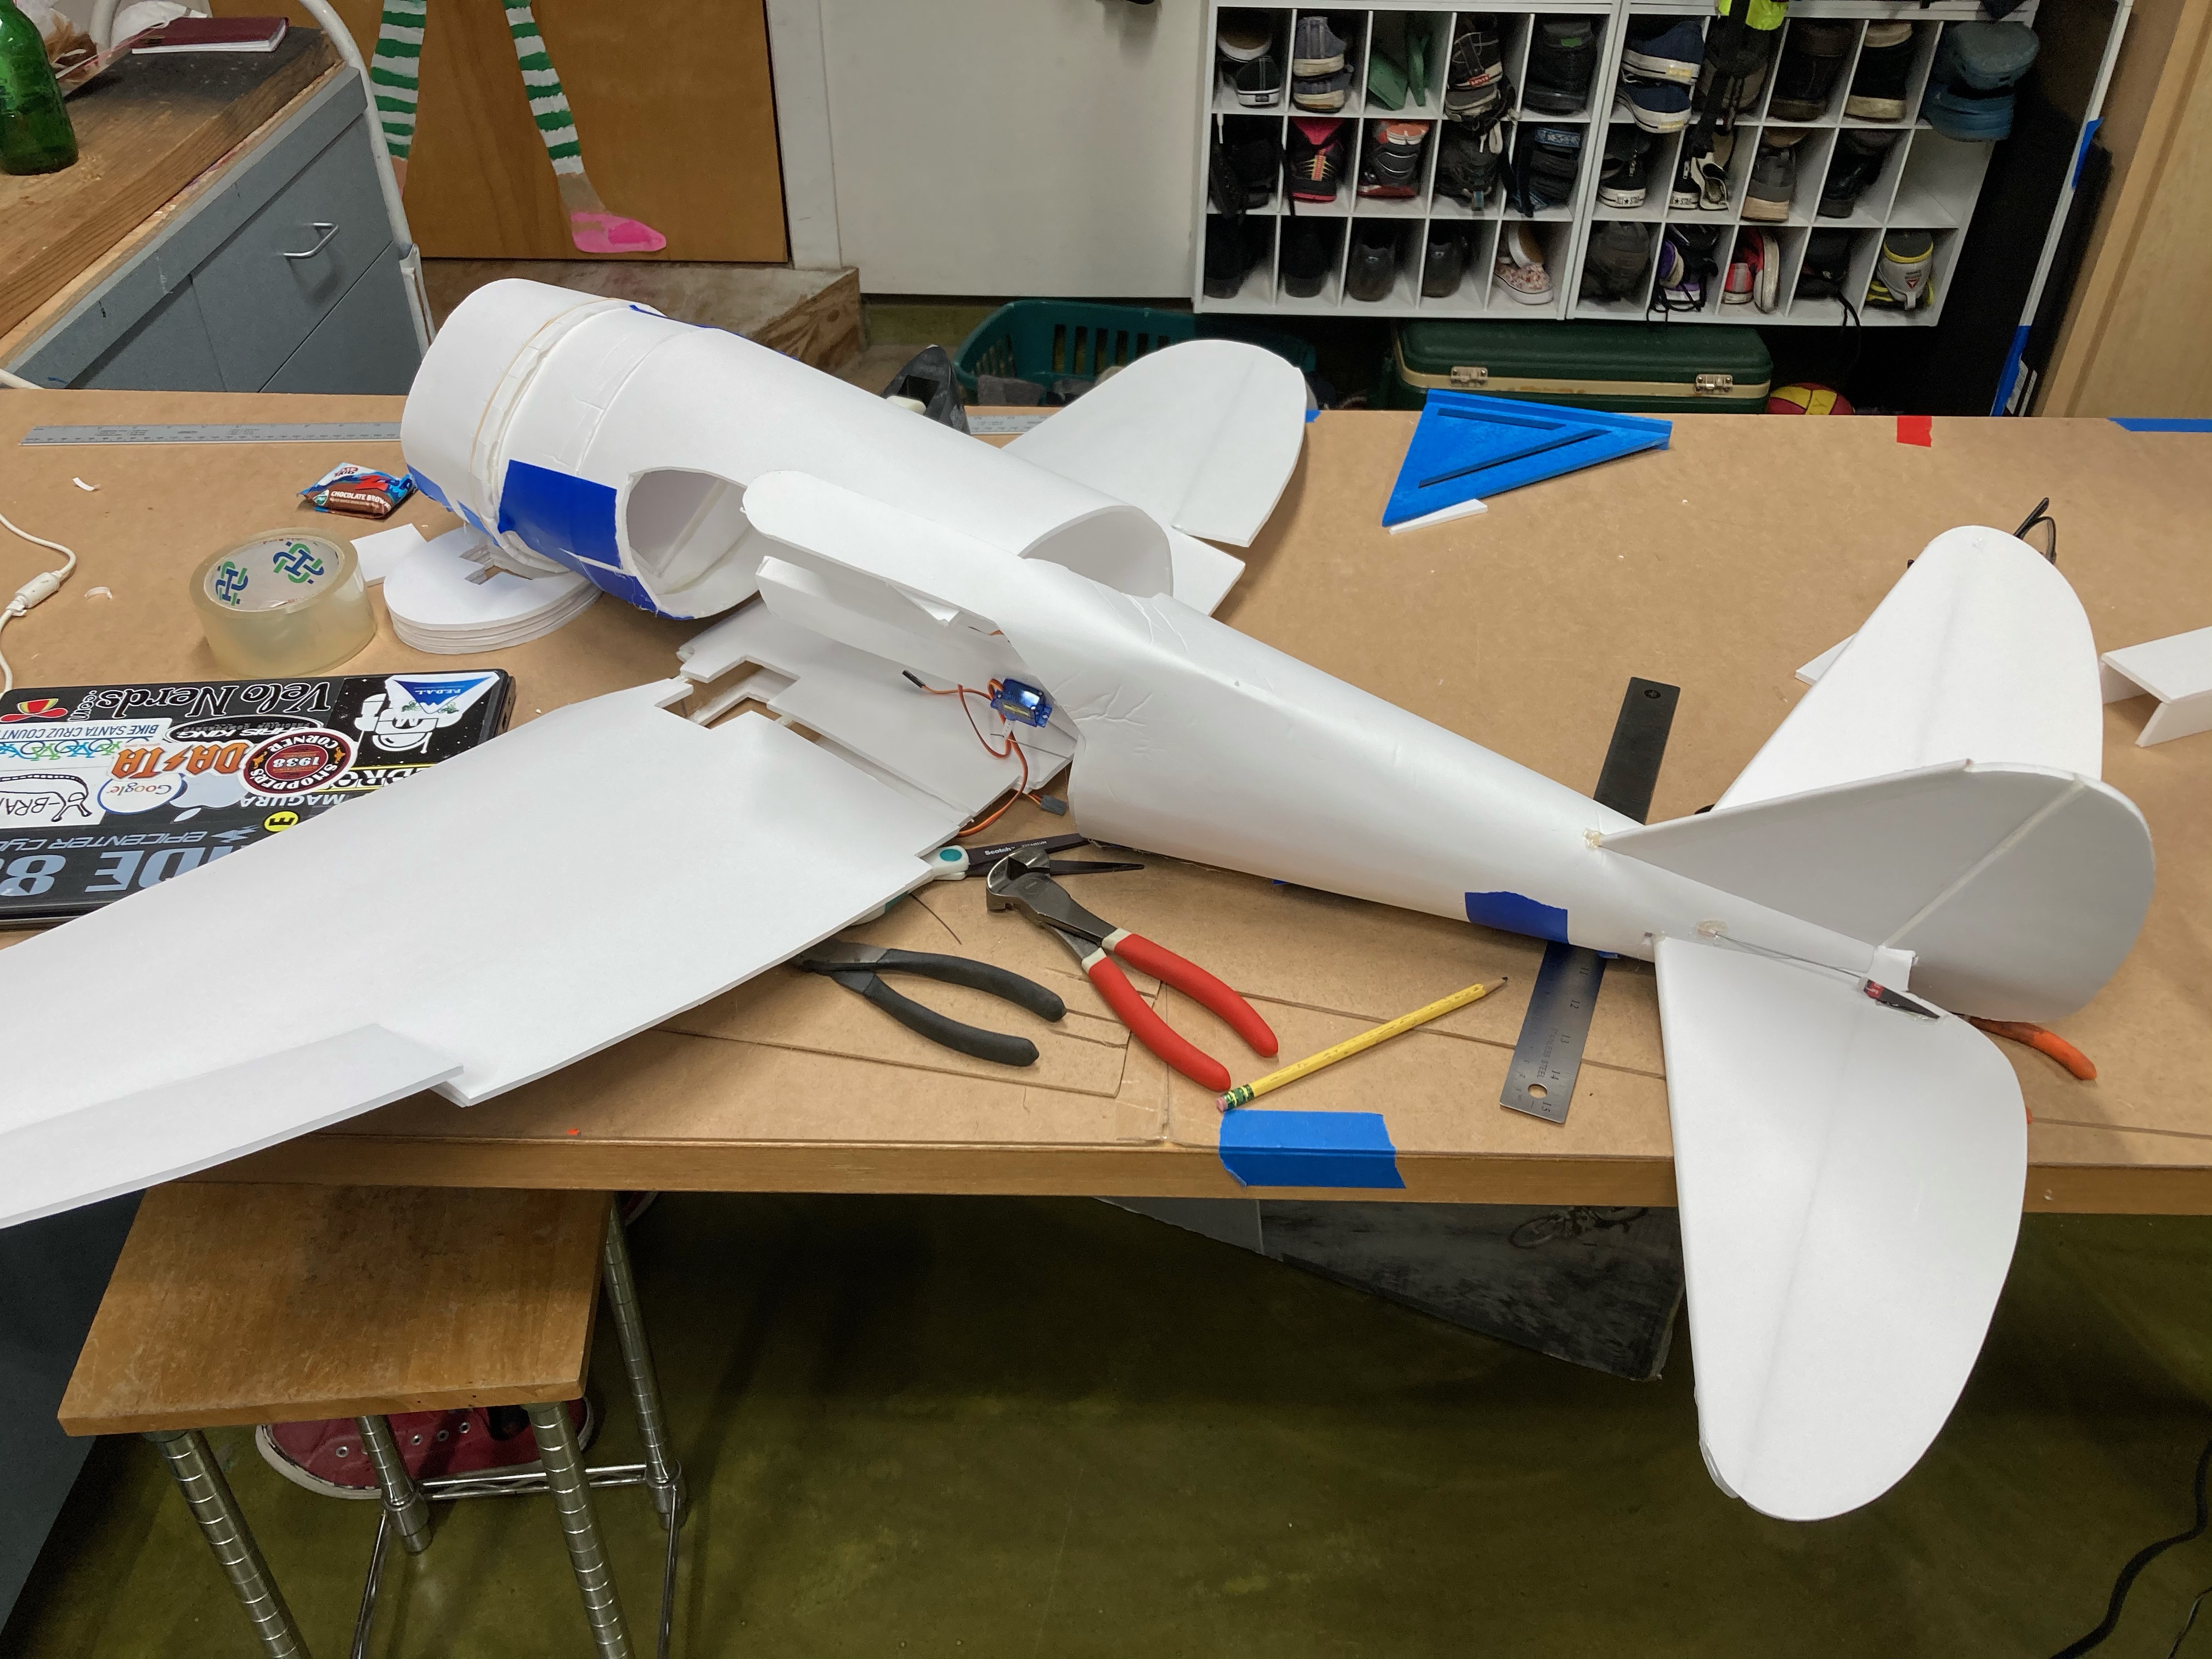
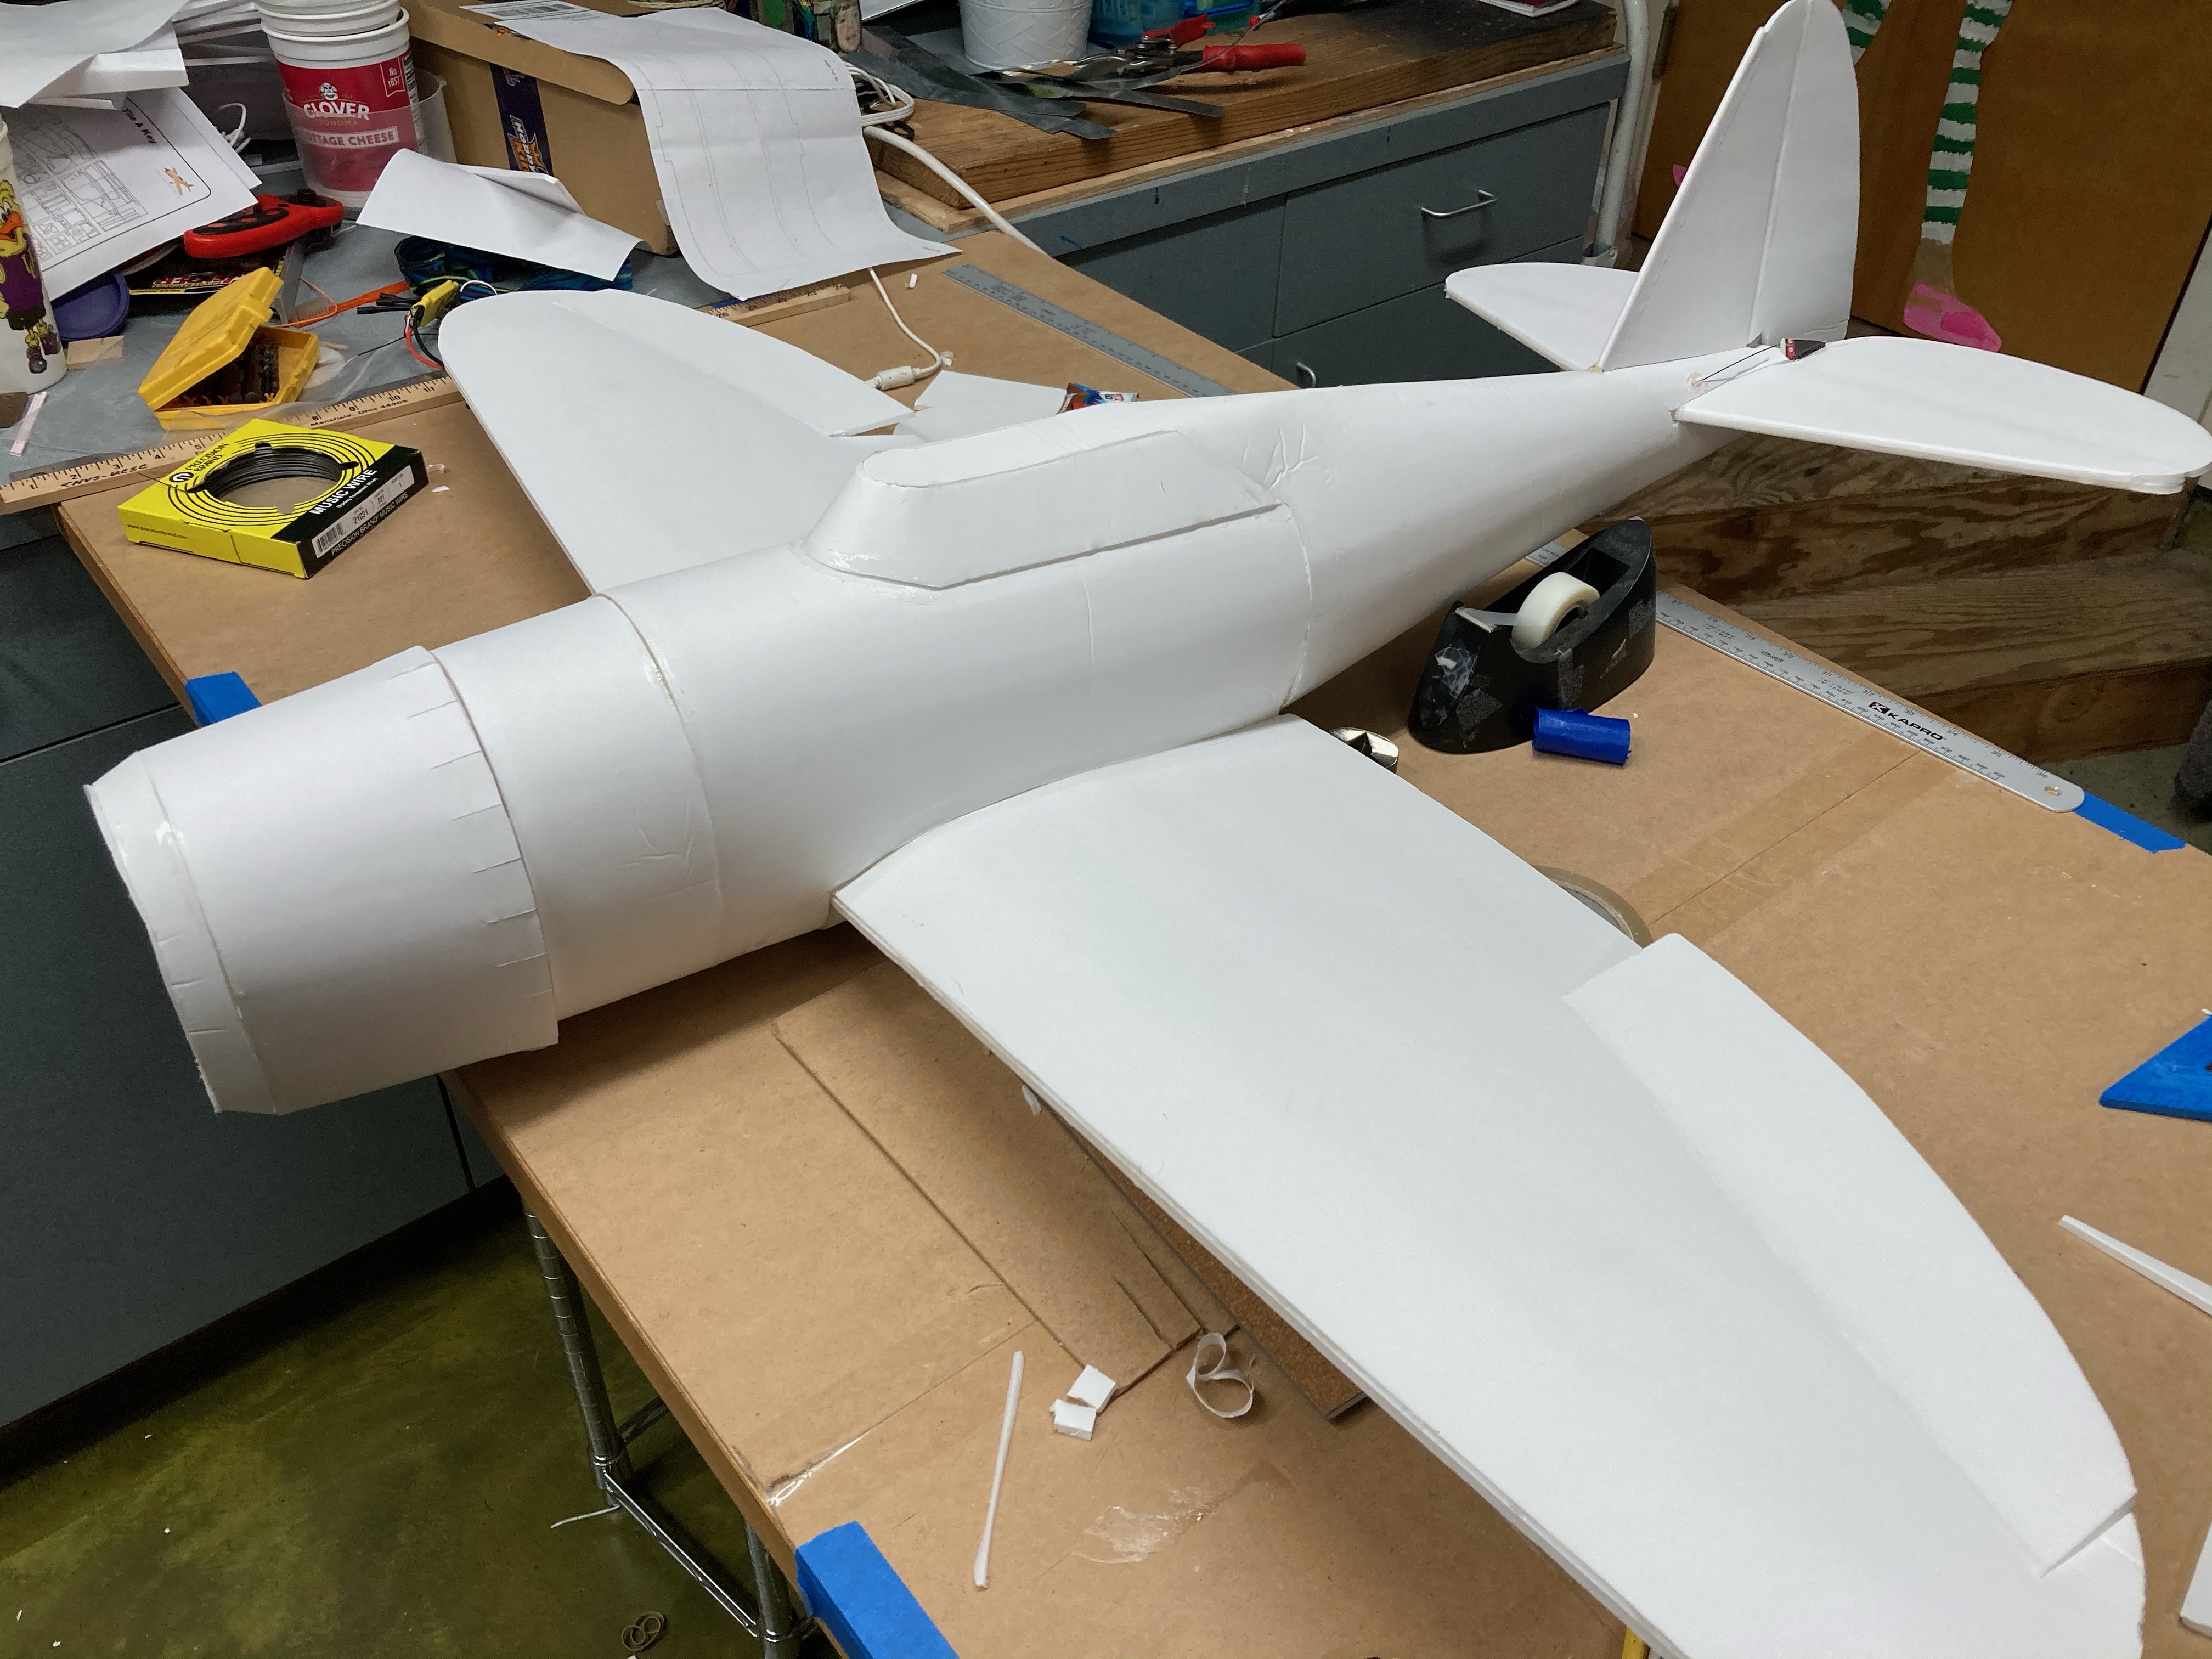
All finished and ready for paint. My plans had a problem where one side of the motor mount was 5mm too high so it wasn’t square, I just crammed it in anyway and it kind fit. Also one of the sections behind that flared engine cowling was the wrong size and so wouldn’t fit. Both of those were the first time I’d had problems with plans and it was pretty frustrating.
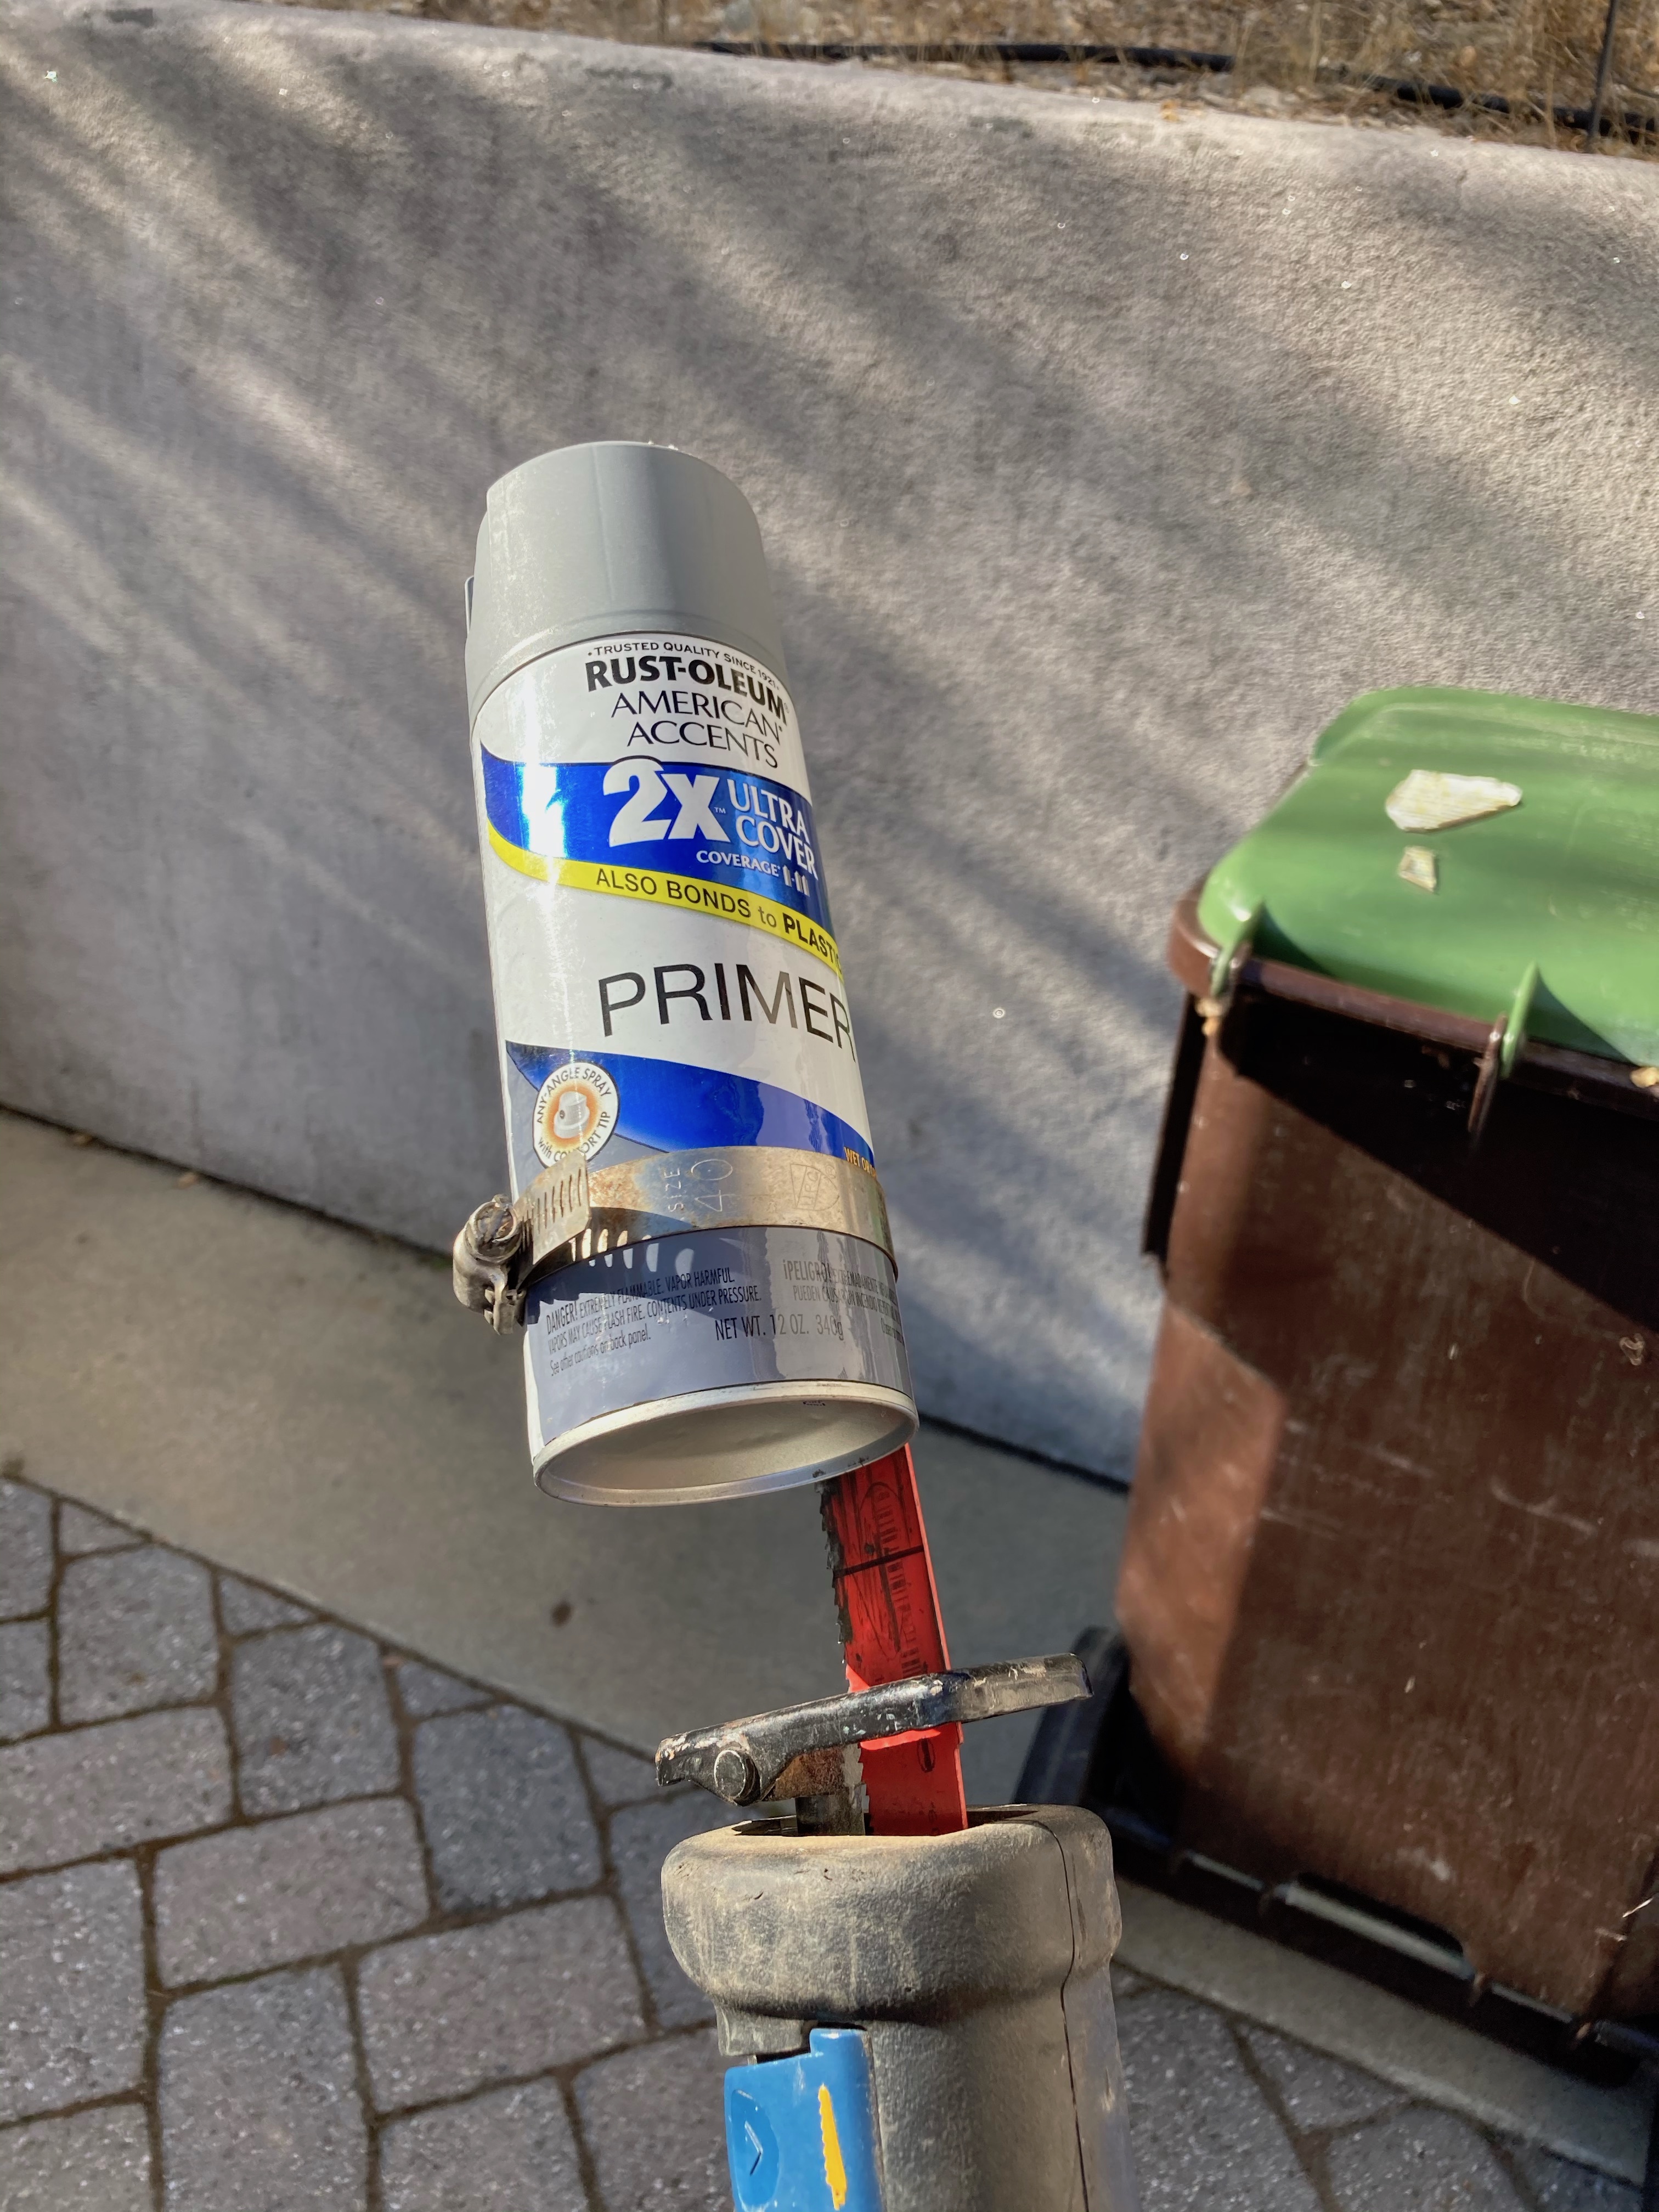
I’ve had problems with this cheap spray paint clogging in the tube (not the nozzzle), but since I’ve been shaking them up with a reciprocating saw I’ve not had any trouble at all. It’s just a pipe clamp and an old long saw blade. I did have grand plans to affix a bike water bottle cage to it, but this clamp was so wasy and worked well.
I found this p47 livery which looked easy enough to paint. The black paint kinda bubbled the paper off the foam but it worked out o.k.
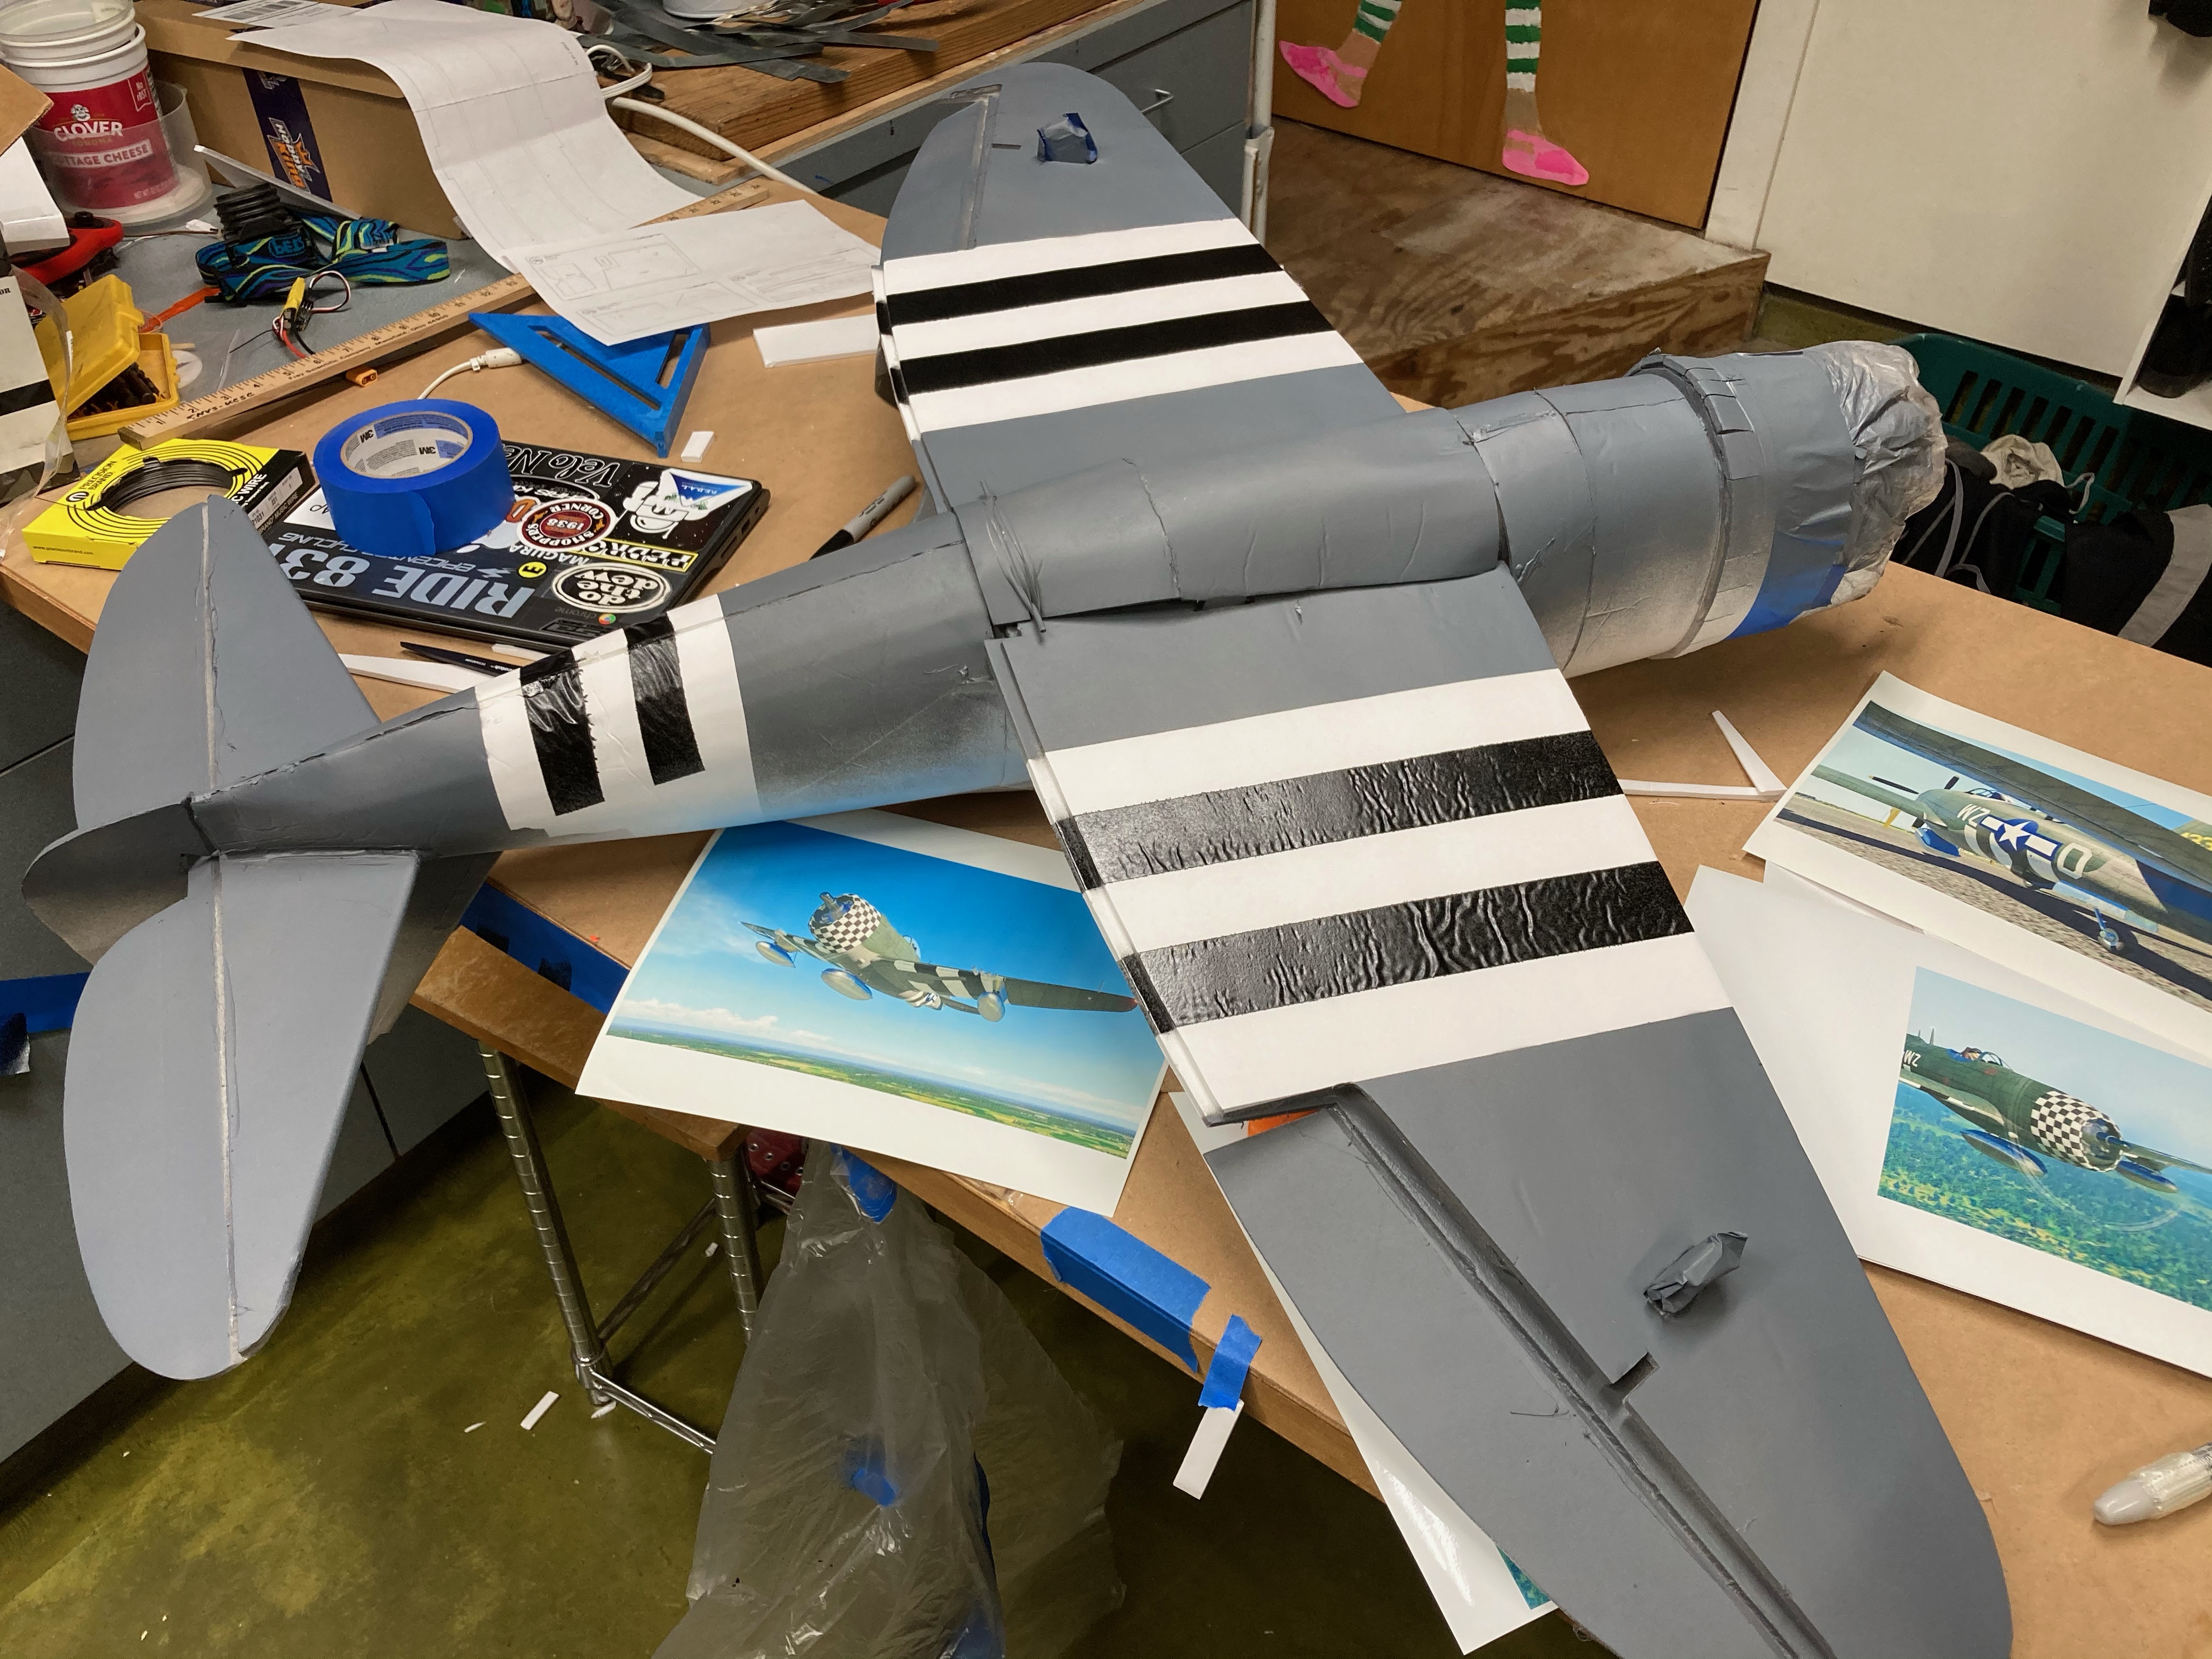
painting the top took quite a few coats of paint.
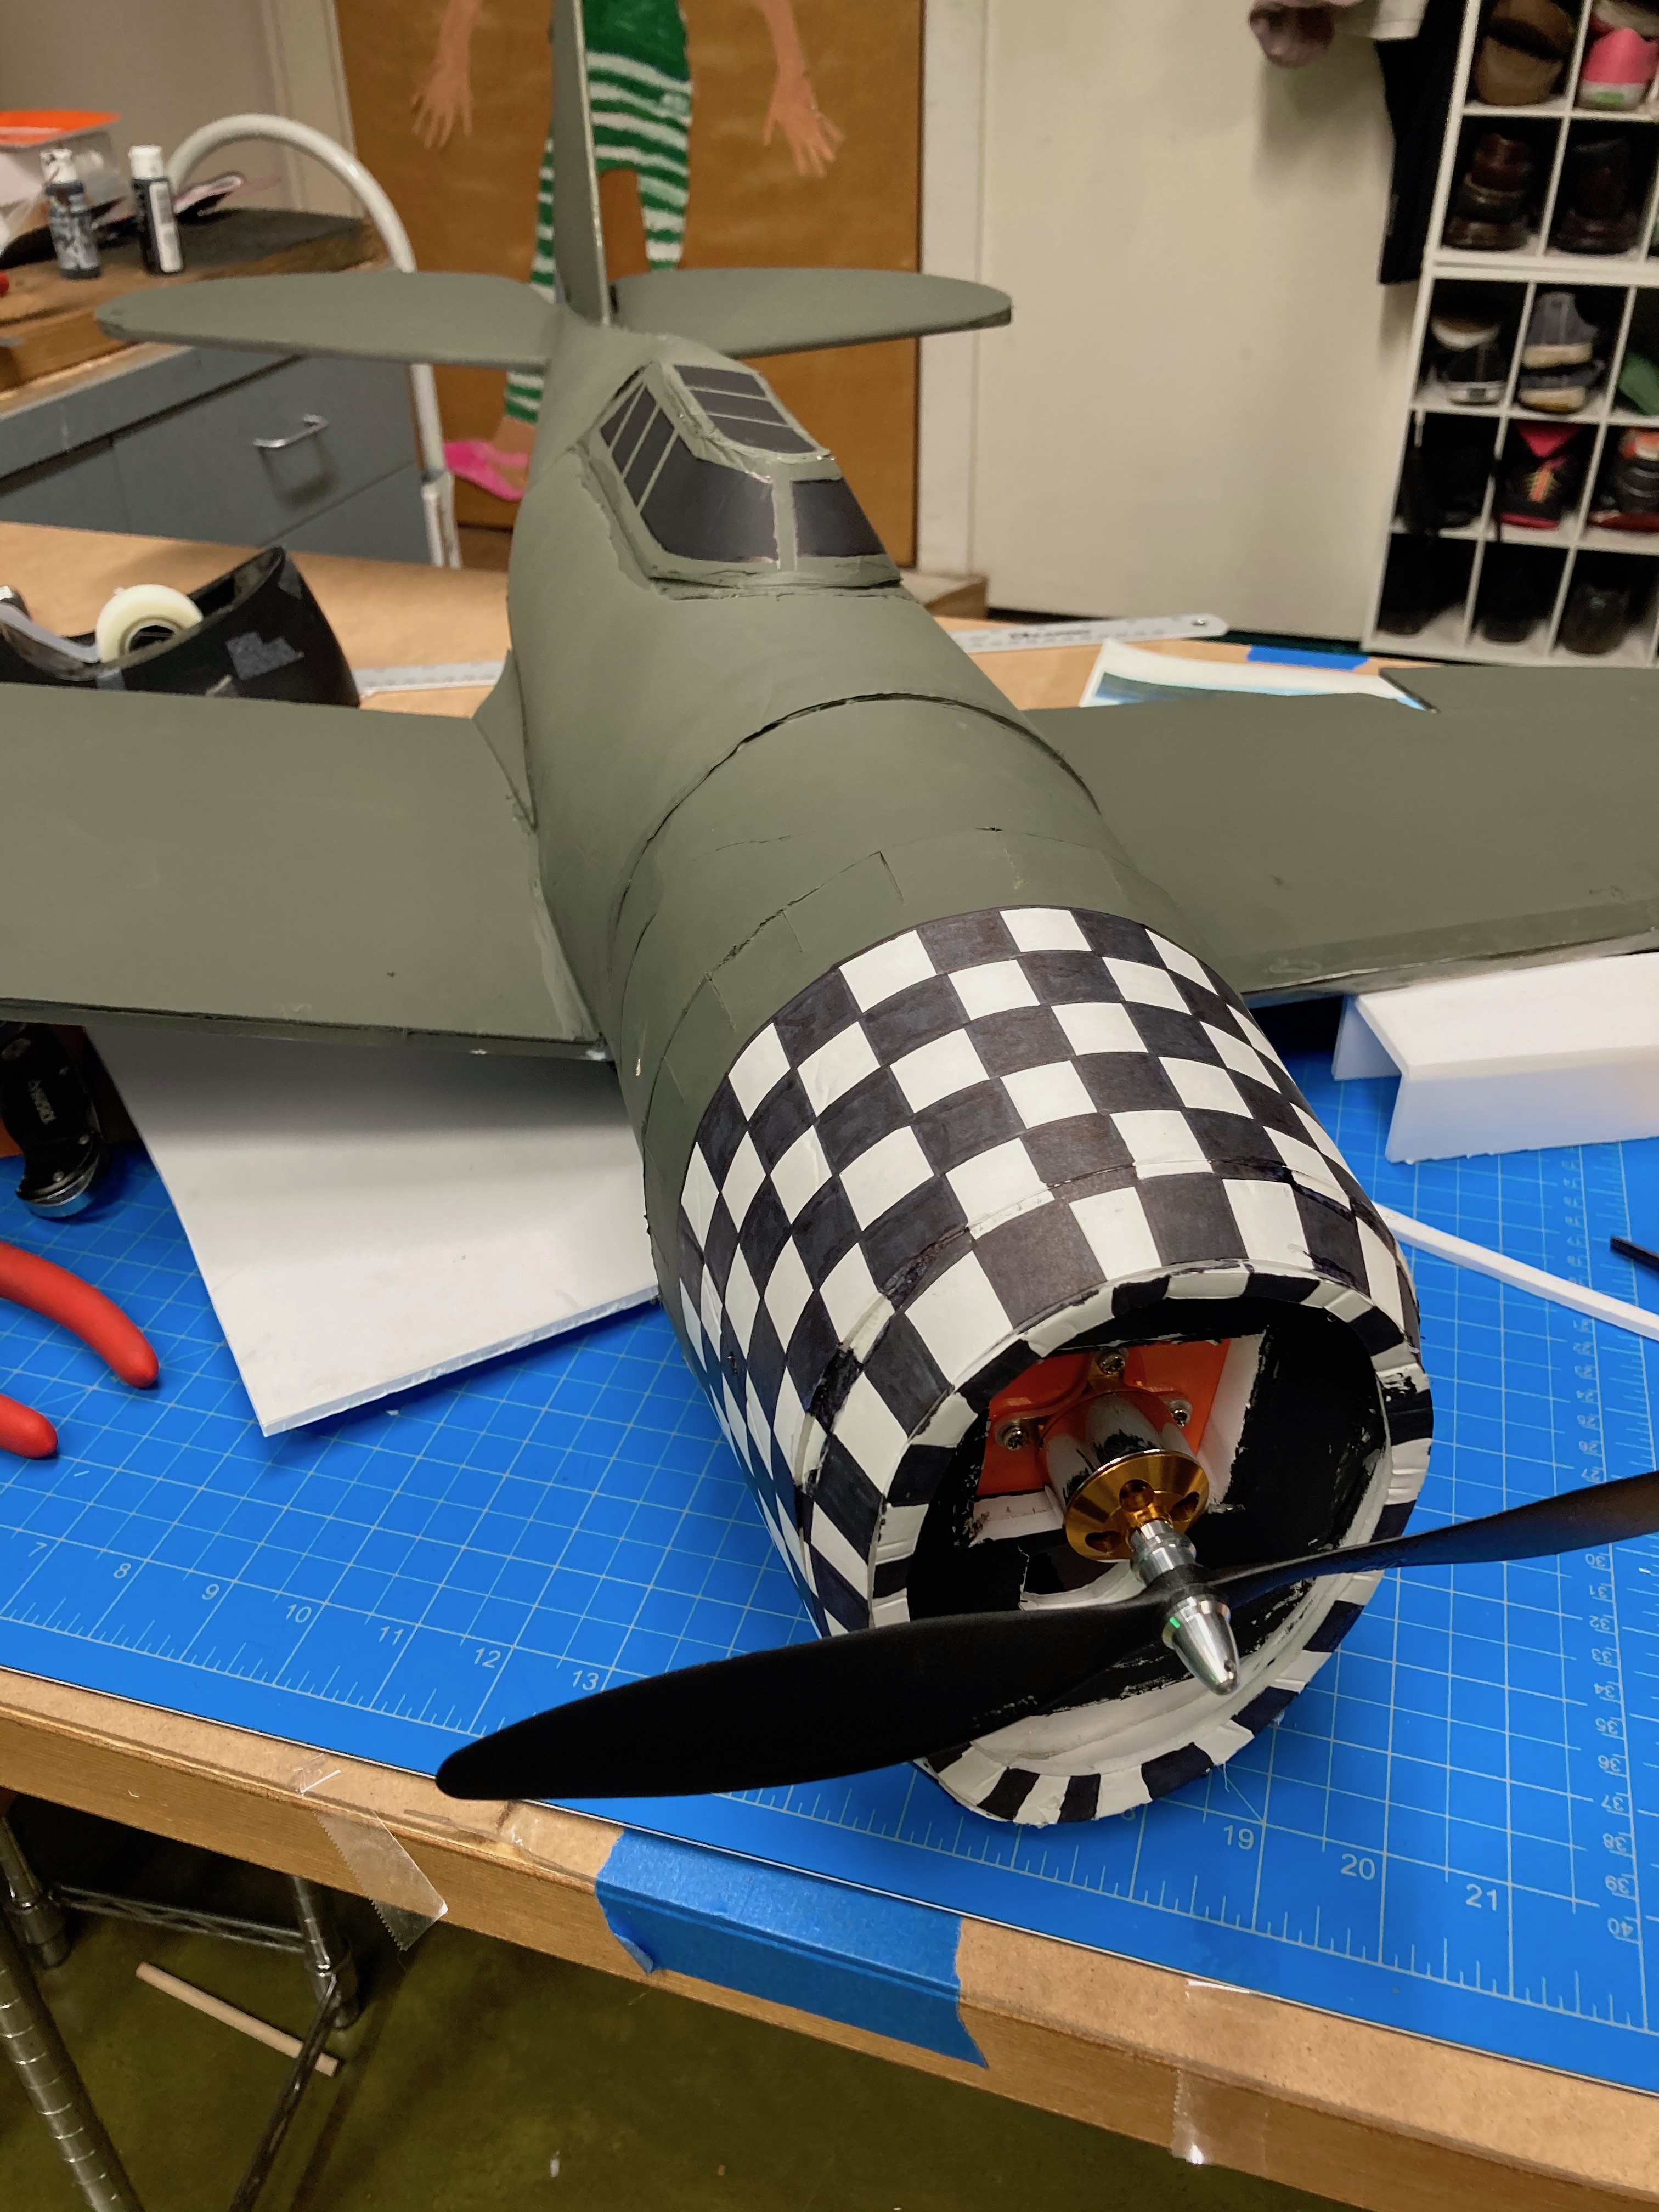
The complete plane. I used black paint on the windows, a Sharpie wasn’t dark enough.

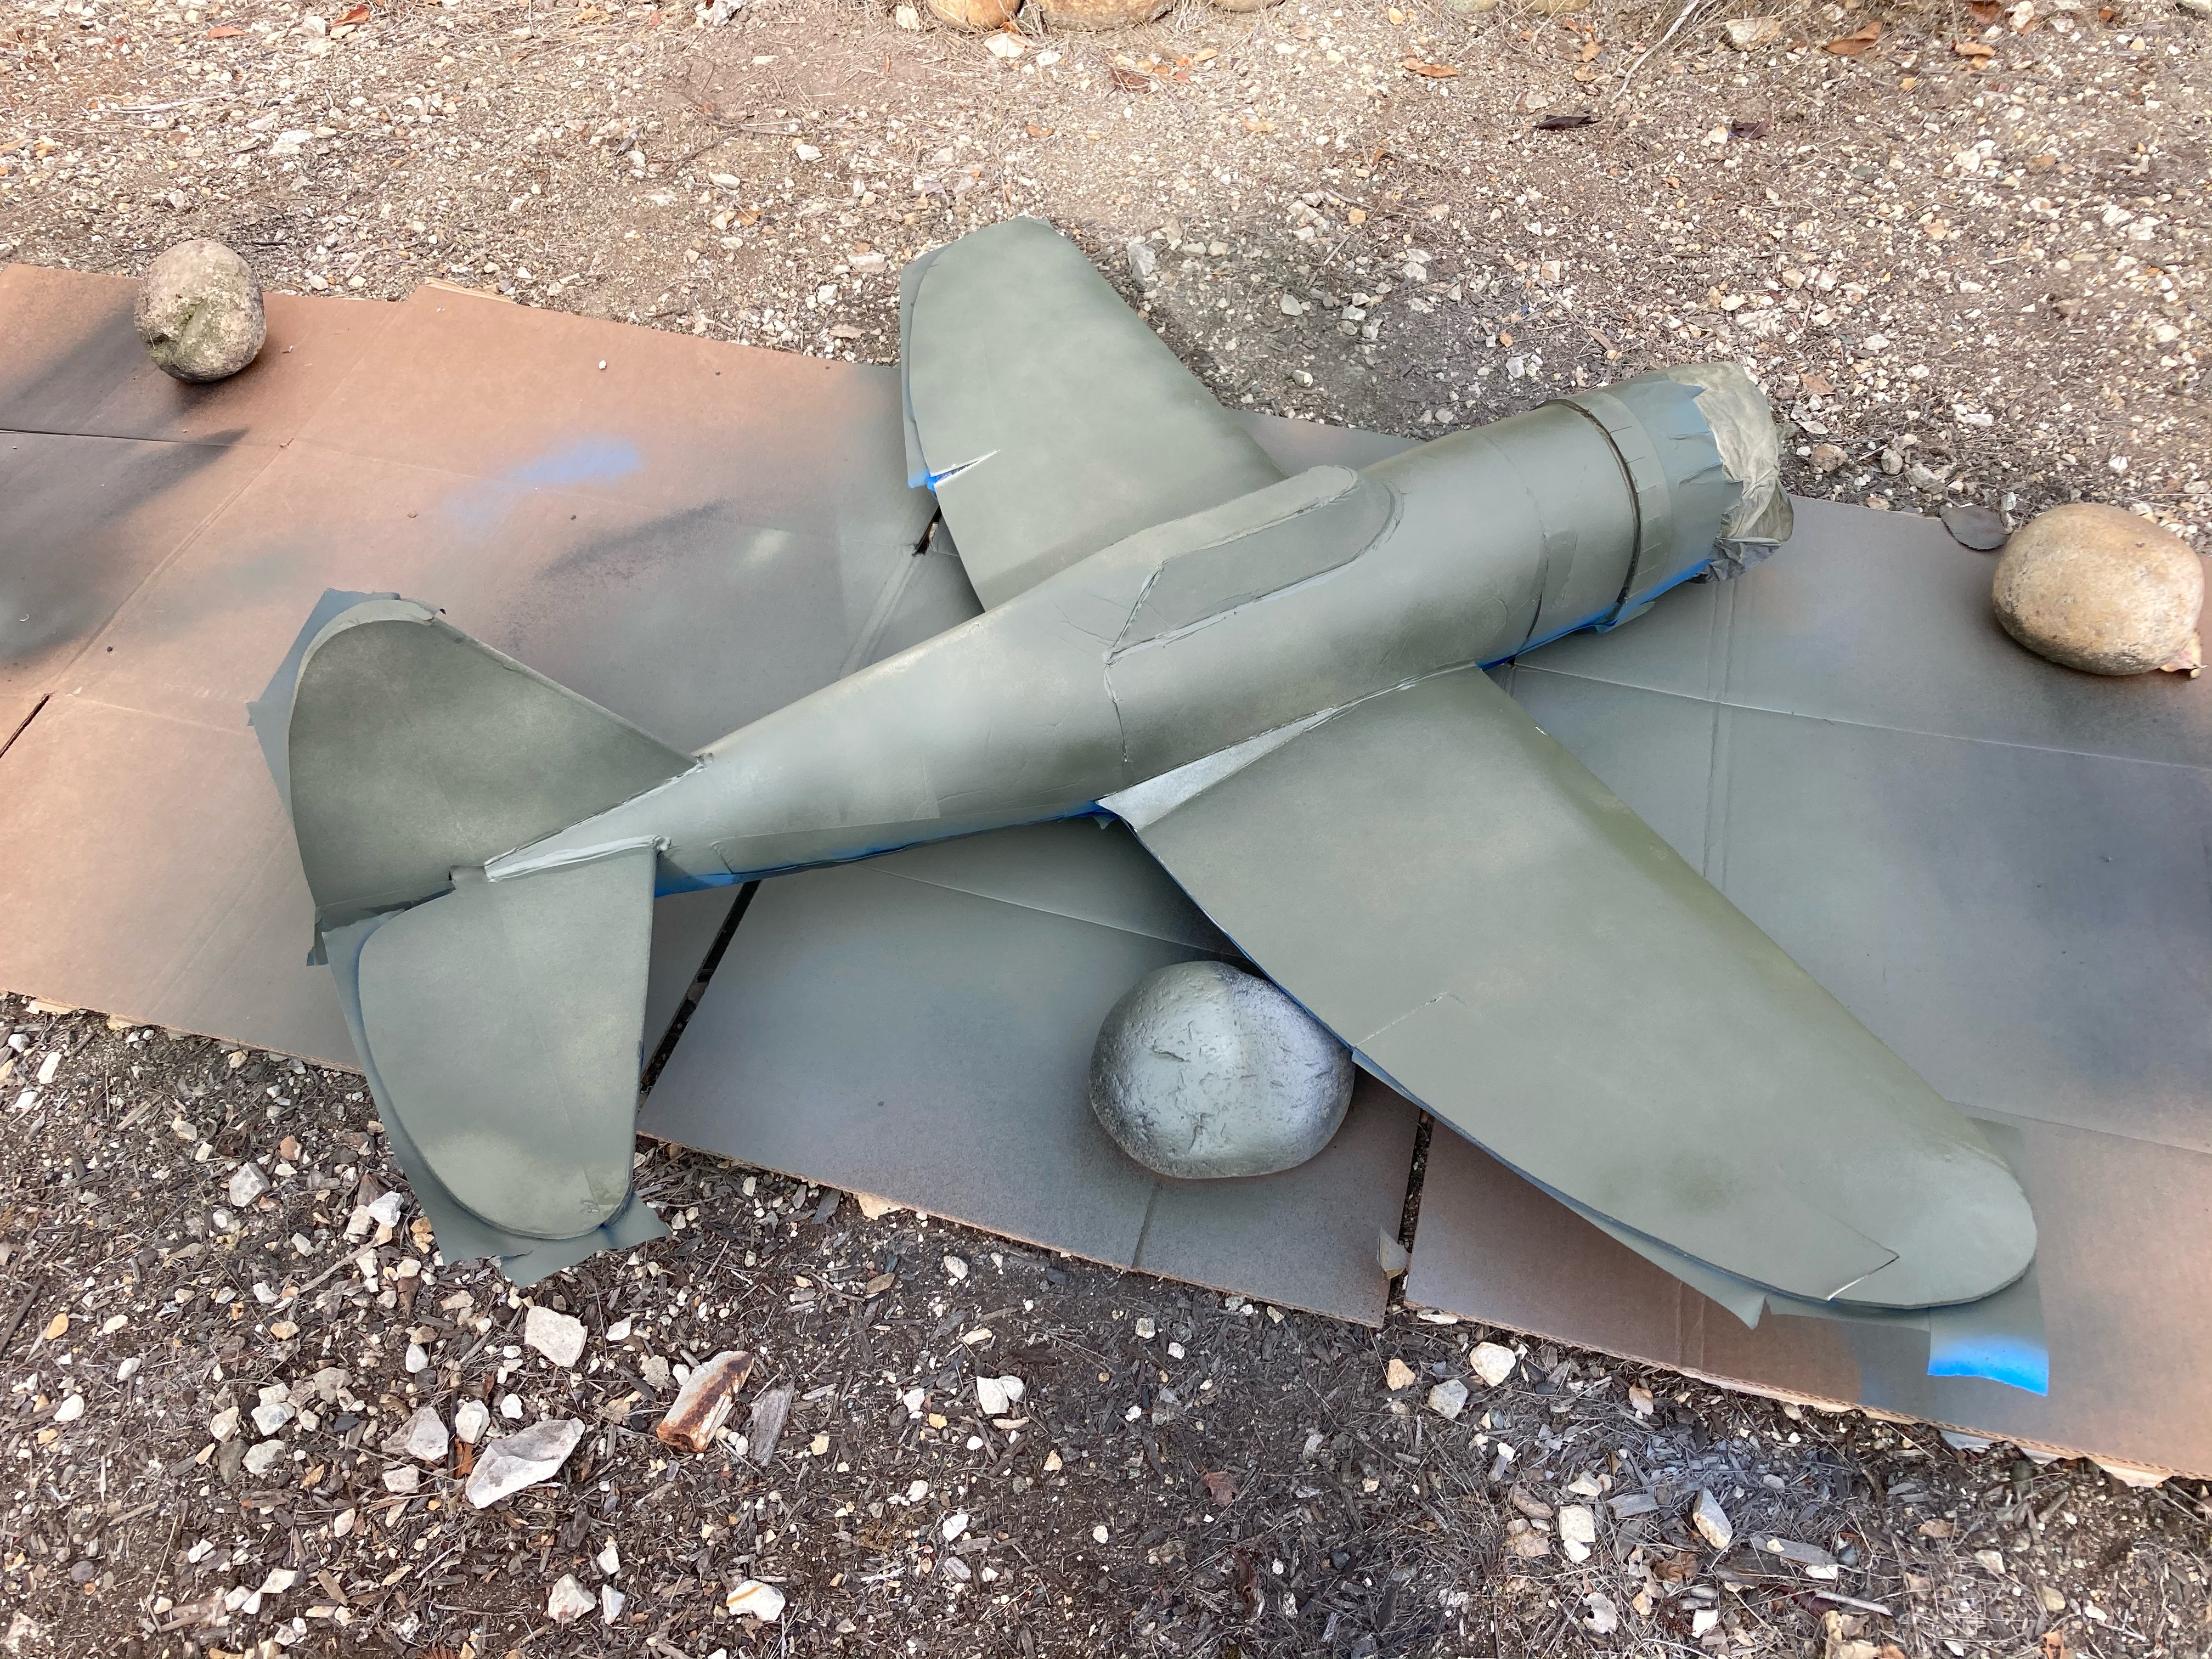
The underside looks really good.

I just used a sharpie pen on the white foamboard to make the cowling checkerboard. It was time consuming but not particularly difficult.
Here’s where our story turns sad, the maiden flight. Looking at the video it didn’t fly as bad as I remember, but it certainly didn’t fly well. It’s likely it was too tail heavy, or overall just too heavy with the weight of all the paint.
I think the final crash was caused by the elevator splitting at the thin bit under the rudder which lost me half that control surface. It smashed pretty hard nose first into the ground and shoved the motor further back into the plane. I haven’t fixed it up for flown it since. I might have a go at it sometime again.
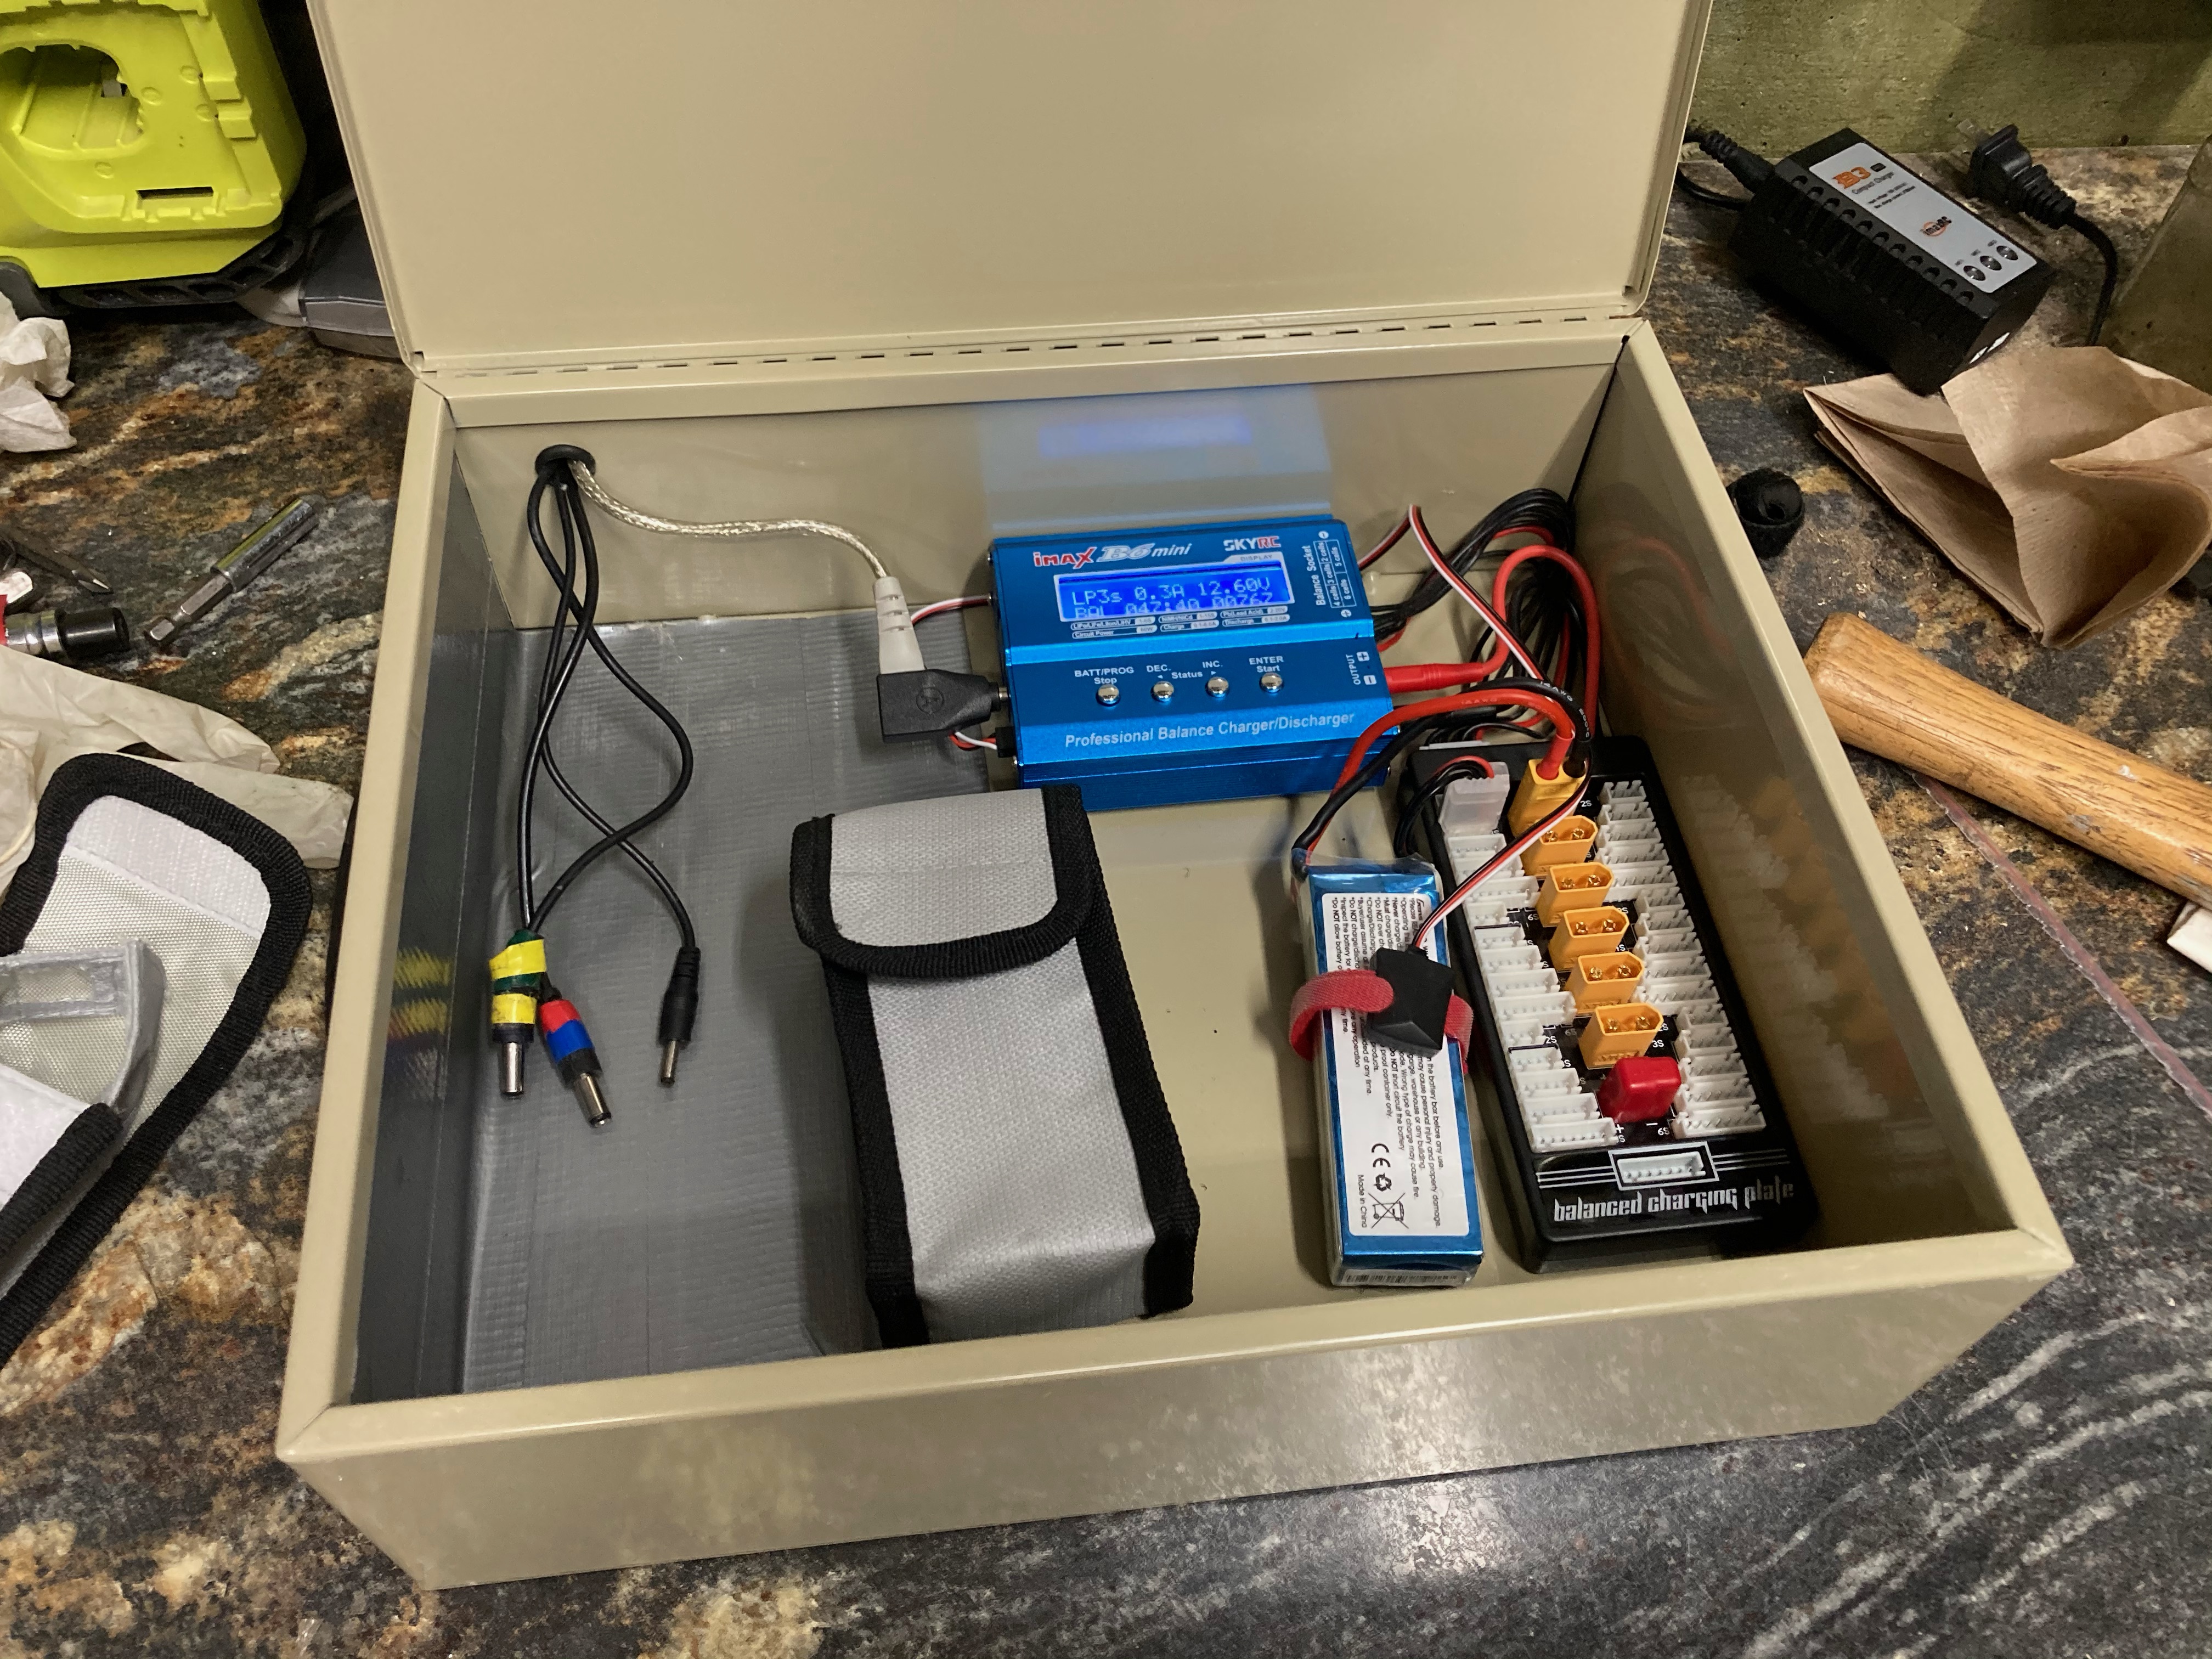
Charging box
I also built a box for charging my batteries. I got this Fire retardant steel box which was only $22 when I bought it. Maybe set up an amazon price watch? Cut a small hole in the back corner and put rubber grommets to protect the wires. I’m under no illusion that this is completely fire proof, but it’ll help. I still keep the batteries in the lipo bags when chaging which helps hold the temperature sensor on my b6 charger.

The parallel charging board is glued down and makes plugging in batteries easy. I don’t actually use it to charge more than one battery at a time. I didn’t notice the Deans T plug on the bottom, and cut off a supplied Deans to BEC type connector to make an XT60 to BEC, oops. The other wires are for charging various bike lights. I color code the plugs and the batteries so I use the right charger. The bottom is coated in duct tape to try and reduce the chance of things shorting. After flying this box is large enough to store all the batteries that need charging and after I’ve charged each battery I move it to a 50-Caliber Ammo Box.
Posted Thursday 19 November 2020 Share