I made a Twin Boom Pusher based on the Hangar Simple Stick and maidened it today and it went pretty well. Here’s the goals for this project:
- as fun to fly as my Hangar simple stick
- allow me to play with FPV and have the camera as far away from the motor as possible.
- be quiet when flying
- as easy as possible to change the battery
- reduce the number of propellers I break.
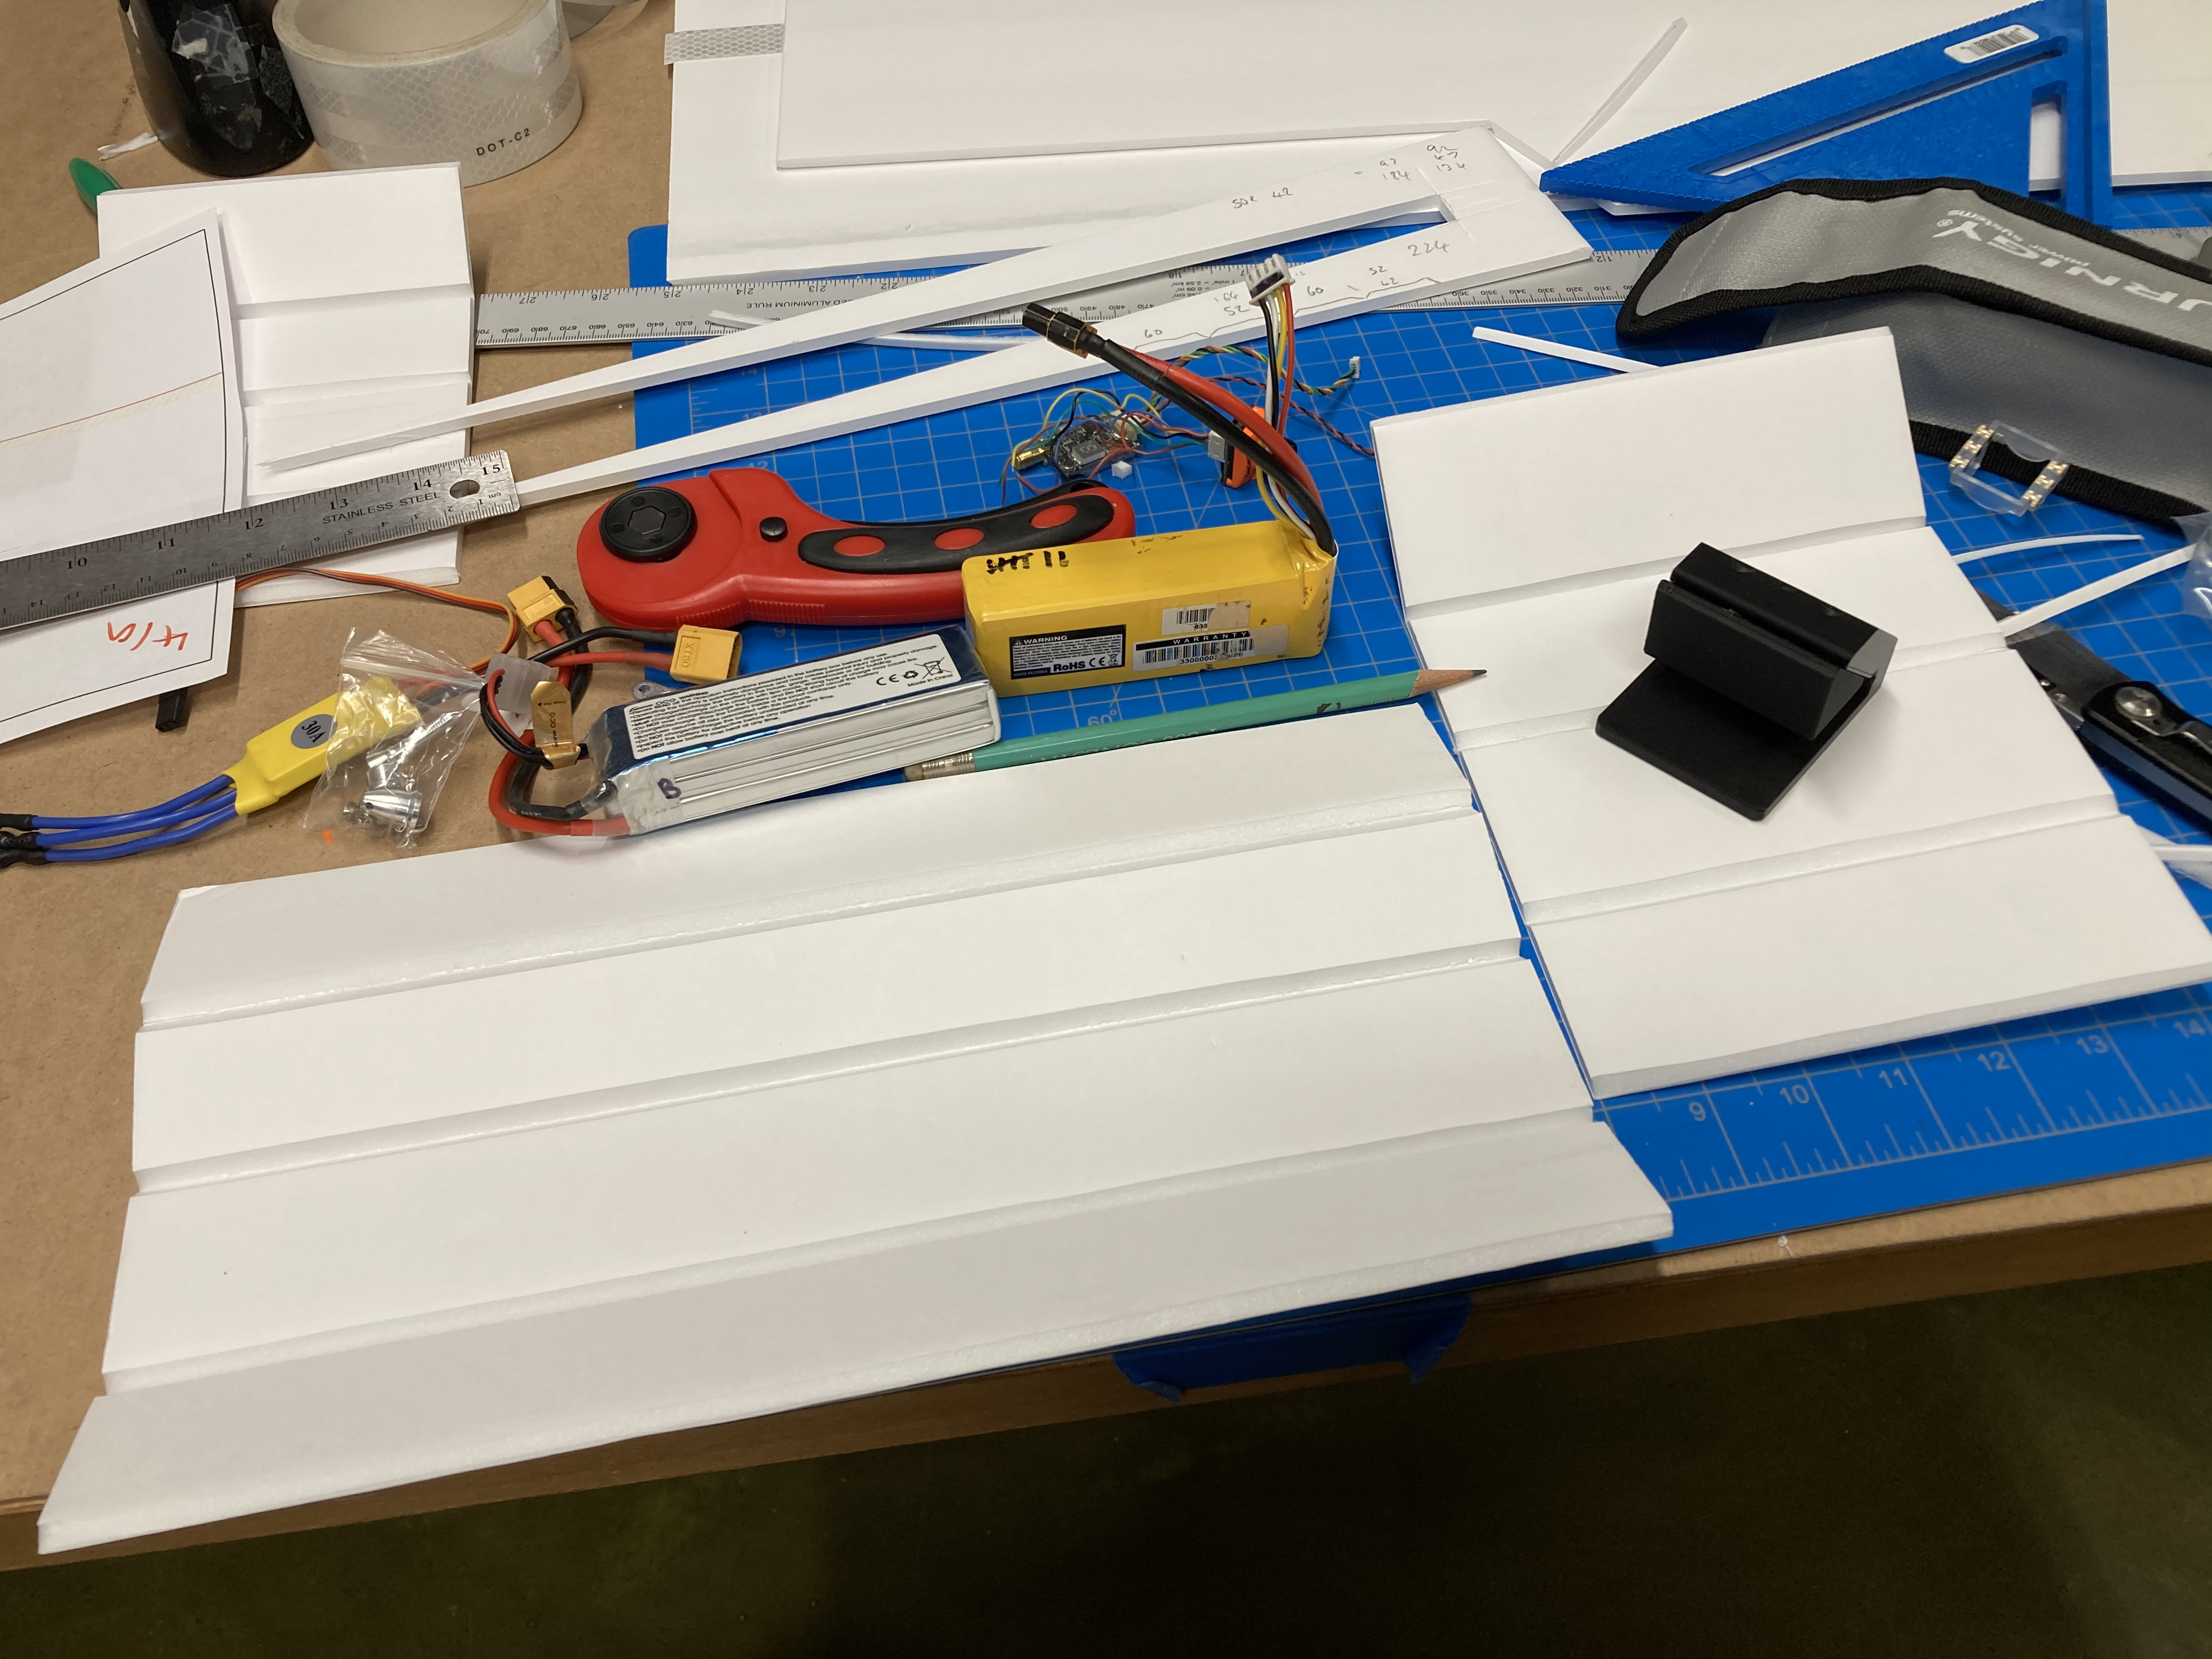
Wing and Tail
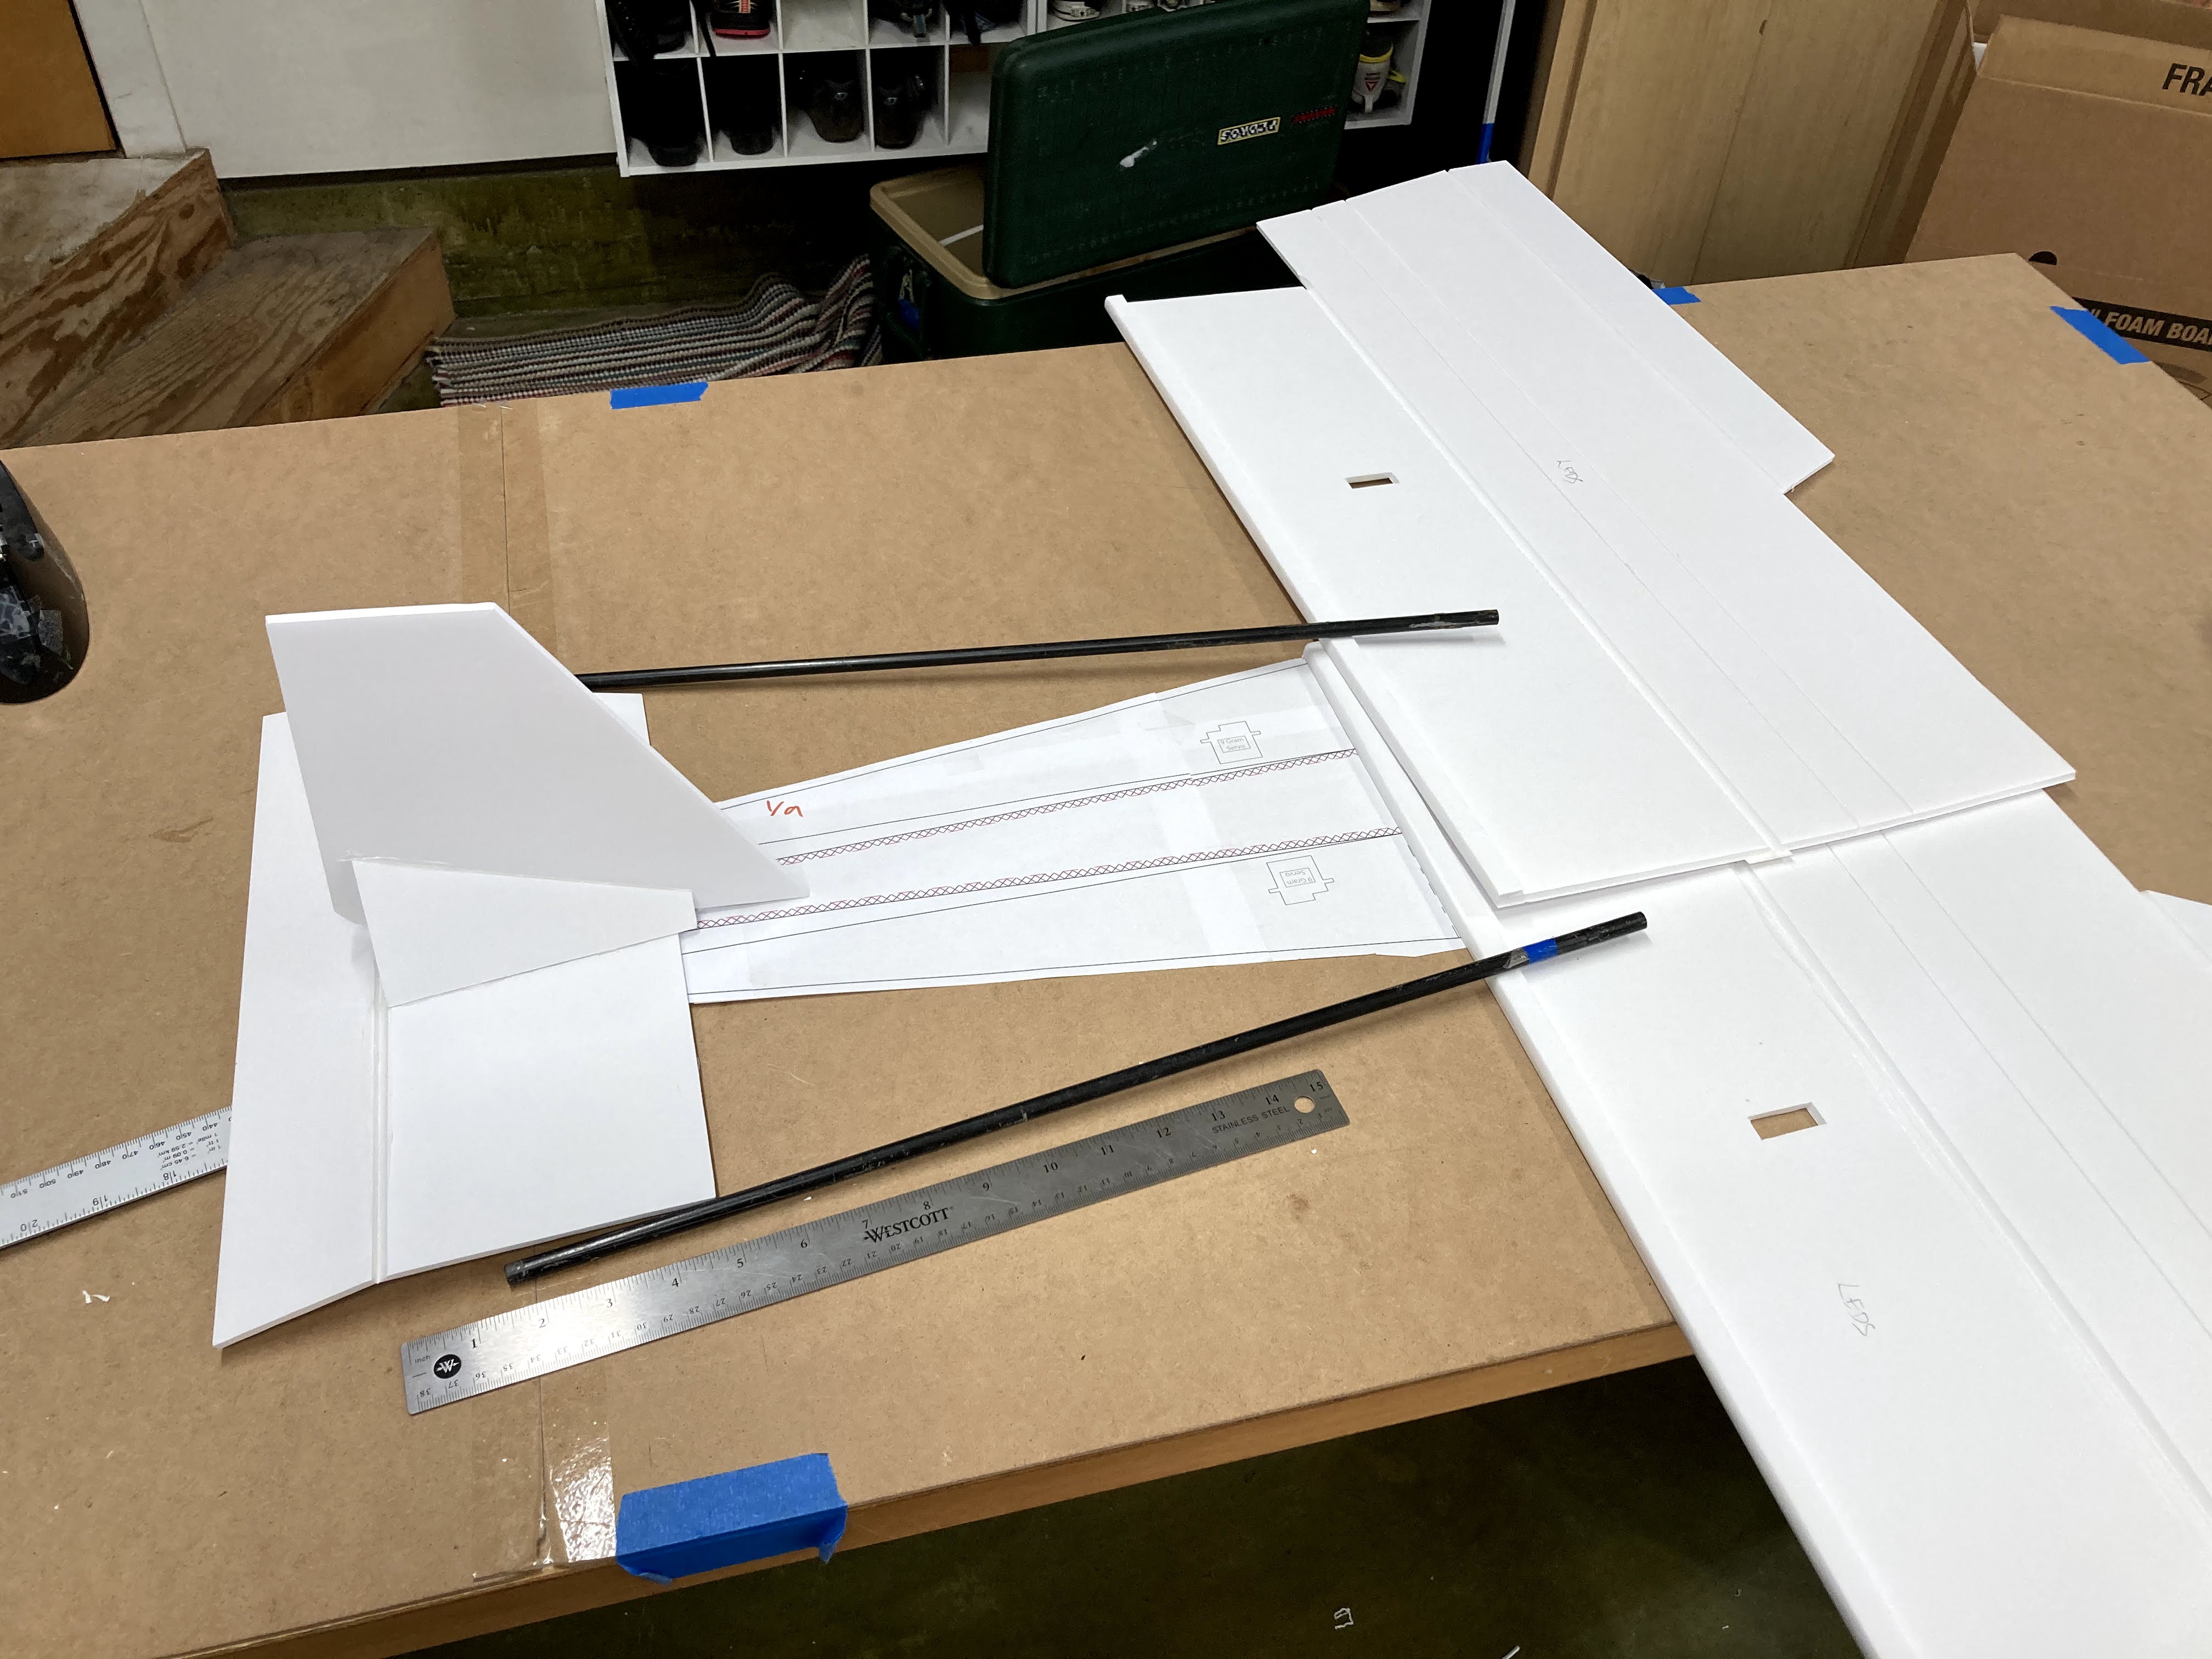
I built a standard hanger wing but made it as wide as a 30” sheet of foamboard. This would leave room for an 8” prop. I cut out a tail of similar size to the original. Then I laid them out on the original fuselage plans to make sure it was a similar length. I had some spare fiberglass tent poles that I used for the booms. They weren’t super light but were all I had at the time.
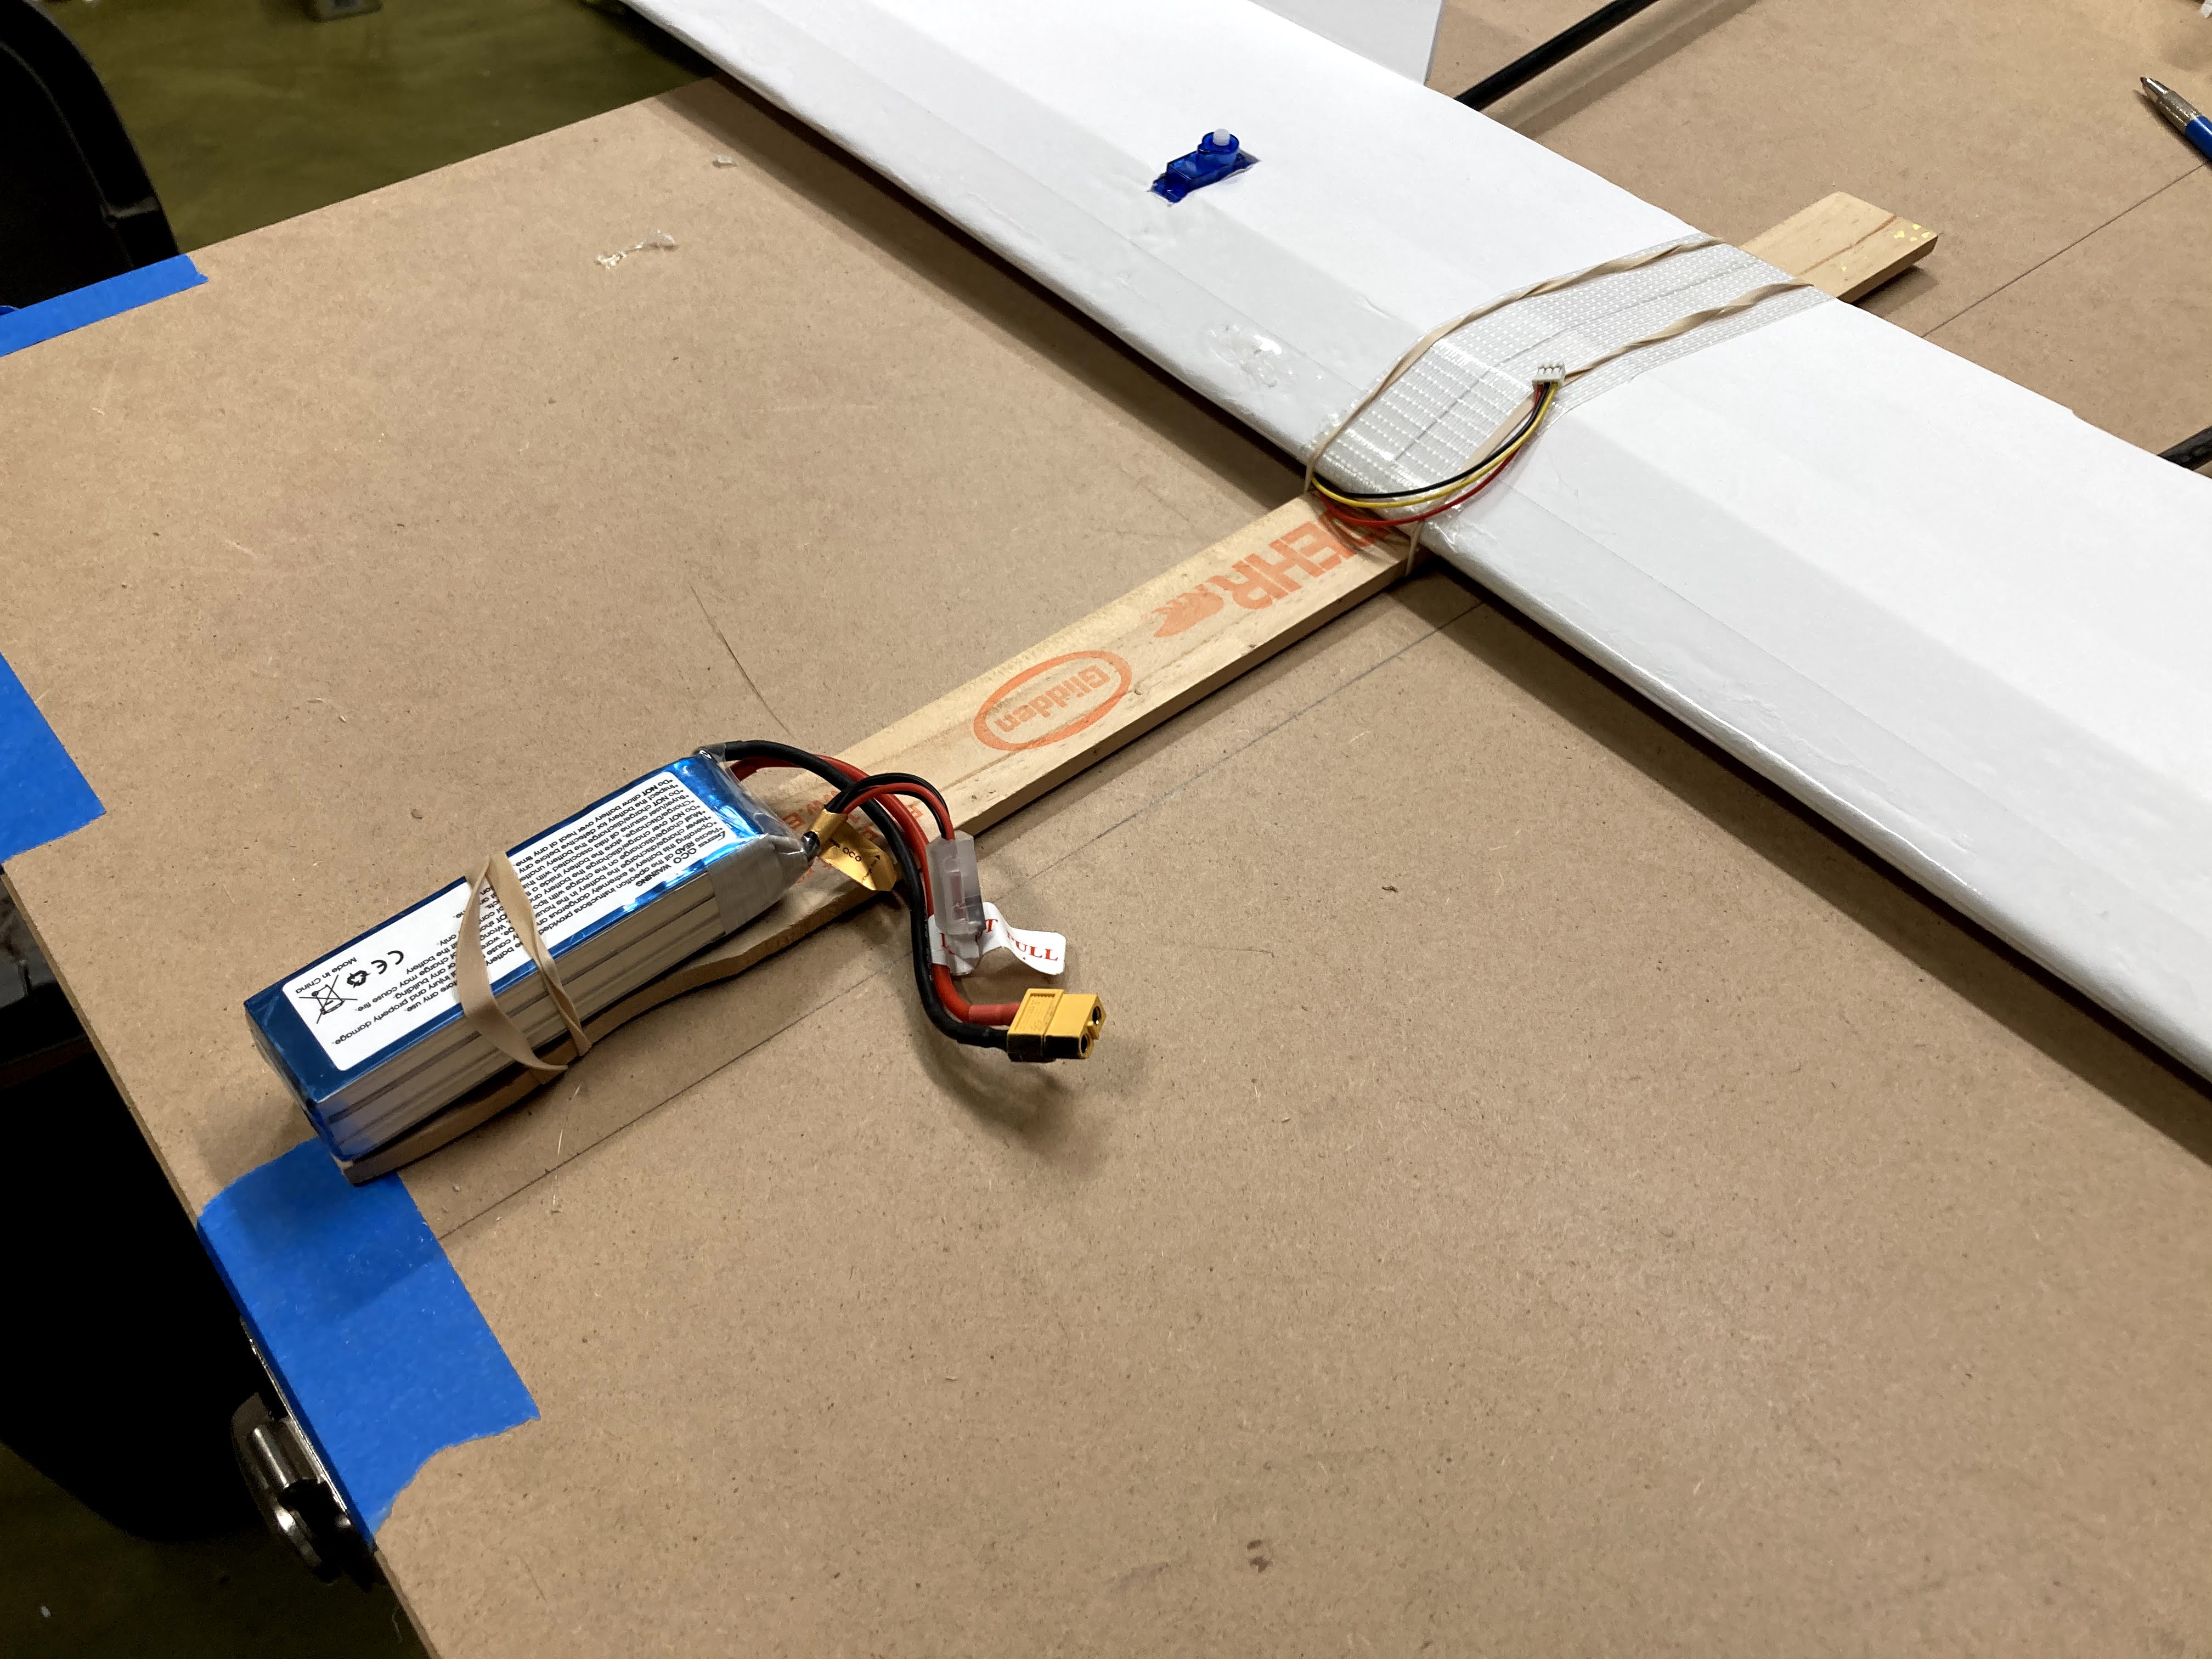
Once I build the wing and tail I tried out how far forward the battery would need to be to get the right center of gravity (CG). The final length would be even longer as a pusher motor on the back would try and move the CG backwards.
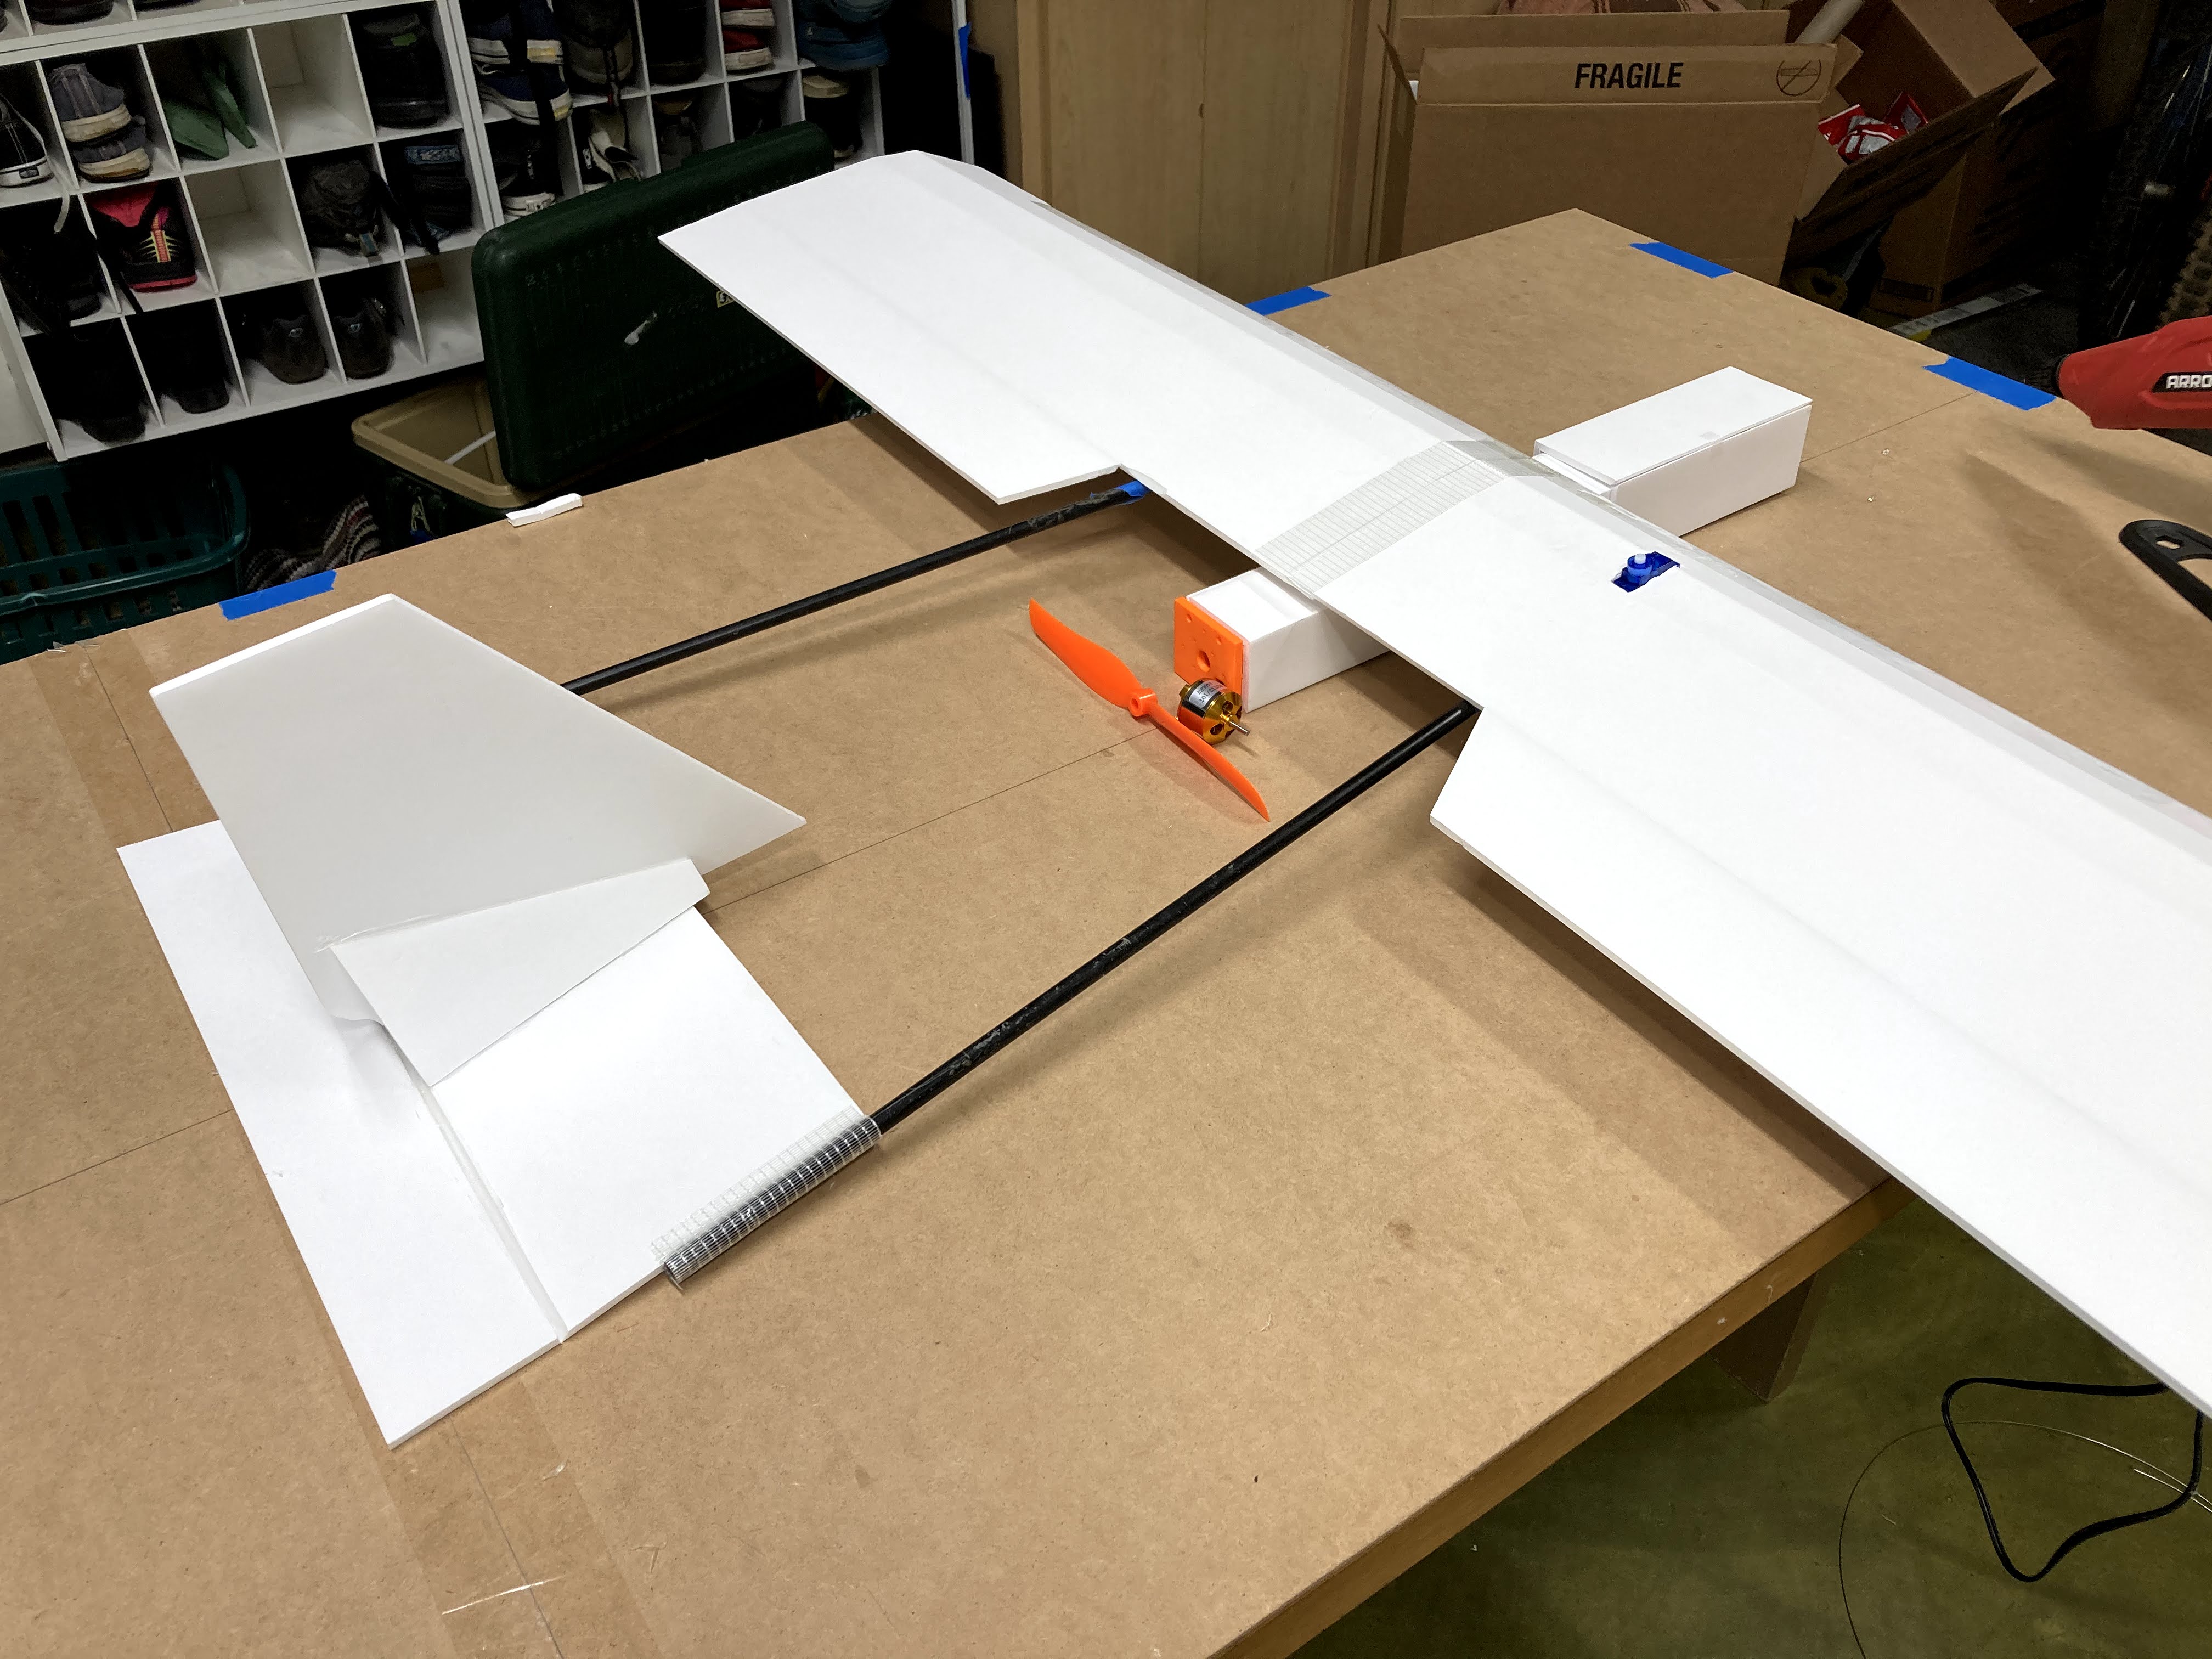
I laid outthe motor and prop to make sure it wouldn’t hit the booms. I wanted the motor quite far away from the wing to try and make it quieter.
The FPV camera could point forward right from the nose with no propellor in the way.

I also added a 1m strip of WS2812 LEDs inside the wing to light up at night.
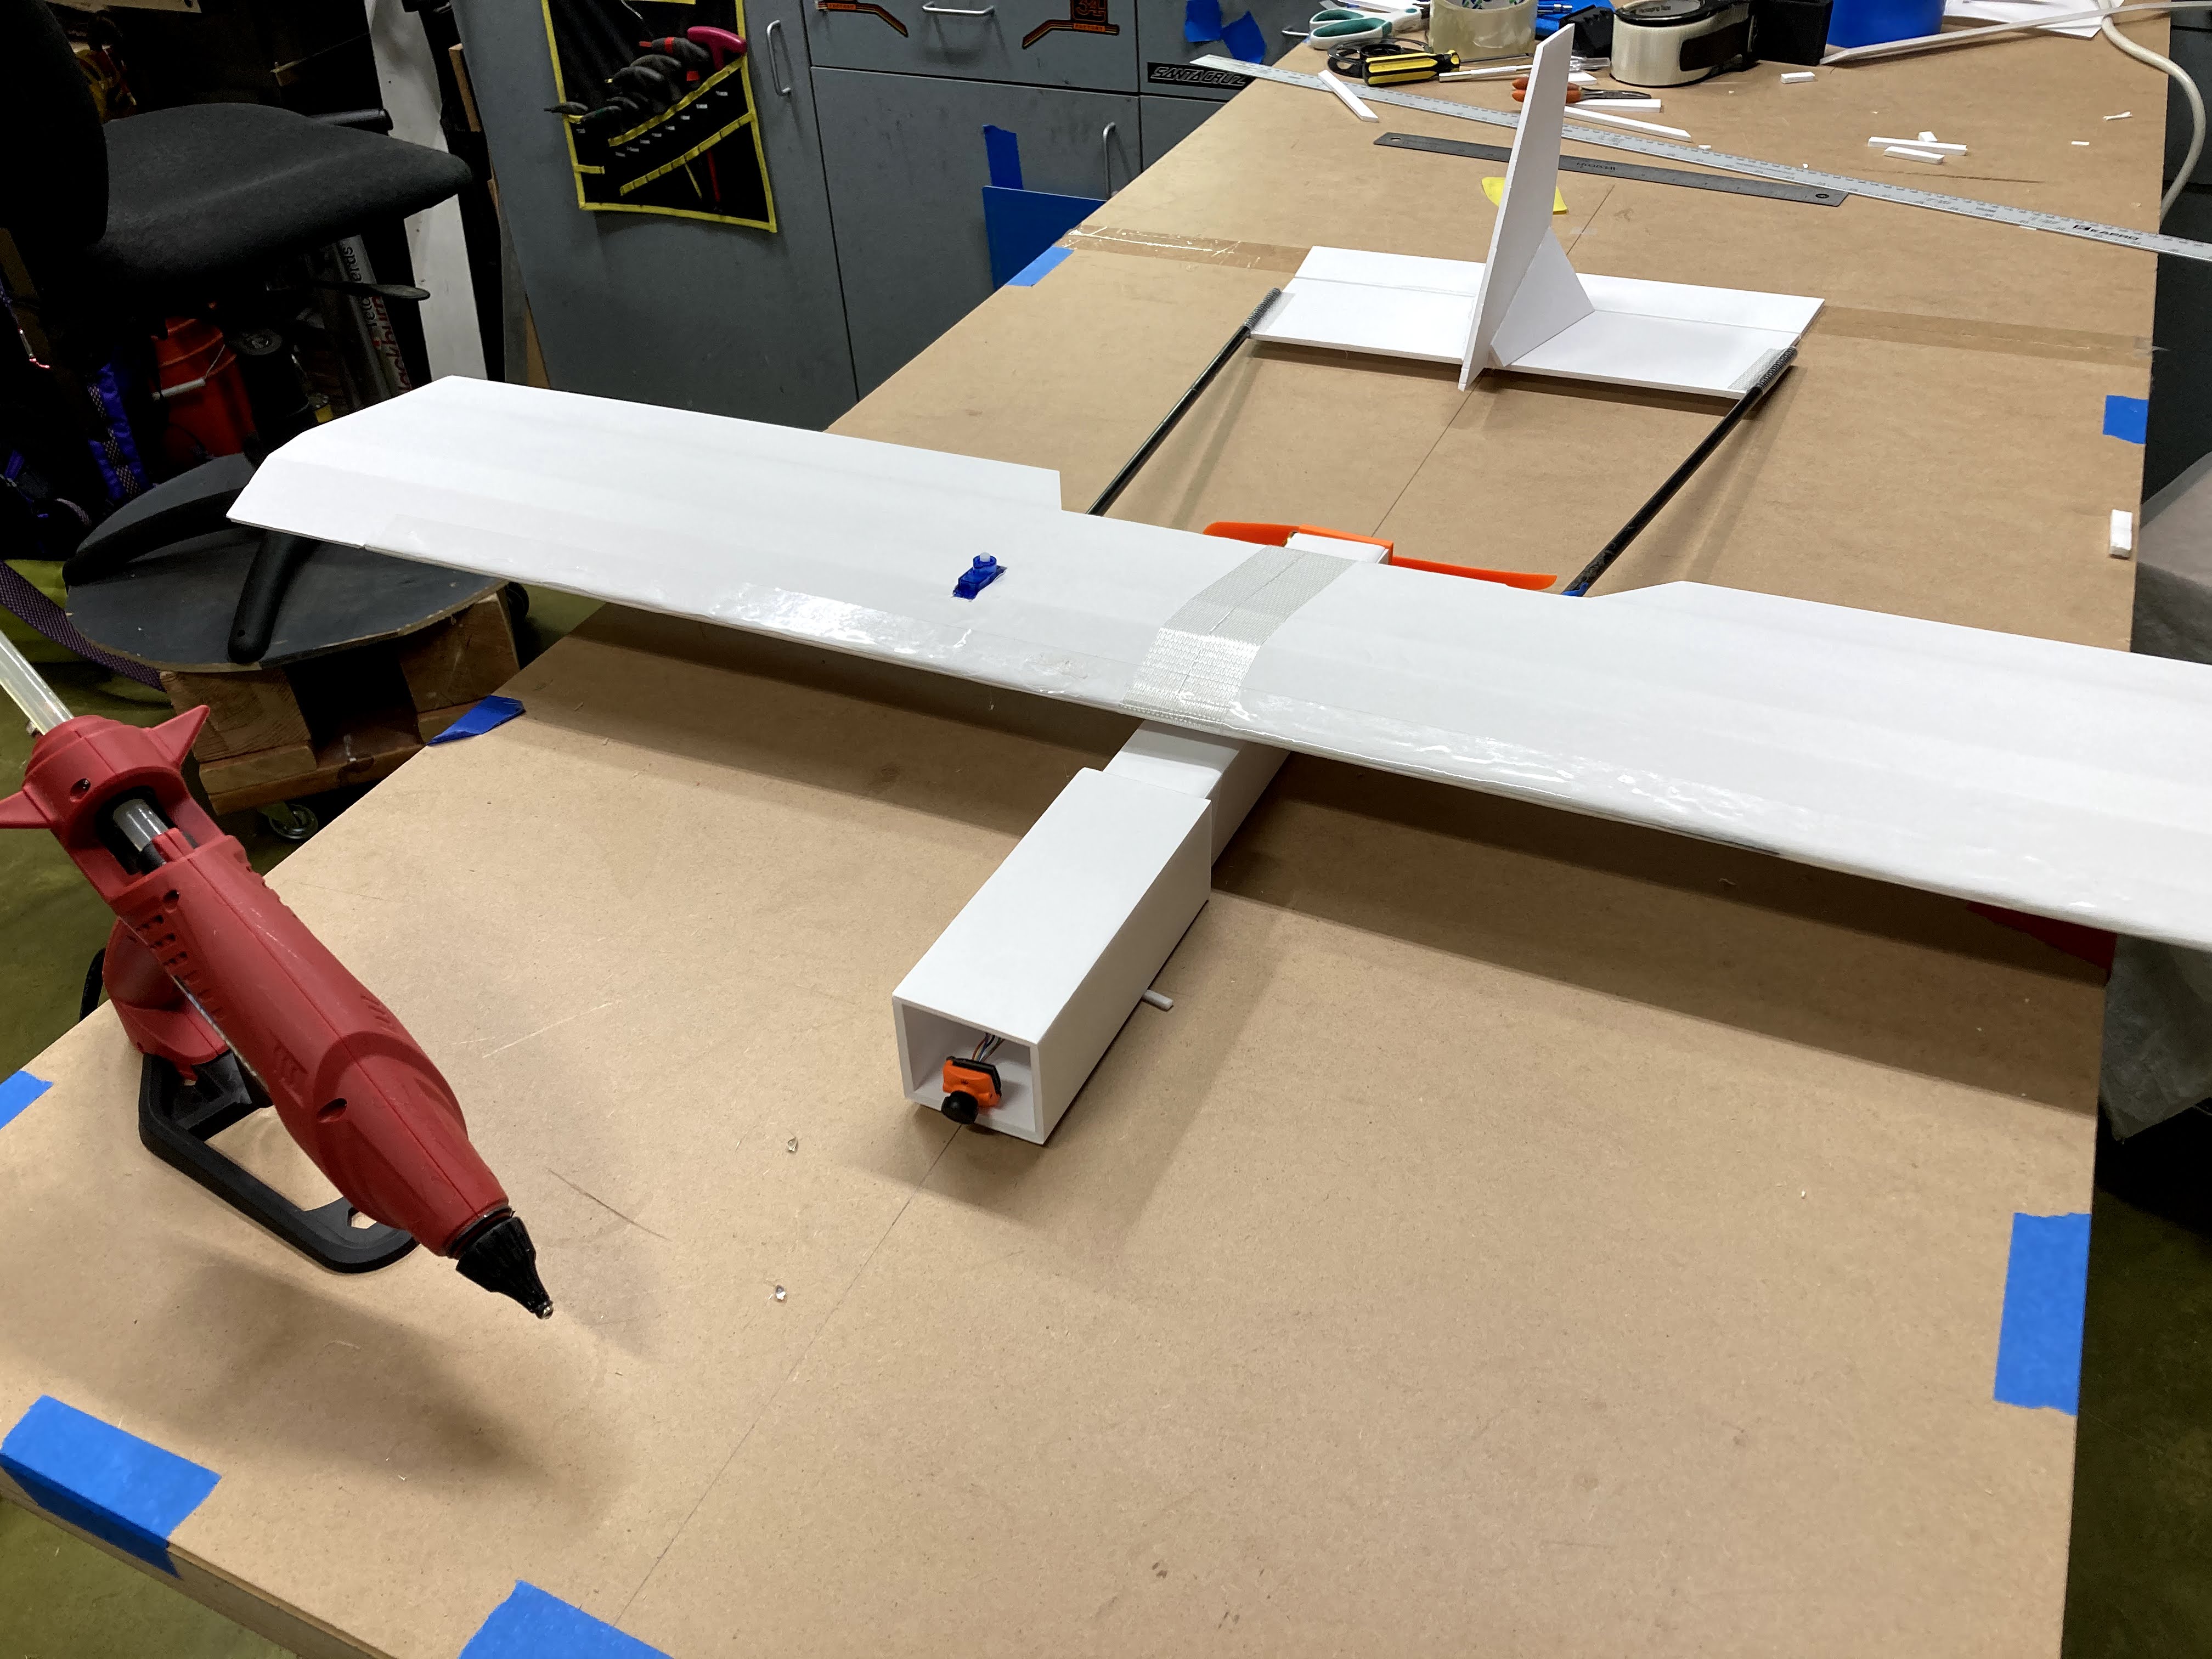
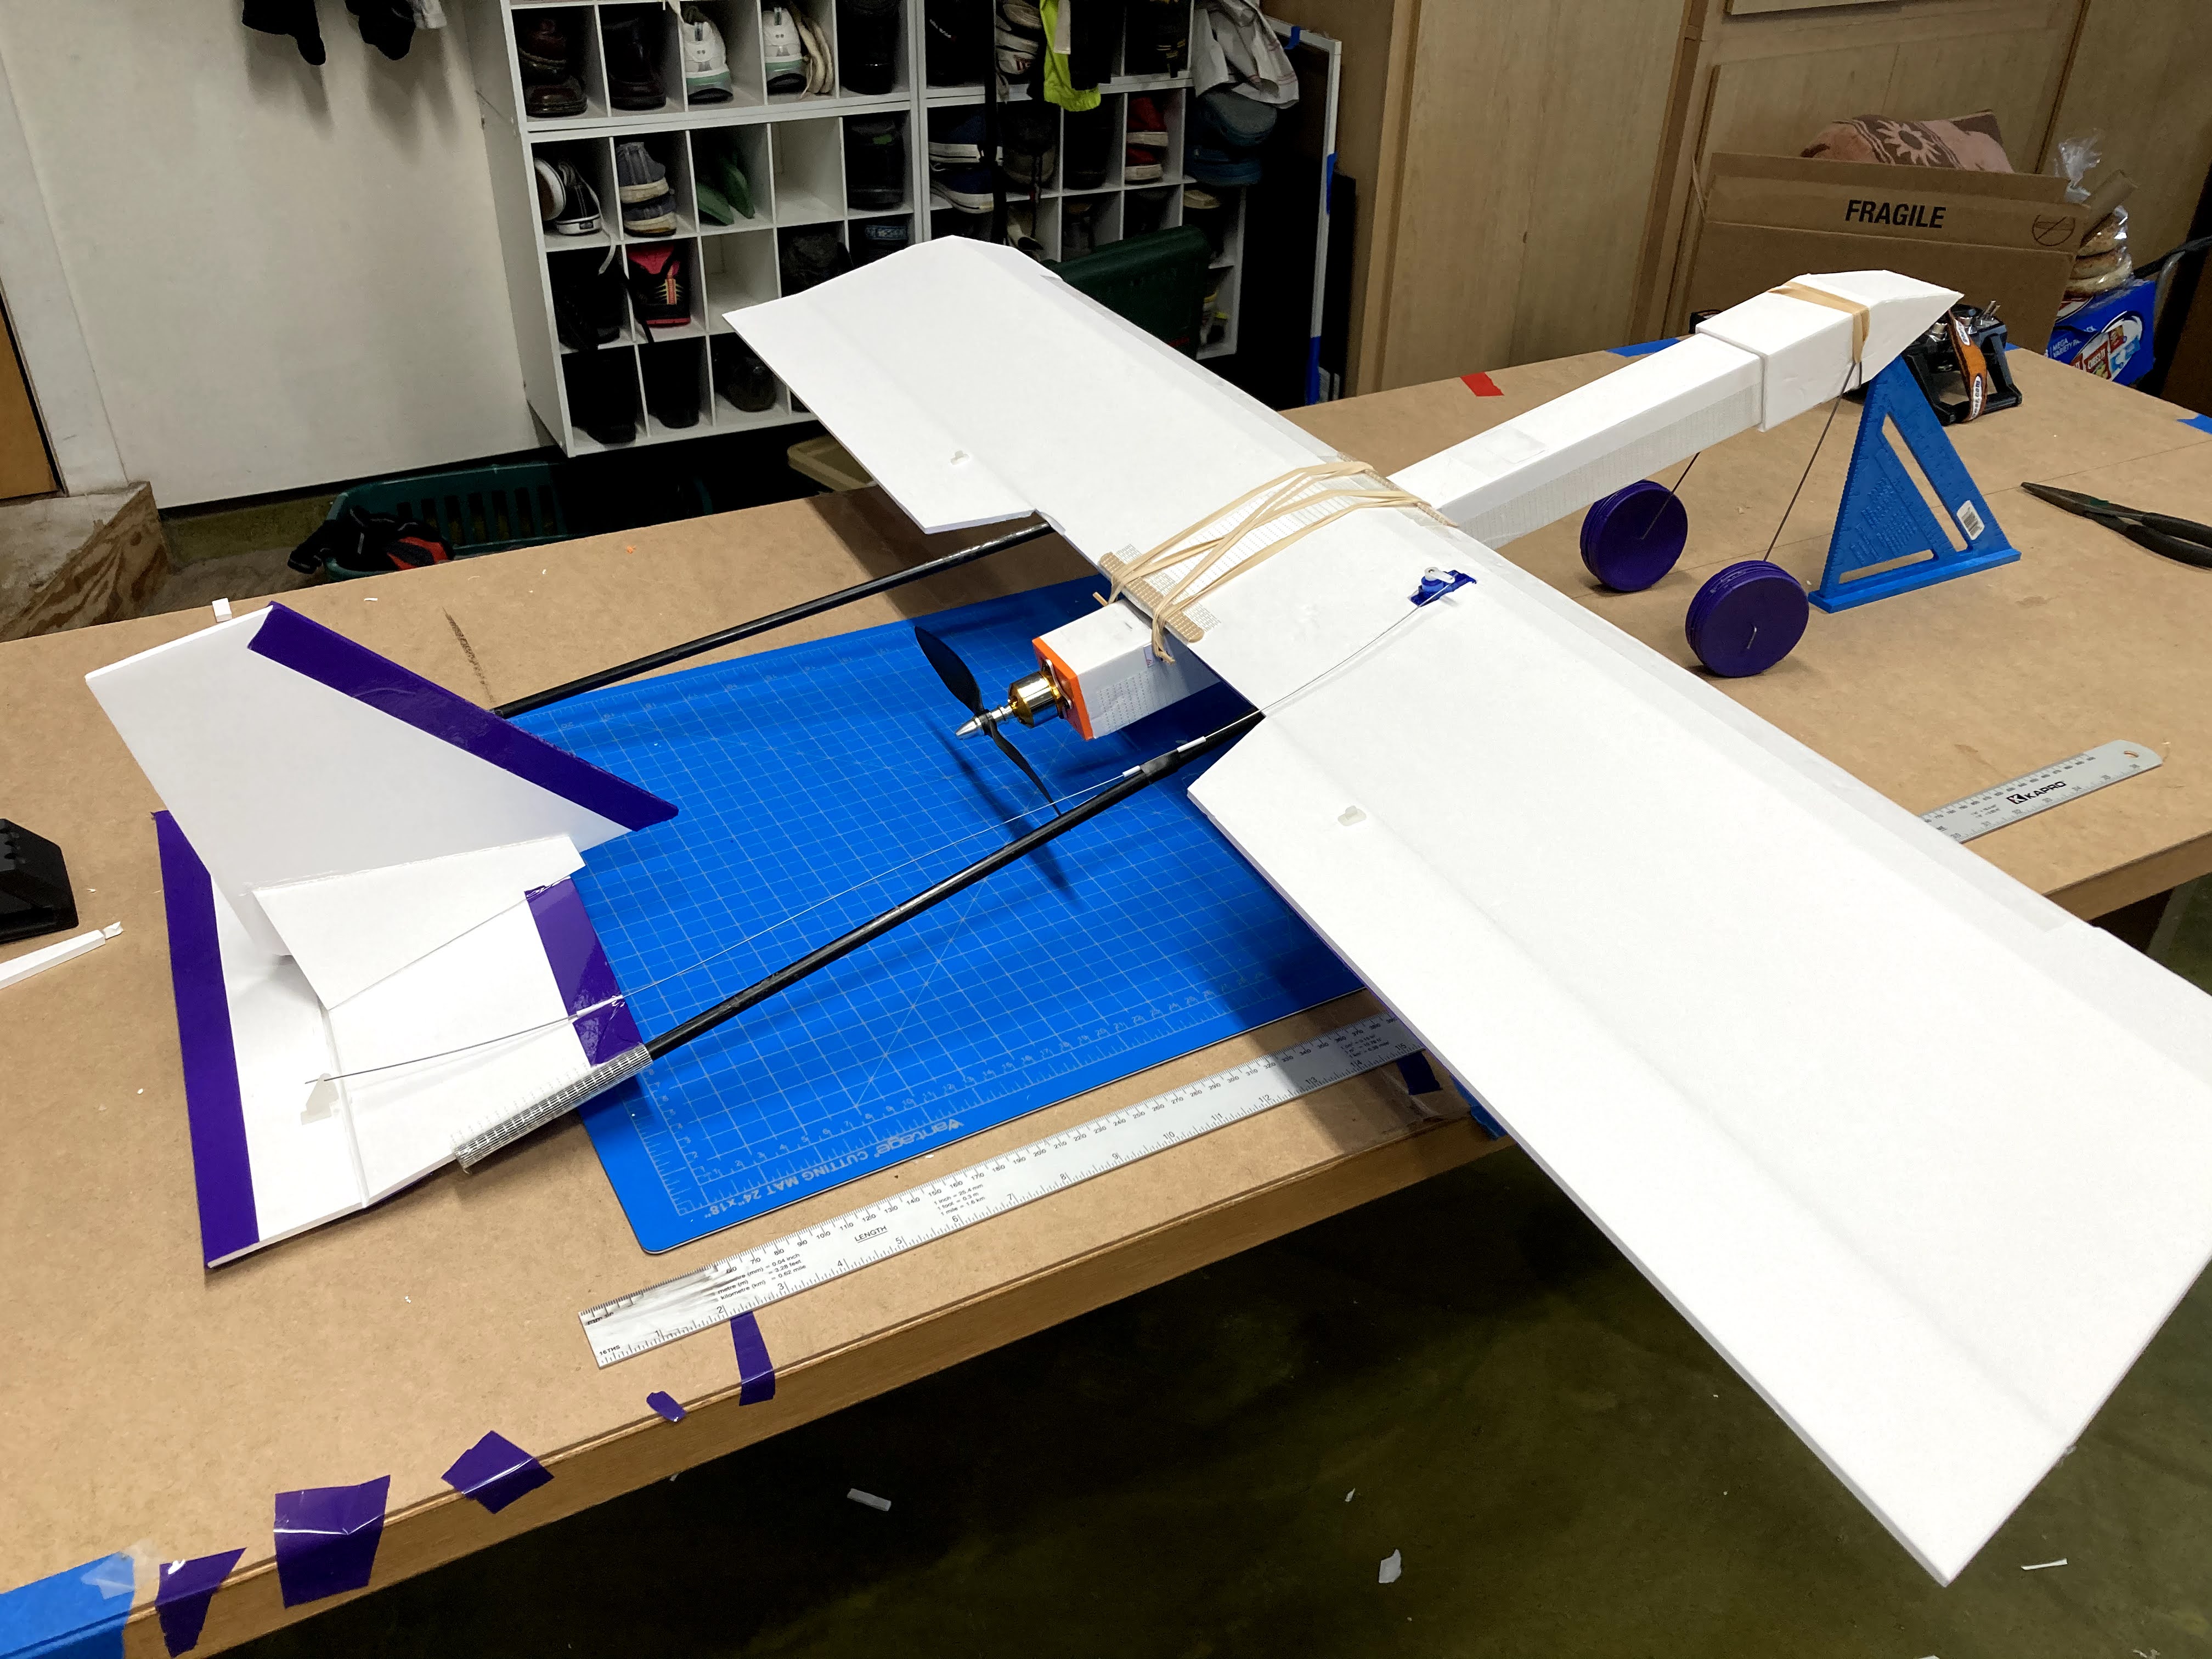
Fuselage
I didn’t really like cutting the channels to make a fuselage (a la Flite Test) and I had a nice 3d printed bevel cutting tool. So I thought I could use bevel cuts and it turned out great. I made it just the right size to fit a 3d printed motor mount. Luckily it was also just big enough for a 2200mAh 3S LiPo battery.
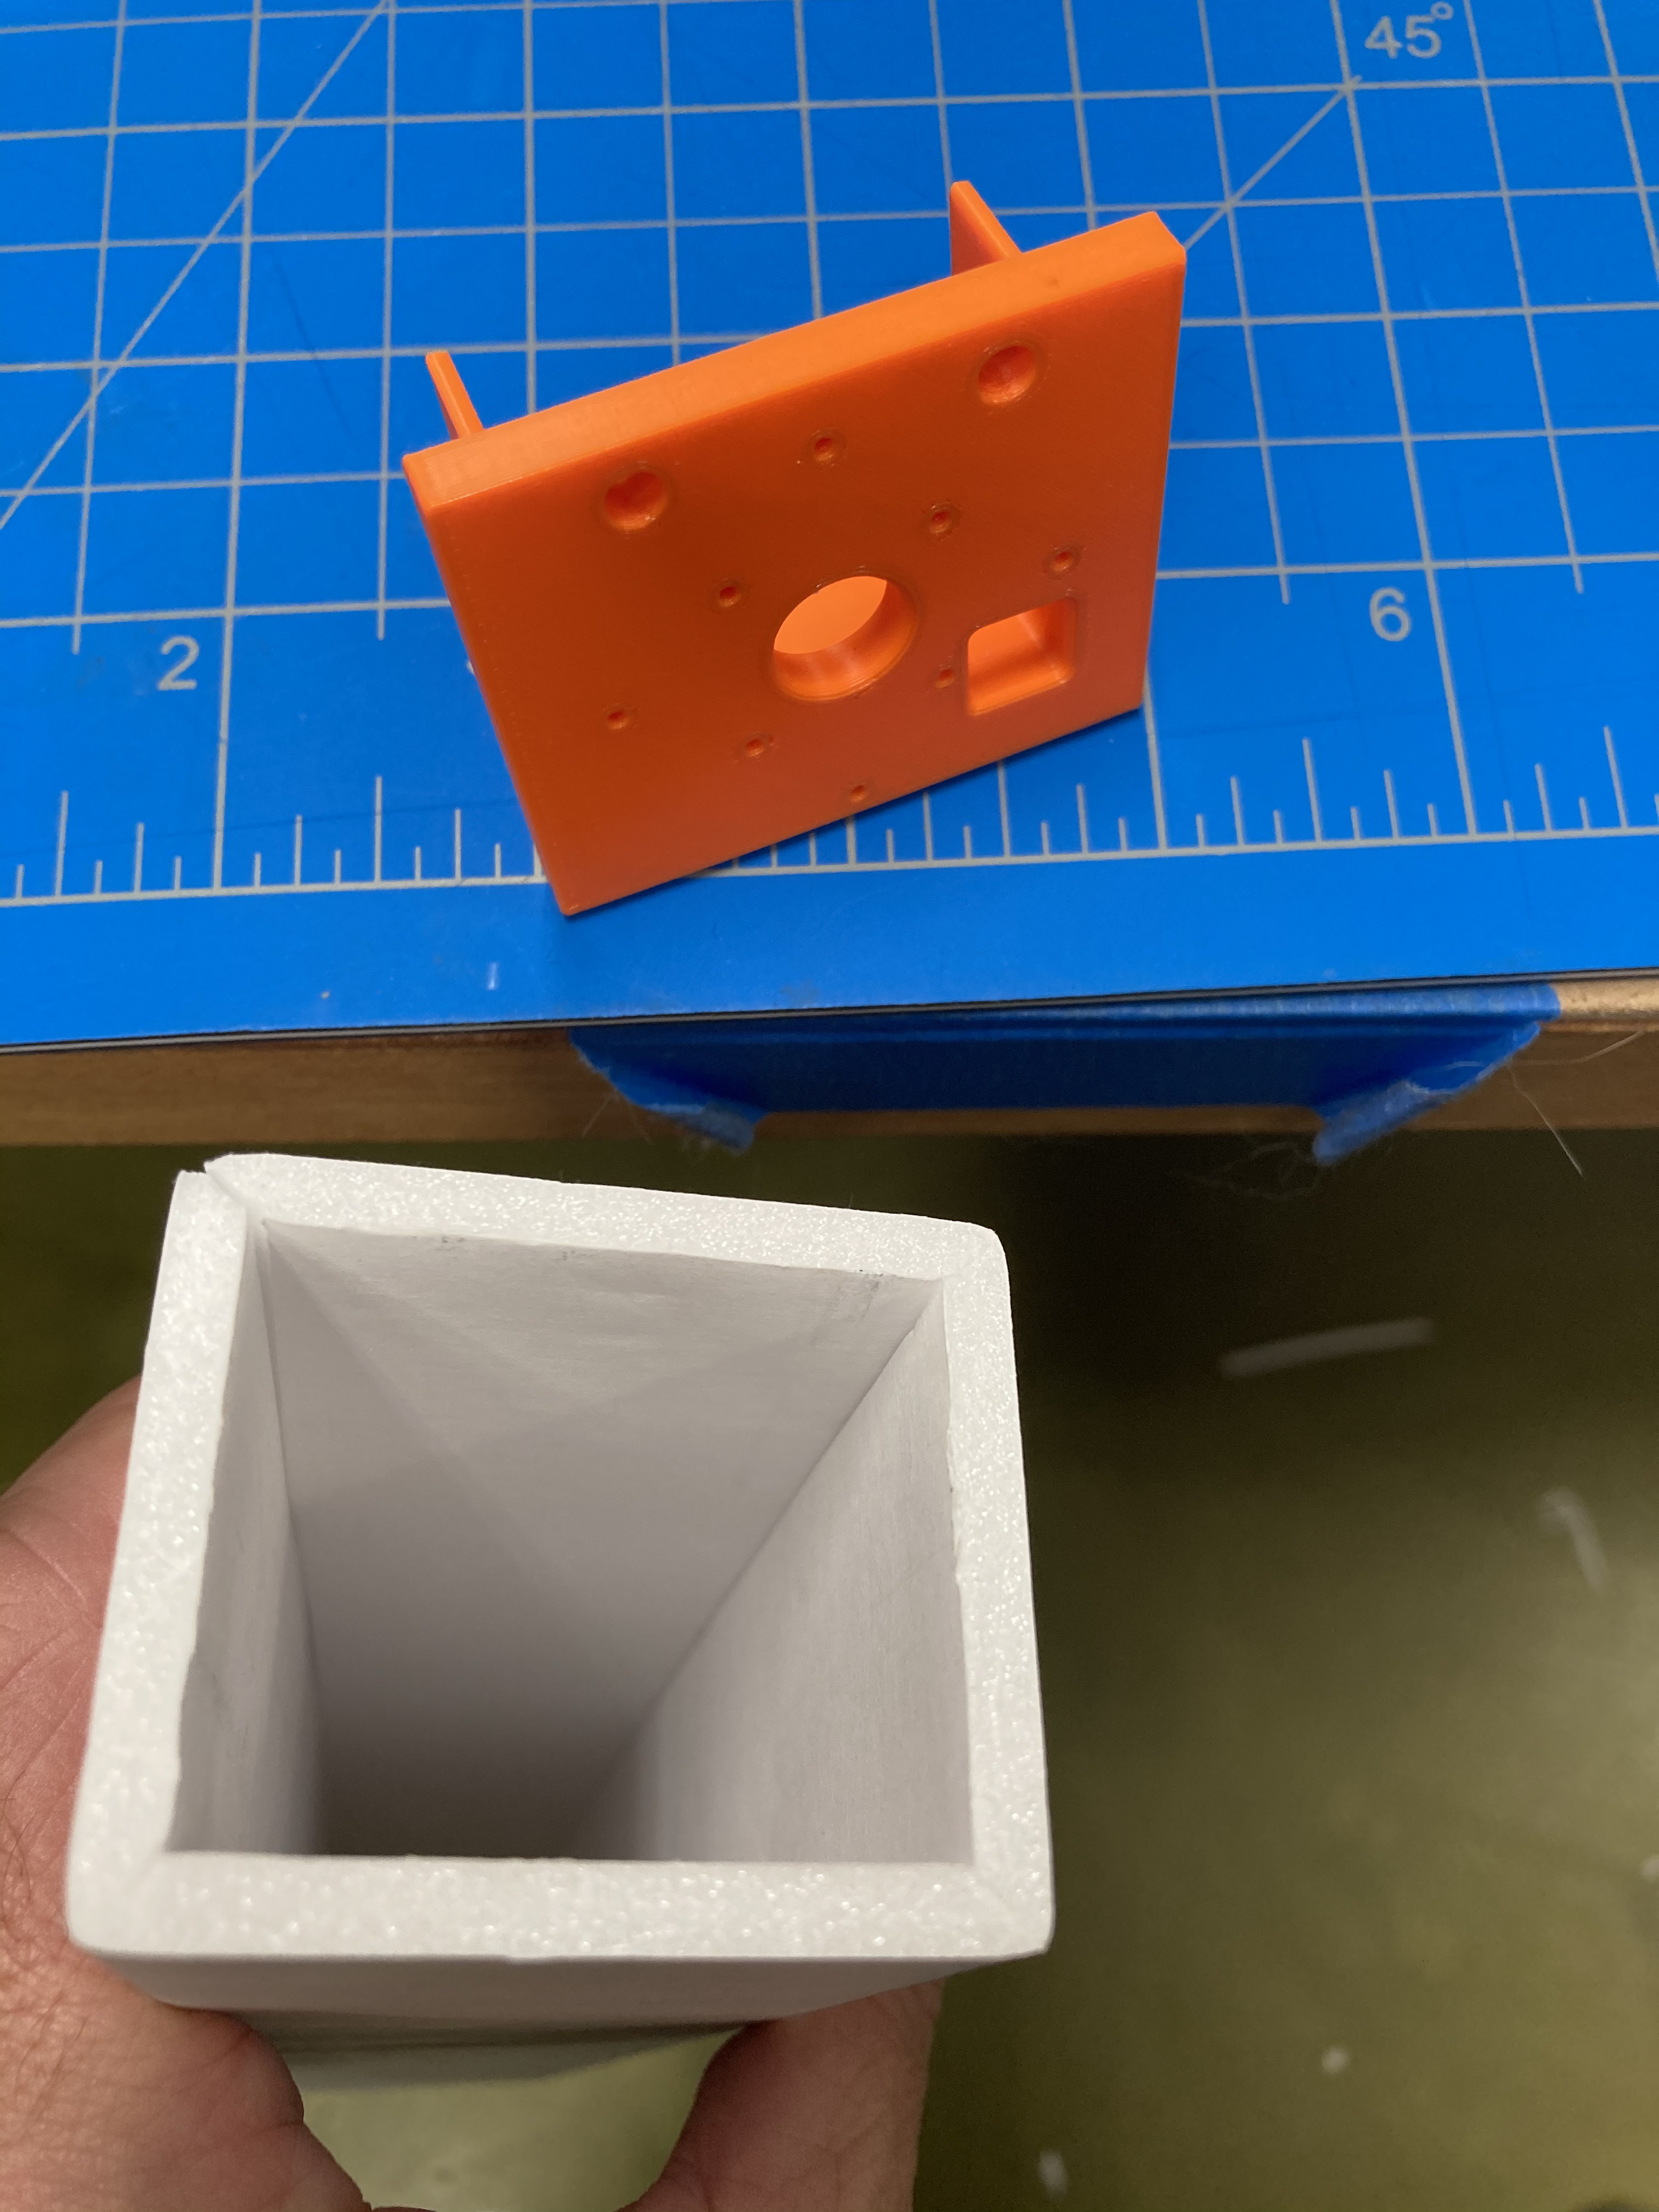
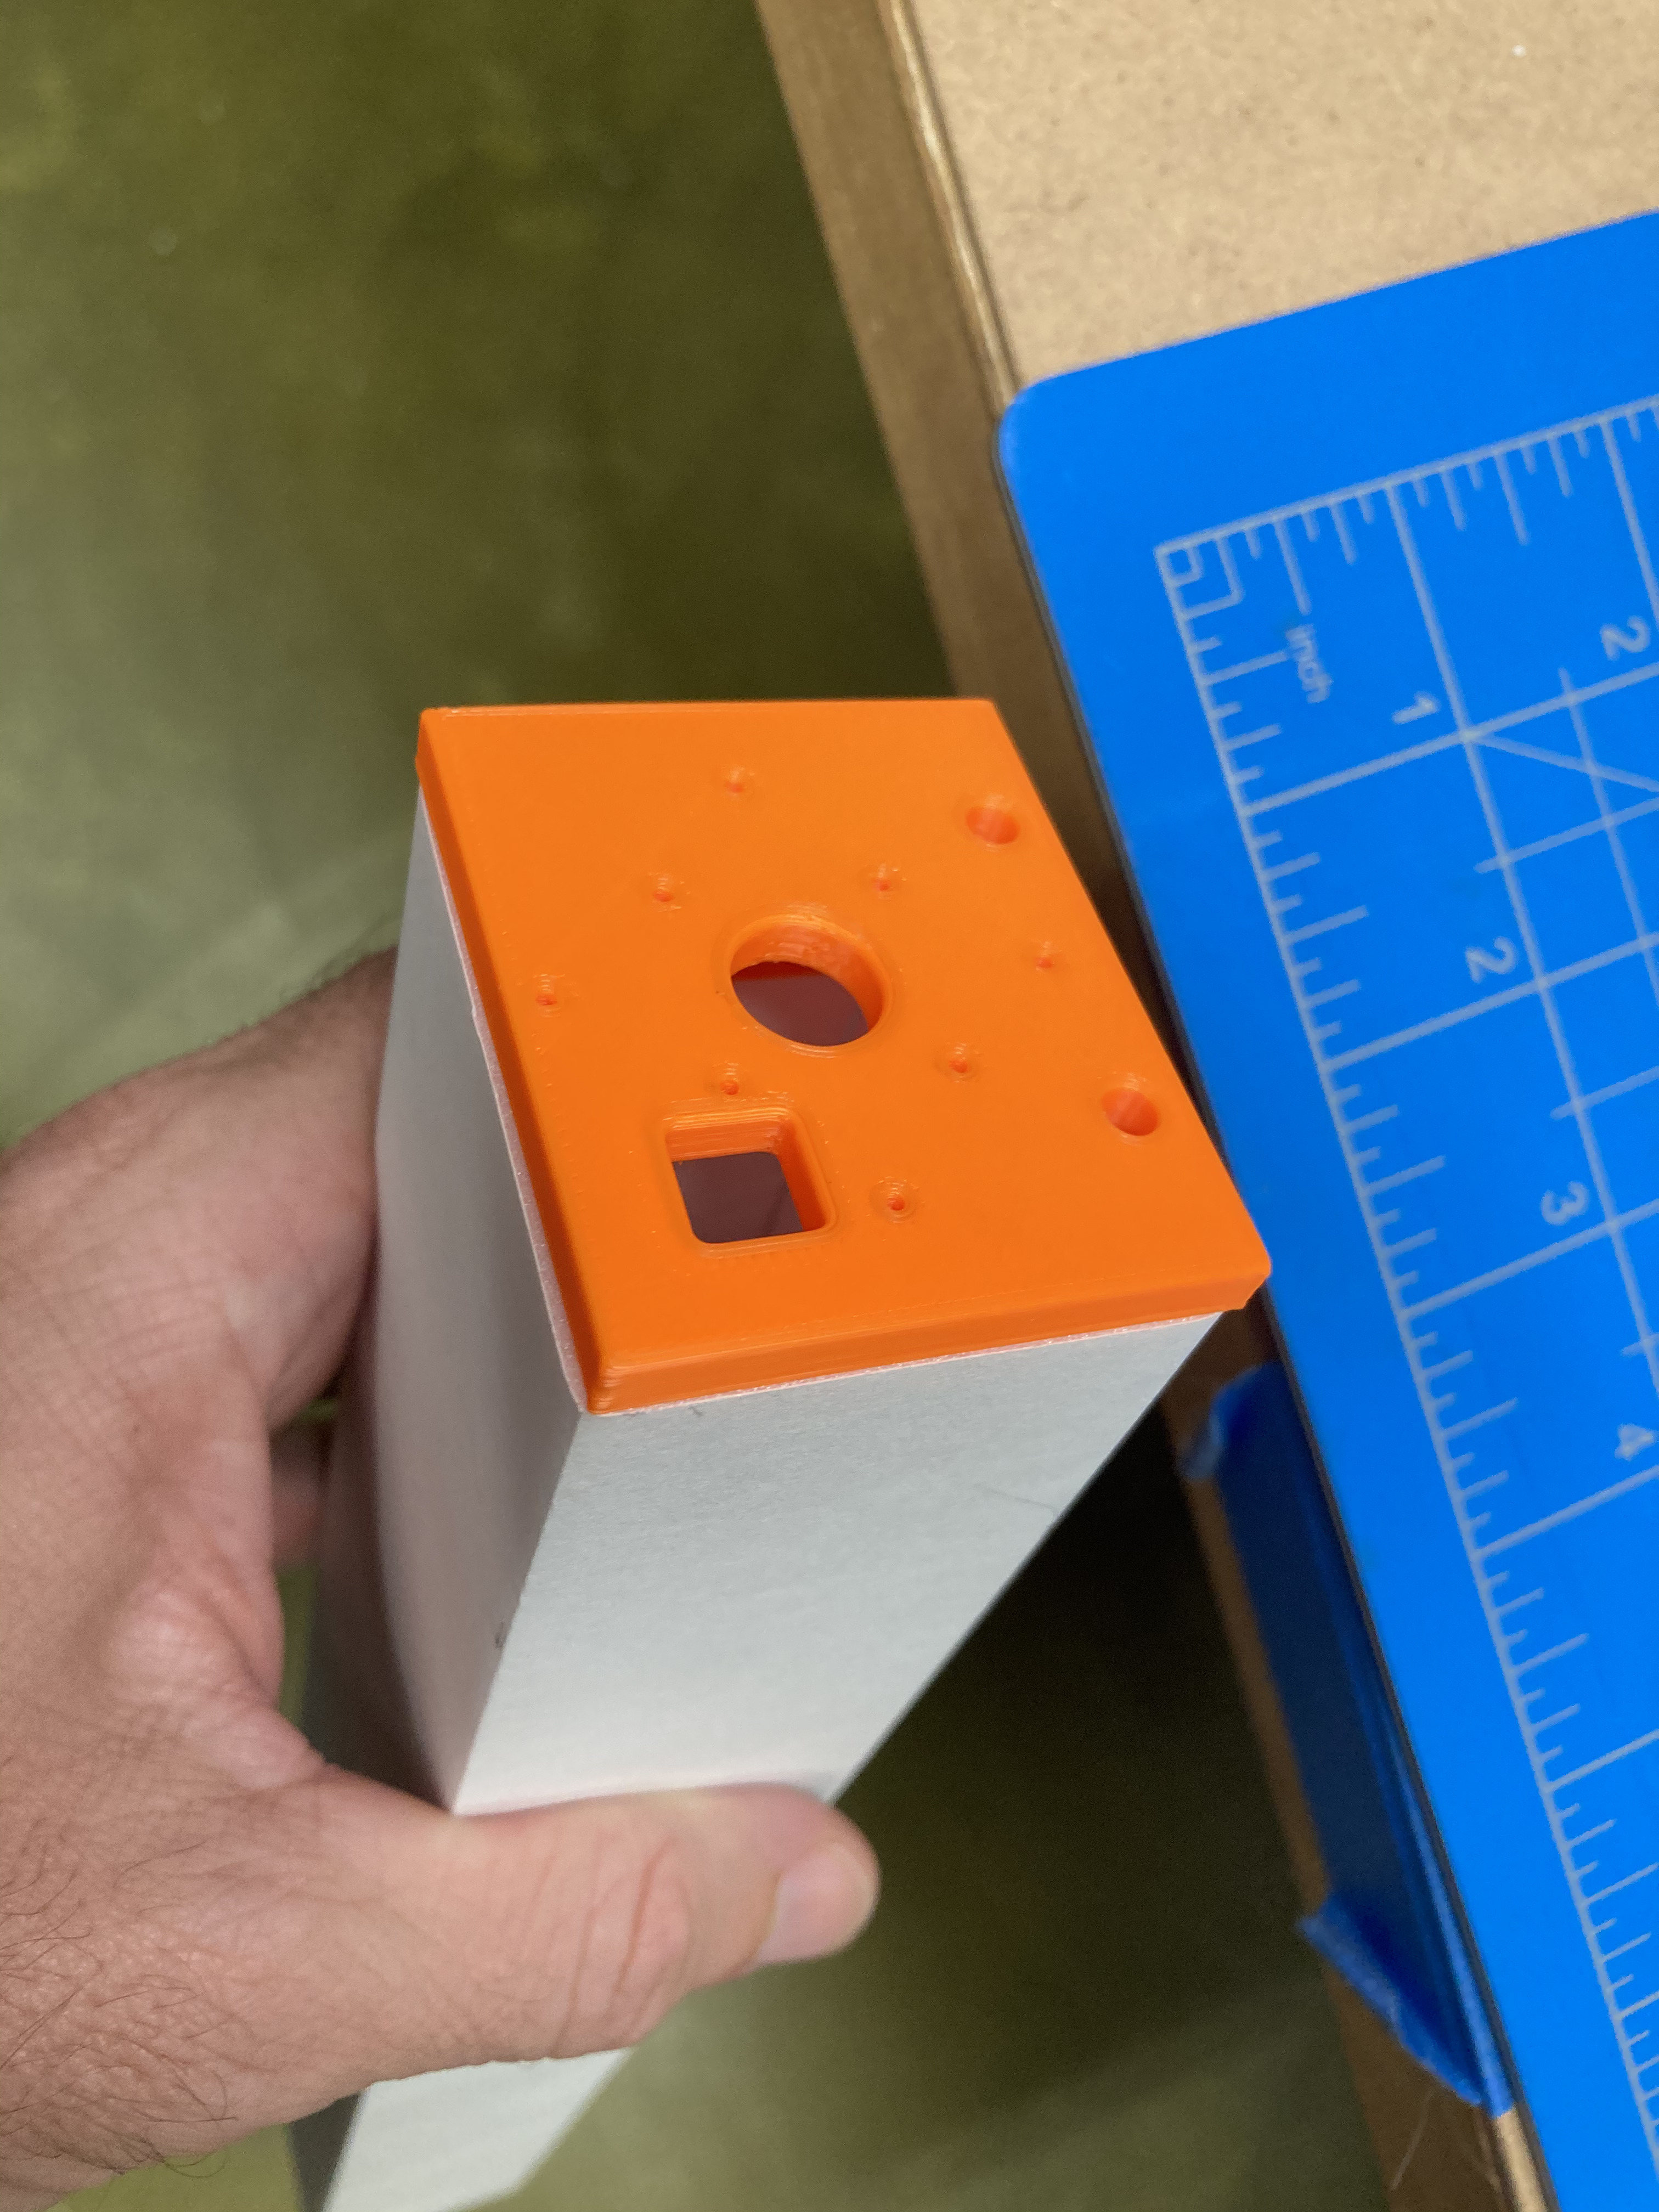
As you can see it came together really well and I feel this might actially be stronger than the traditional A or B fold that Flite Test uses. Of course it only works well because the bevel cutting tool makes it so easy.
The fuselage length needed to be very long in the end. It looks pretty comical and I was kinda disappointed in that. I made the top of the fuselage open up to put the battery in (The wires from the speed controller almost weren’t long enough). Then you slide the nose of the plane on and it seals the battery lid.
servo testing USB cable
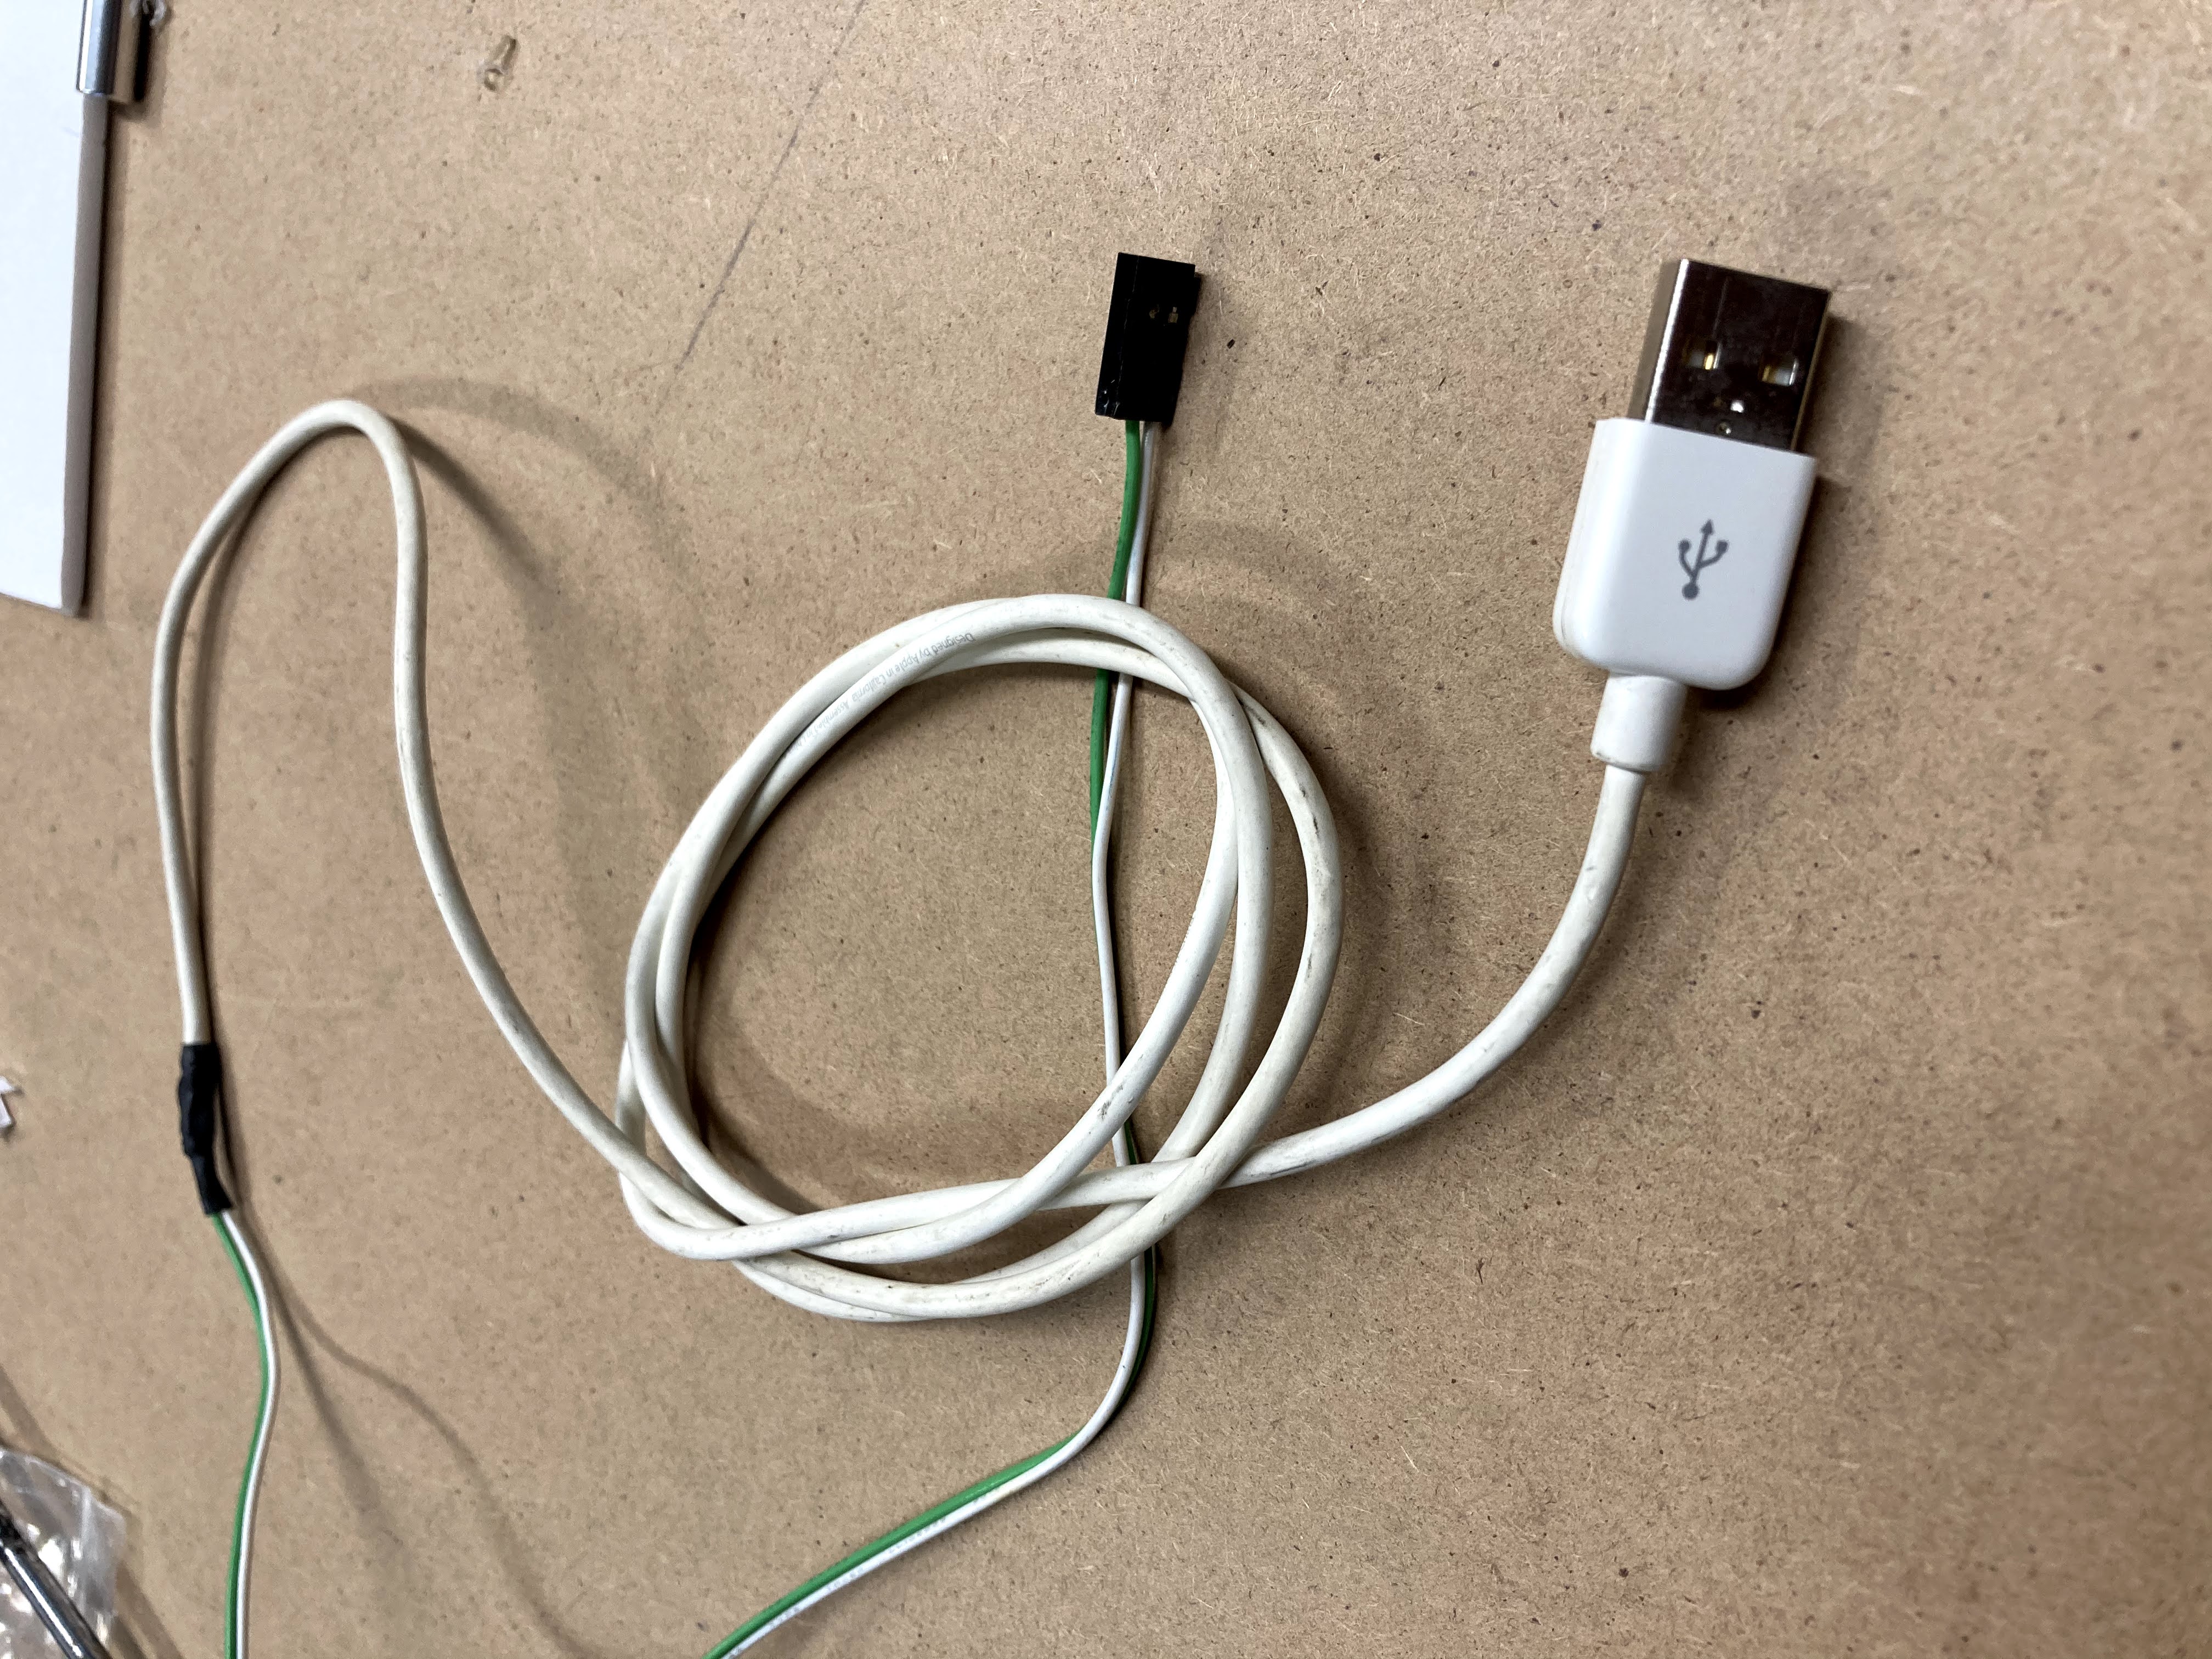
I put a simple 2 pin connector onto an old USB cable and tah dah I instantly had 5V power easily available.
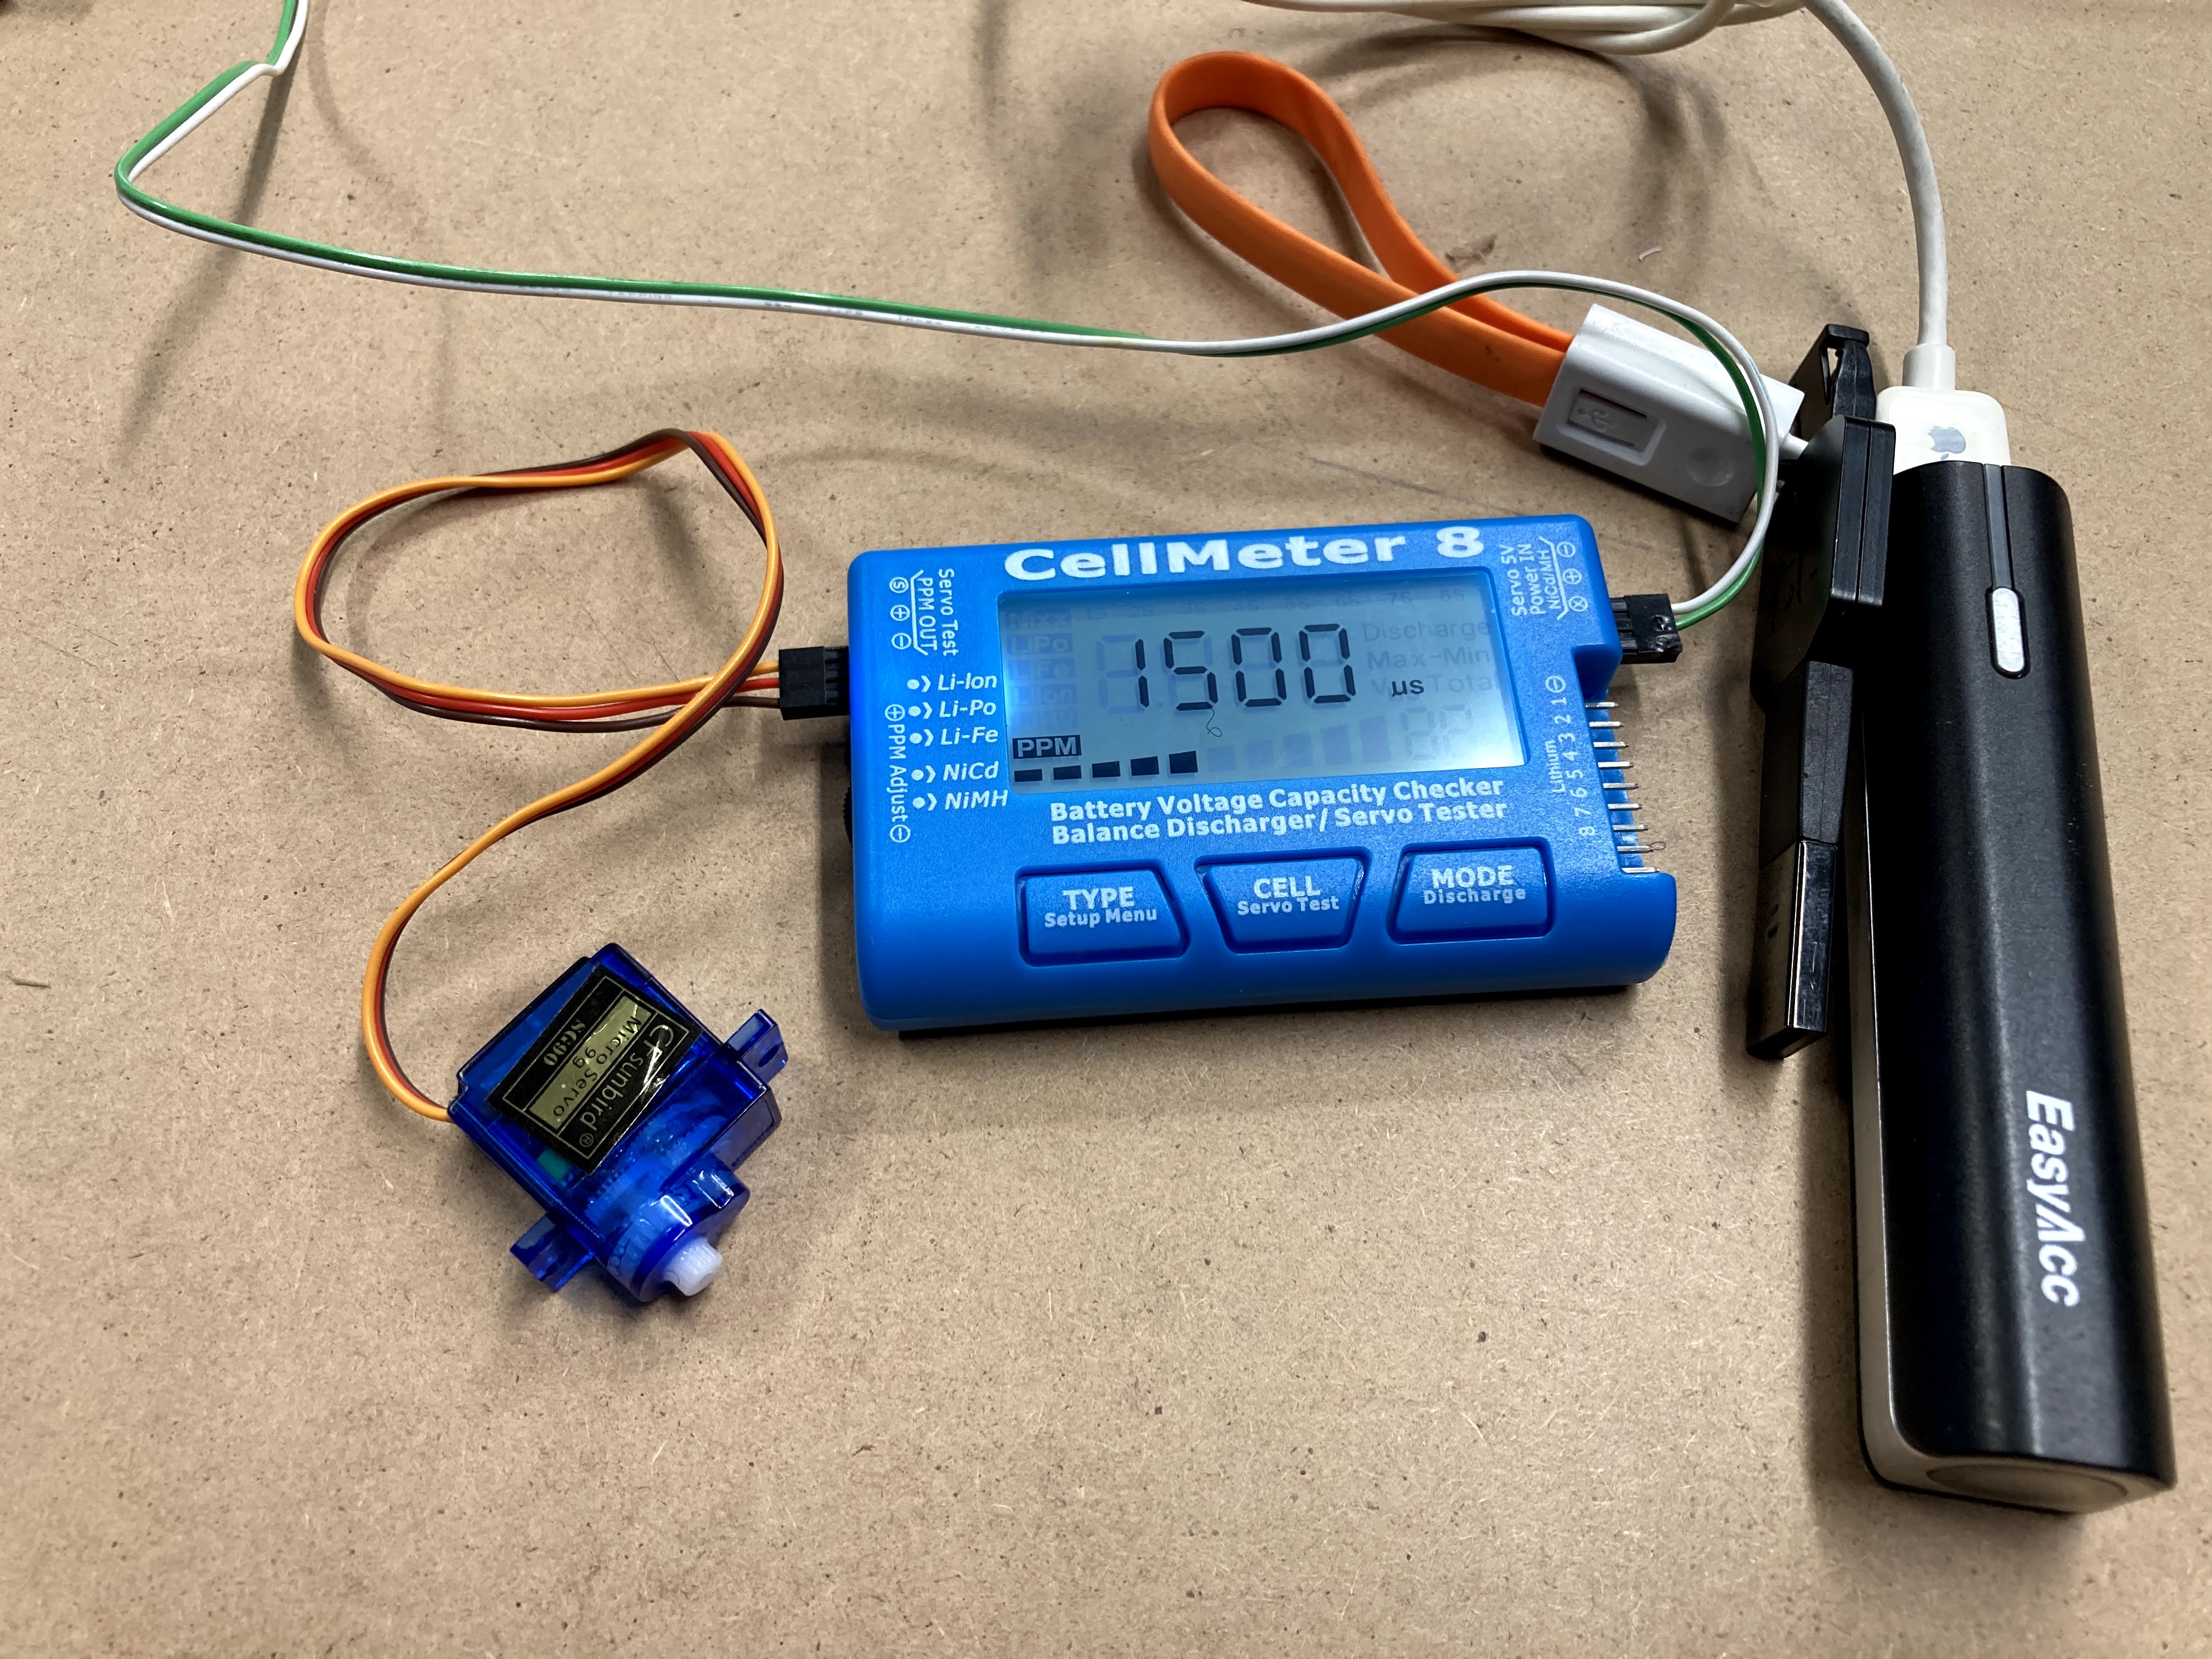
This plugs in nicely to my battery/servo tester and was much easier than digging out a speed controller to get 5V.
Wheels
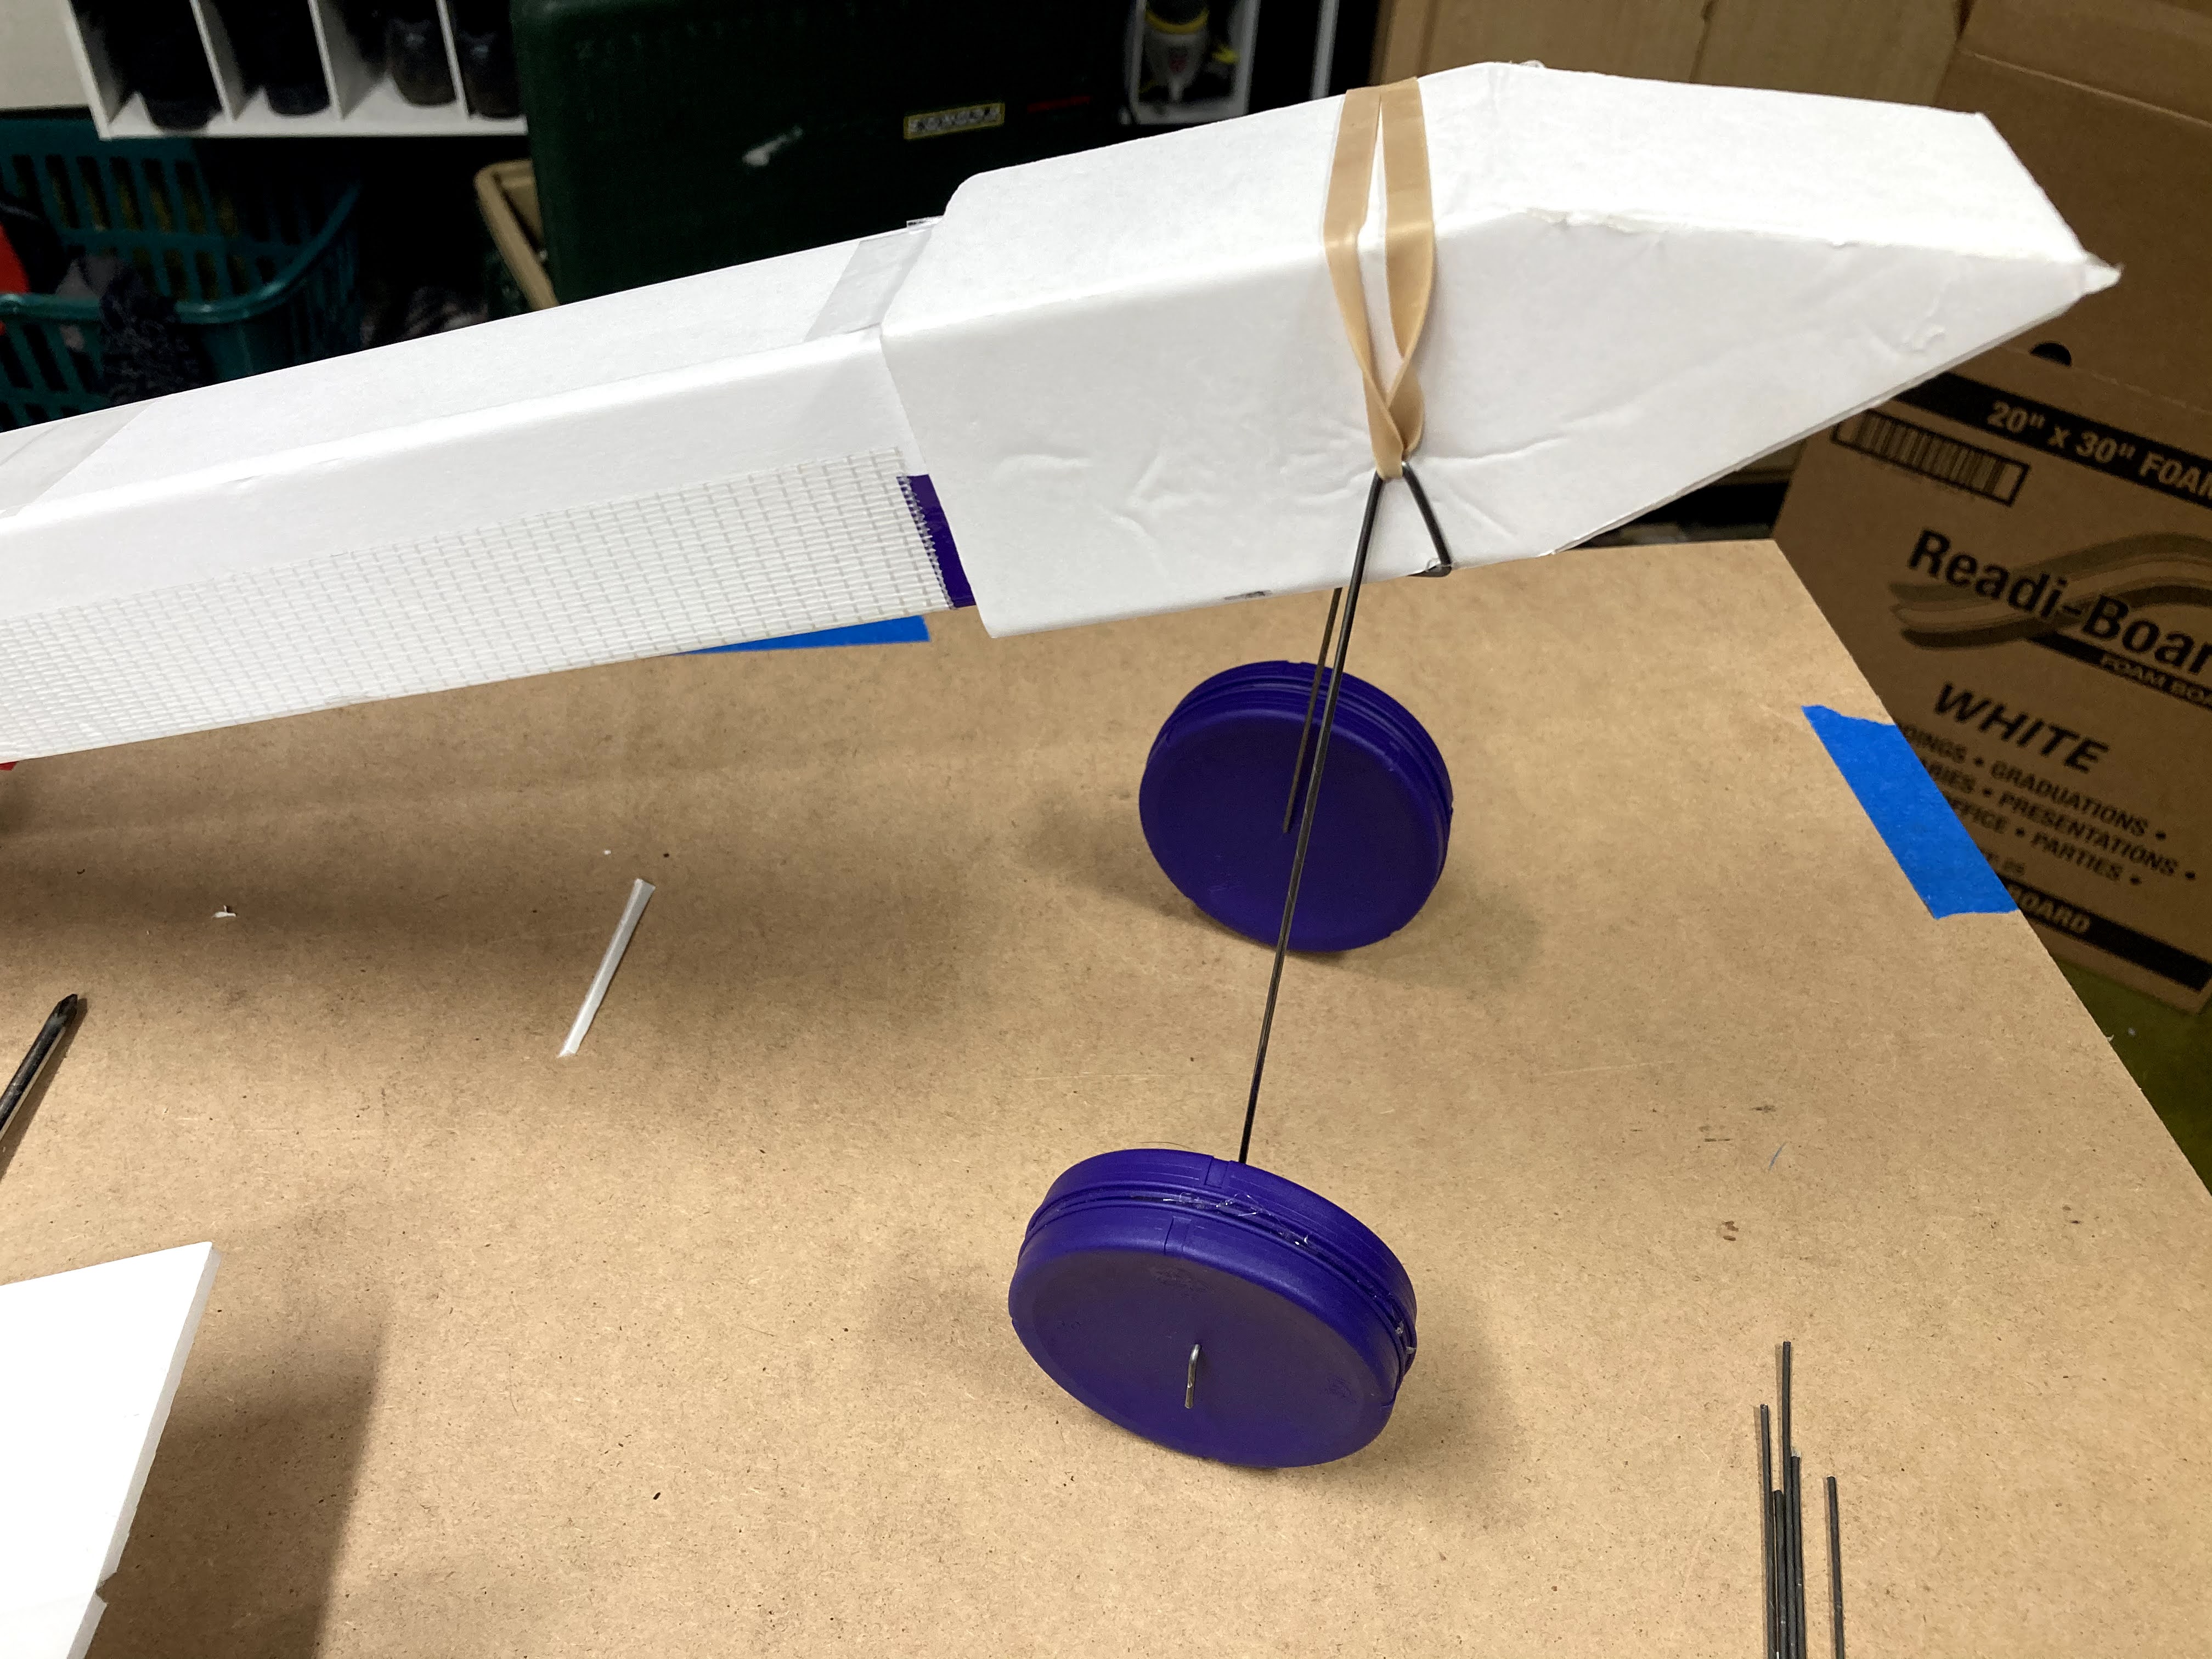
I made some wheels from some old hot chocolate lids and some 2mm wire. I got the idea for the wire bend from this post
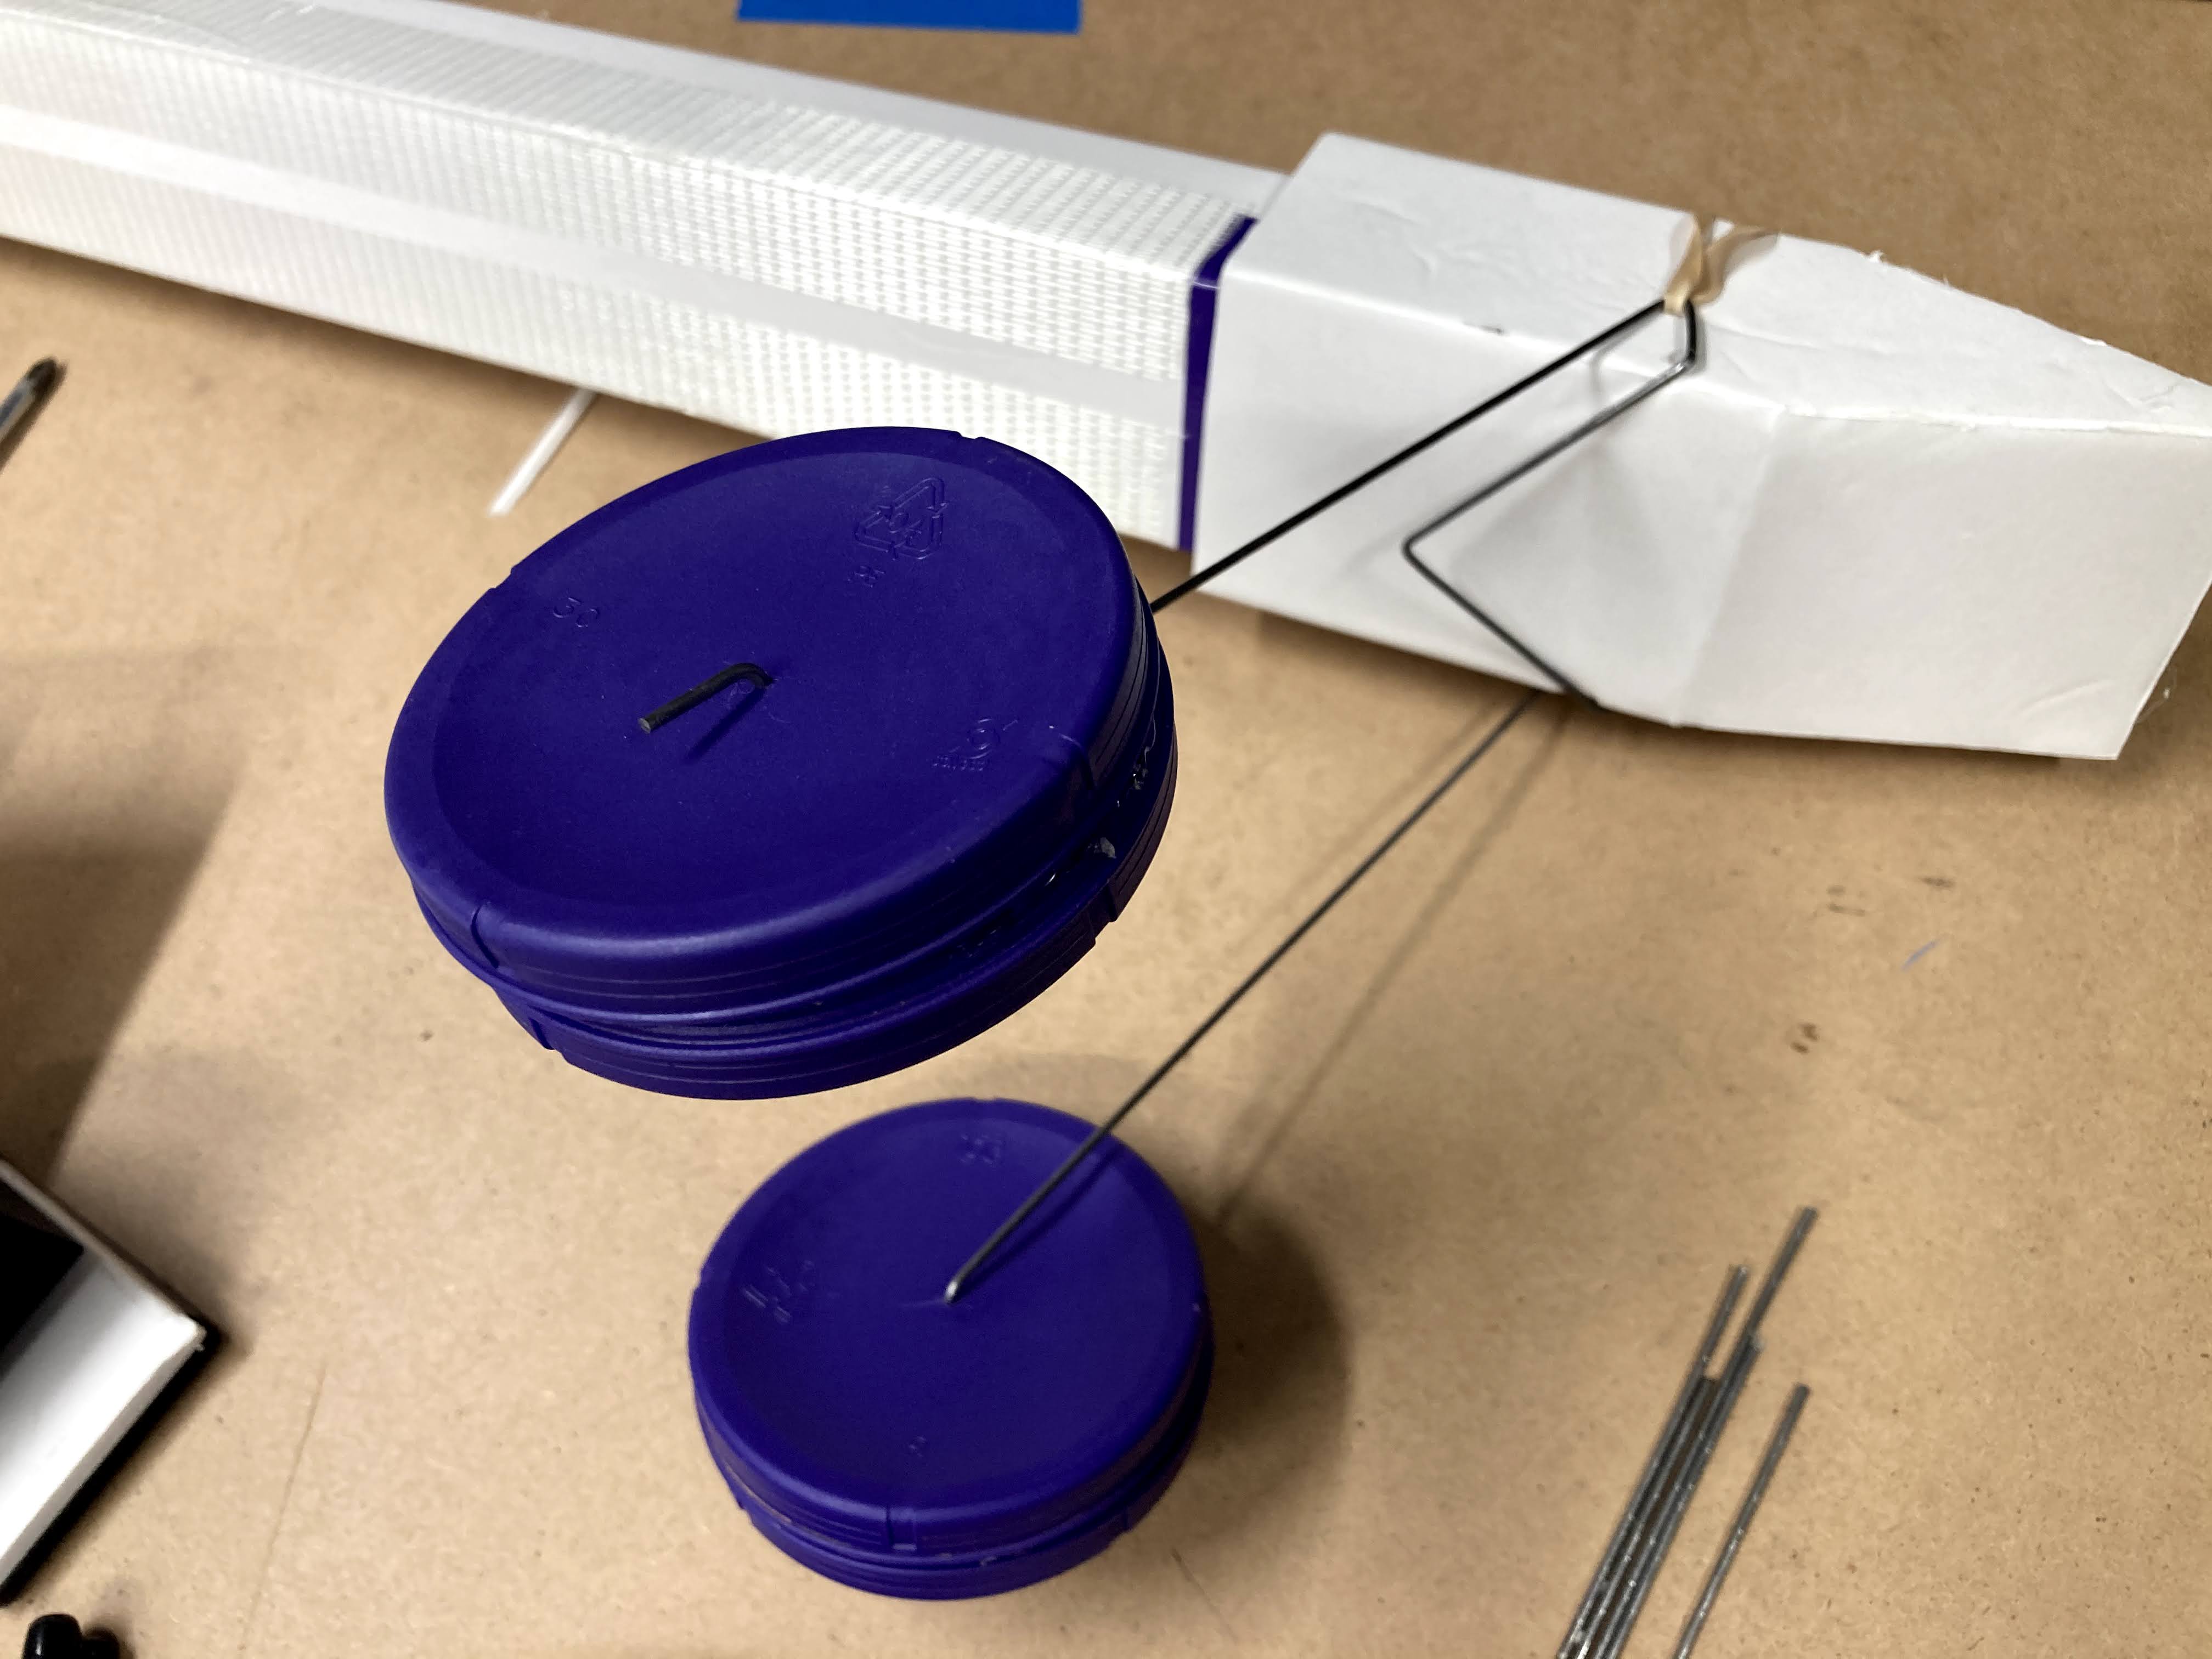
even with the huge wheels it didn’t quite keep the prop off the ground, but I was sure it would help.
Final Weights (everything but a battery):
- 607g with landing gear
- 555g no landing gear
- 587g with fpv (no landing gear)
Maiden Flight
First Landing
In the end I didn’t like the wheels. Thet looked silly in the air and make it even more sliugish. I didn’t love how it flew (and certainly didn’t love how it looked) but at least it flew. A good first plane that I feel like I designed.
Posted Monday 8 February 2021 Share