AXN Floater
My adventures with my AXN Floater plane continue. I never glued the wings in so that it’d be easier to transport but that means that they sometimes get a bit loose and it doesn’t fly as well as it could (understatement). I’ve read about putting velcro on either side but for now this elastic band is working pretty well. It hums when it’s soaring without the engine but it works.
Also I’ve been crashing a lot. An awful lot. This plane is tough but I’ve certainly pushed it past its limit. It broke here twice and I’ve been fixing it with gorilla glue. It breaks here because there is a carbon spar along that tail and this is where it ends. Next time I think I’m going to reinforce it with bamboo skewers or crabon rods if they ever arrive in time.
I’ve also started building up what I bring with me when I go flying. These tape rolls are a nice compact way to bring a lot of different types of tape with me.
workbench for foam plane building
I was excited to build some planes out of dollar store foam board. I’ve watched so many flite test videos and I knew I’d need more desk space. I also needed something I could put away easily to free up space to work on my bike. I came up with this closet door workbench.
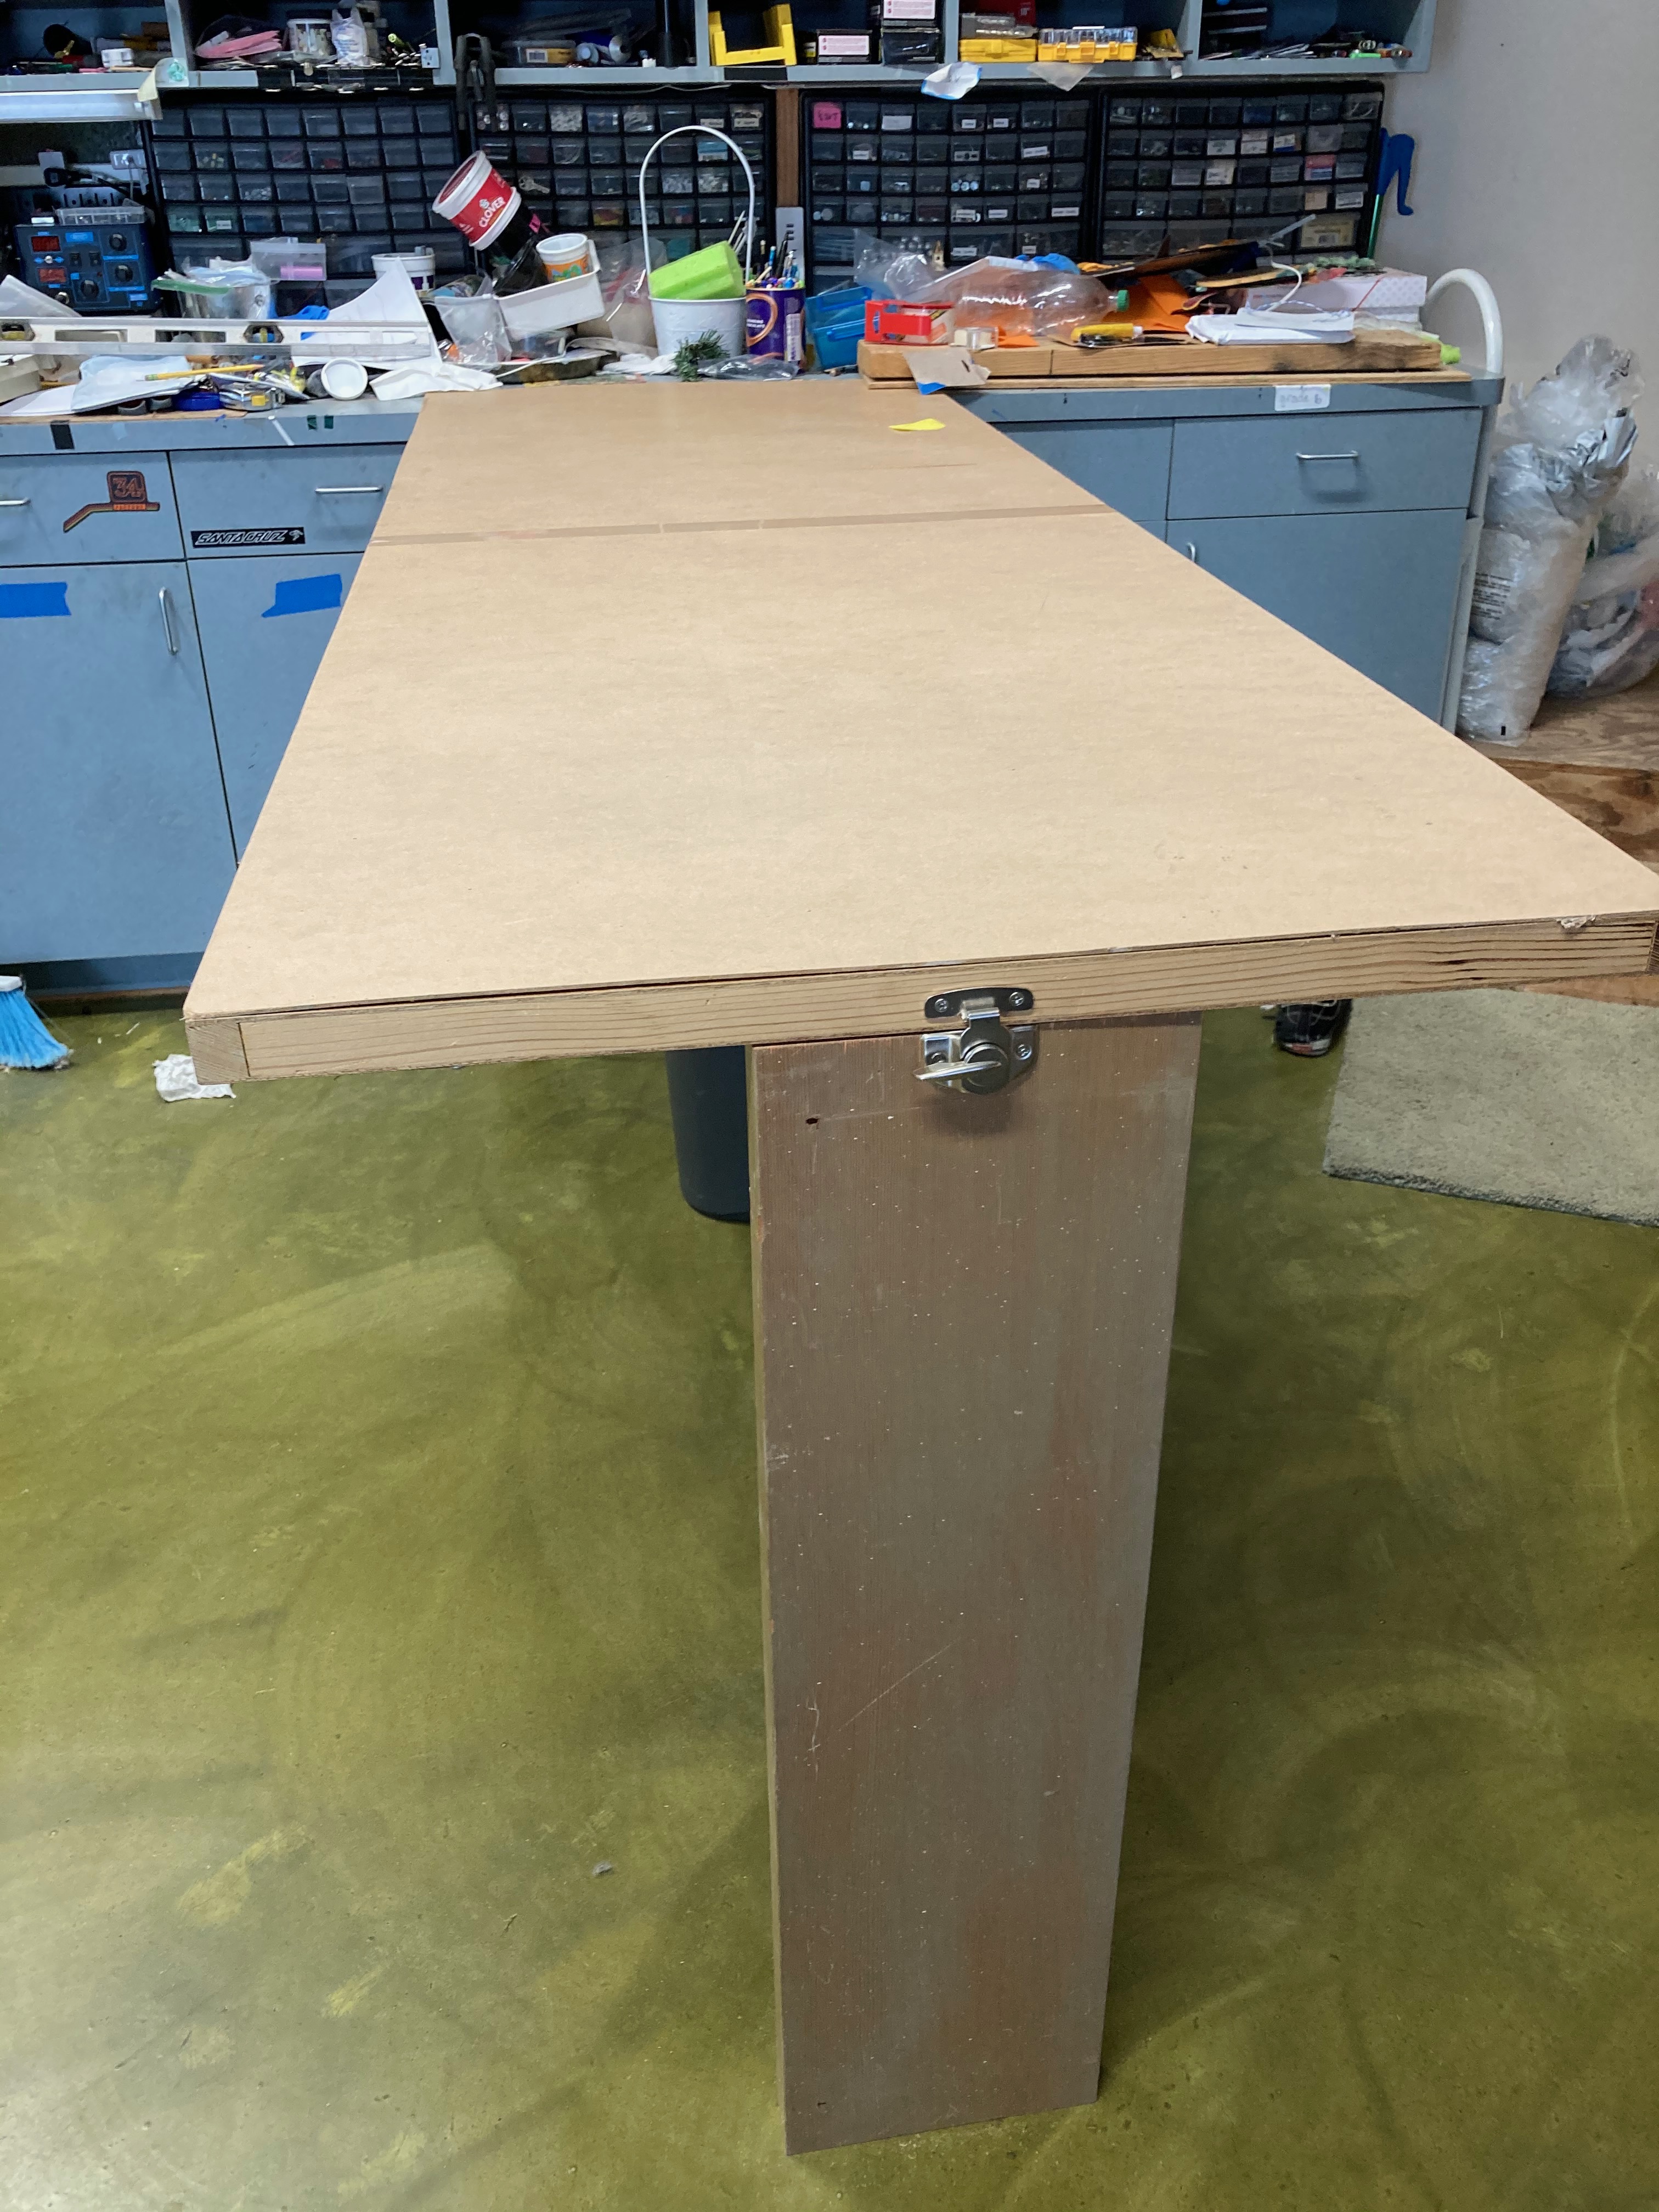
It’s made out of an old closet door so it’s very light (but not that strong). I screwed in some wood screws to the end and cut off the heads and drilled corresponding holes in the edge of that blue work bench. I put a hinged piece of wood on the end for a leg and held it in place with a window sash lock.
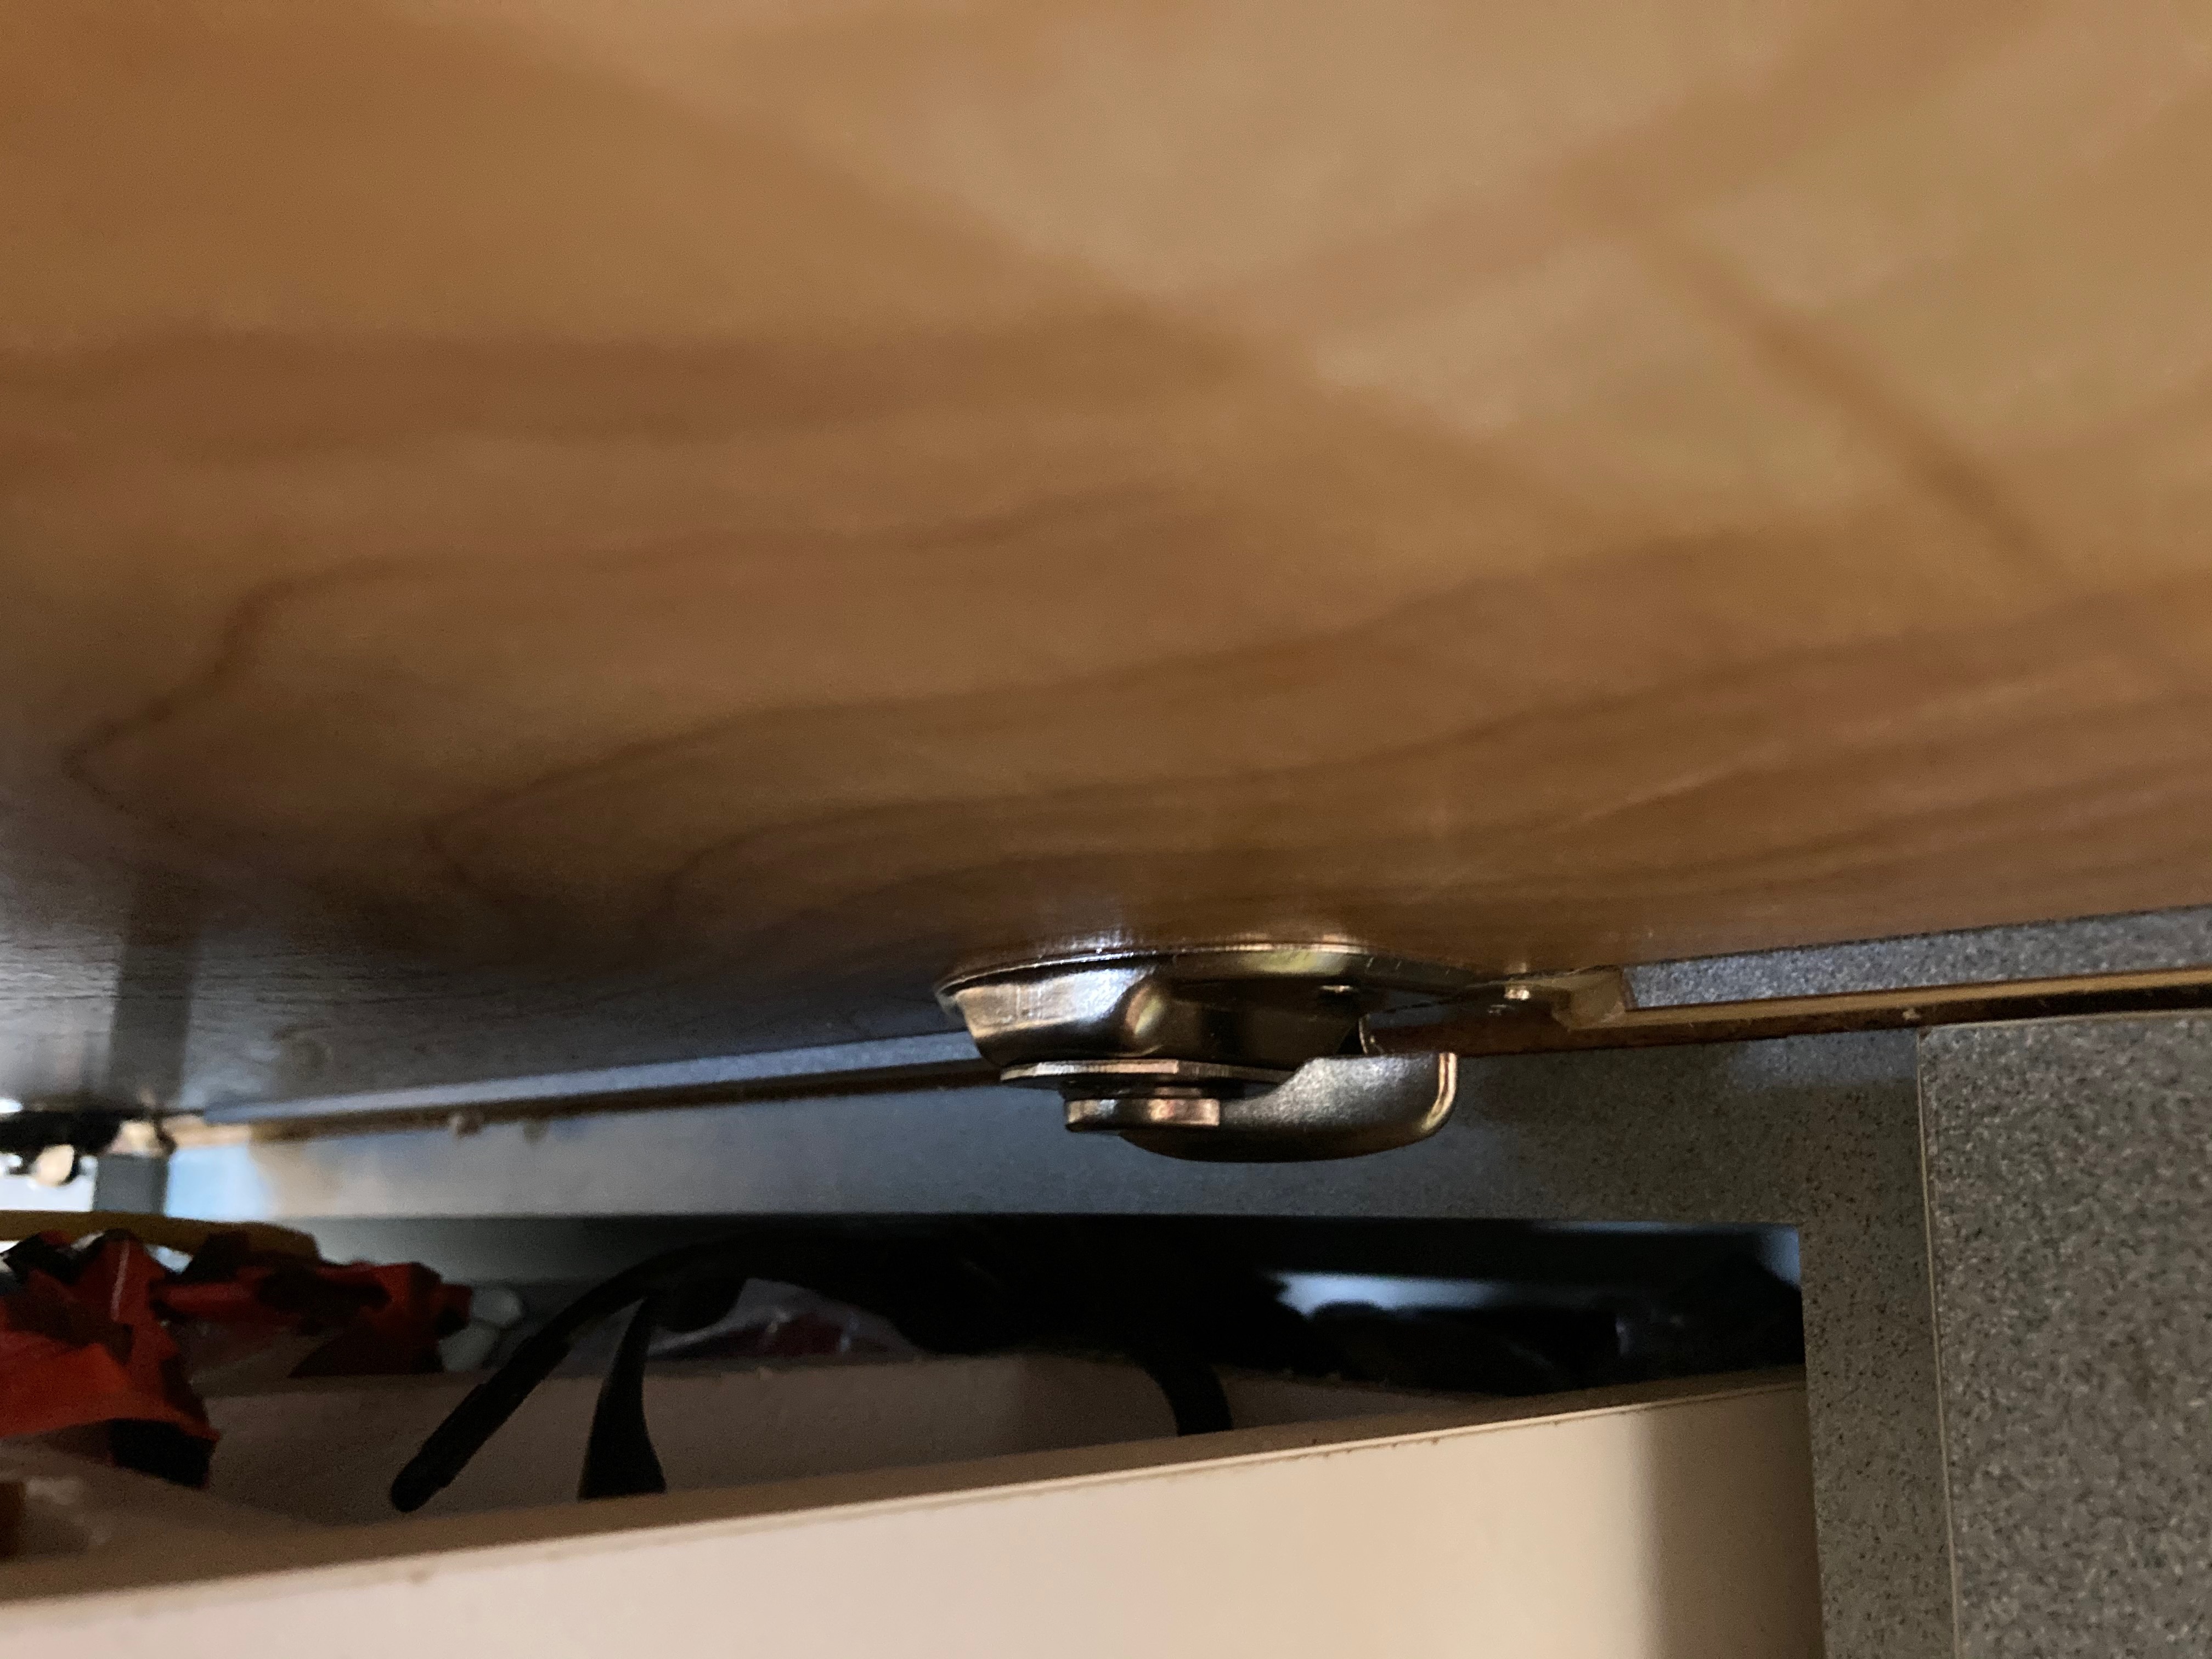
I also used the same sash locks to hold it to my workbench.

It’s pretty stable and gives me a nice large workspace. I mounted an outlet strip underneath for my glue gun and put some hardboard on the top to protect the surface. When I’m done stores neatly behind the garage door into the house.
Flysky transmitter upgrades
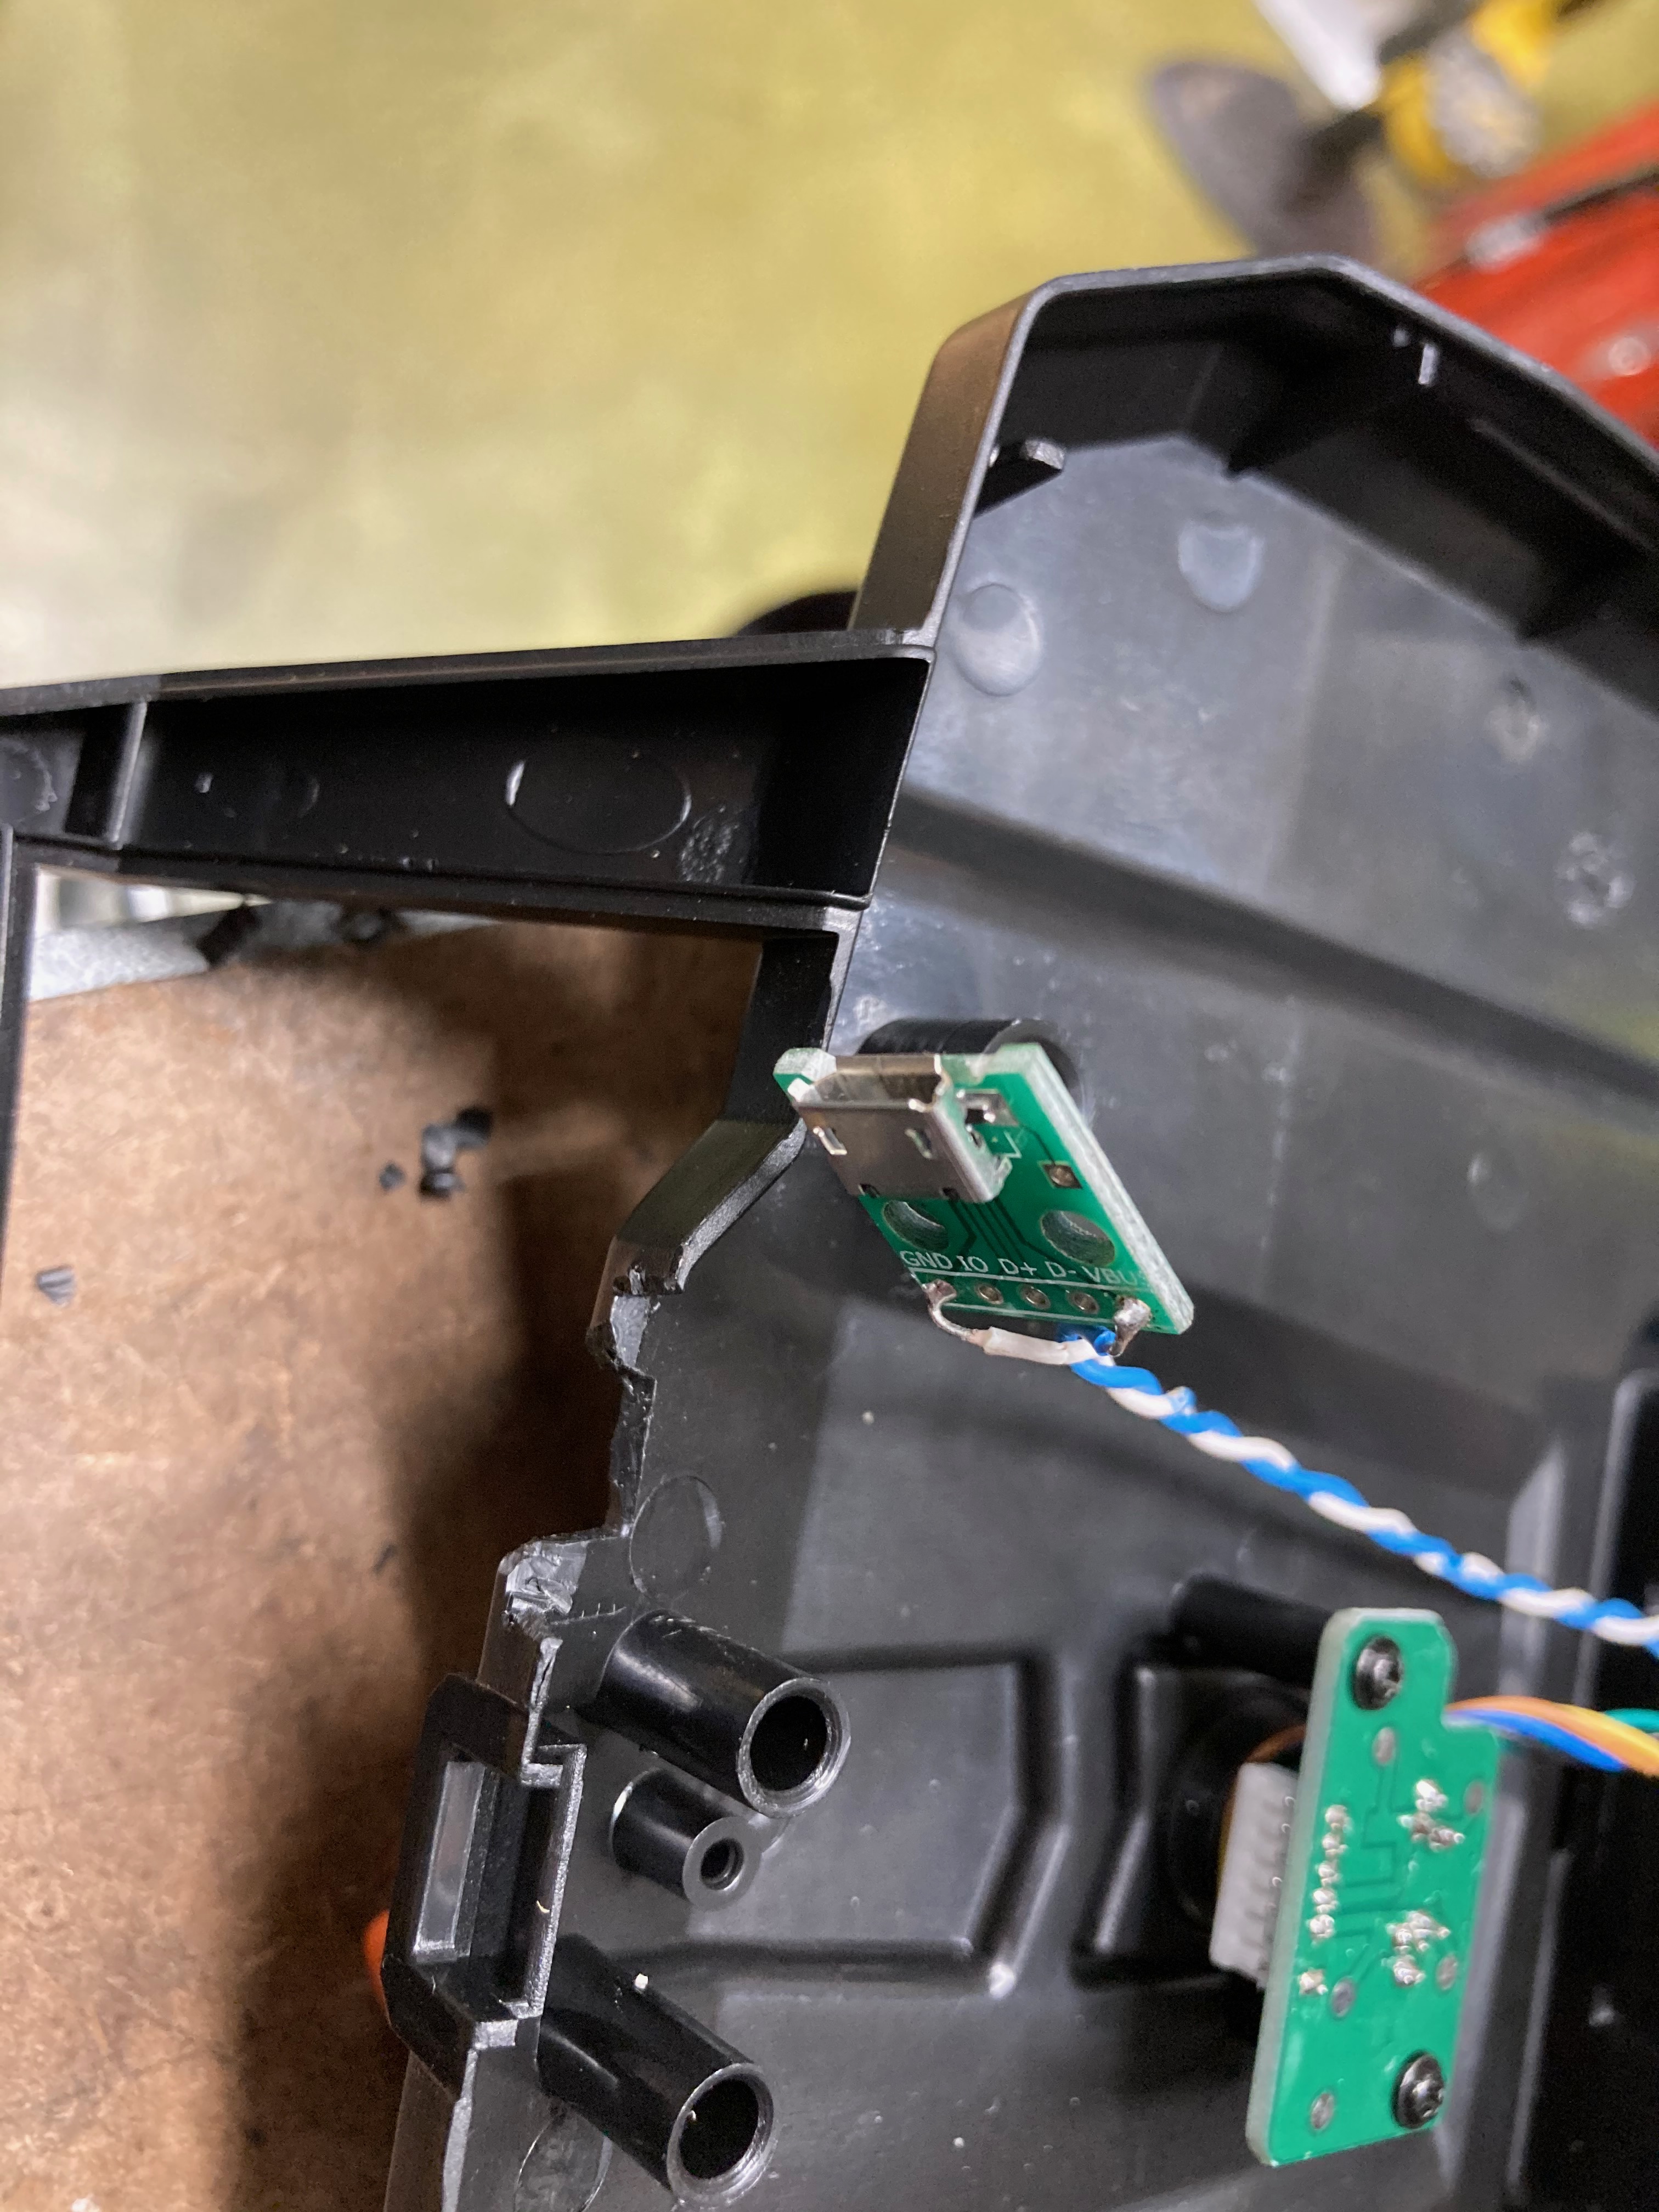
I’d seen a few posts where people had upgraded the power supply for their transmitter so I added this little USB port to the top. If I need to I can take the batteries out and power my transmitter with a usb power pack. It’s not ideal but it might come in useful. I’ve found I get pretty good battery life out of Eneloop AA batteries.
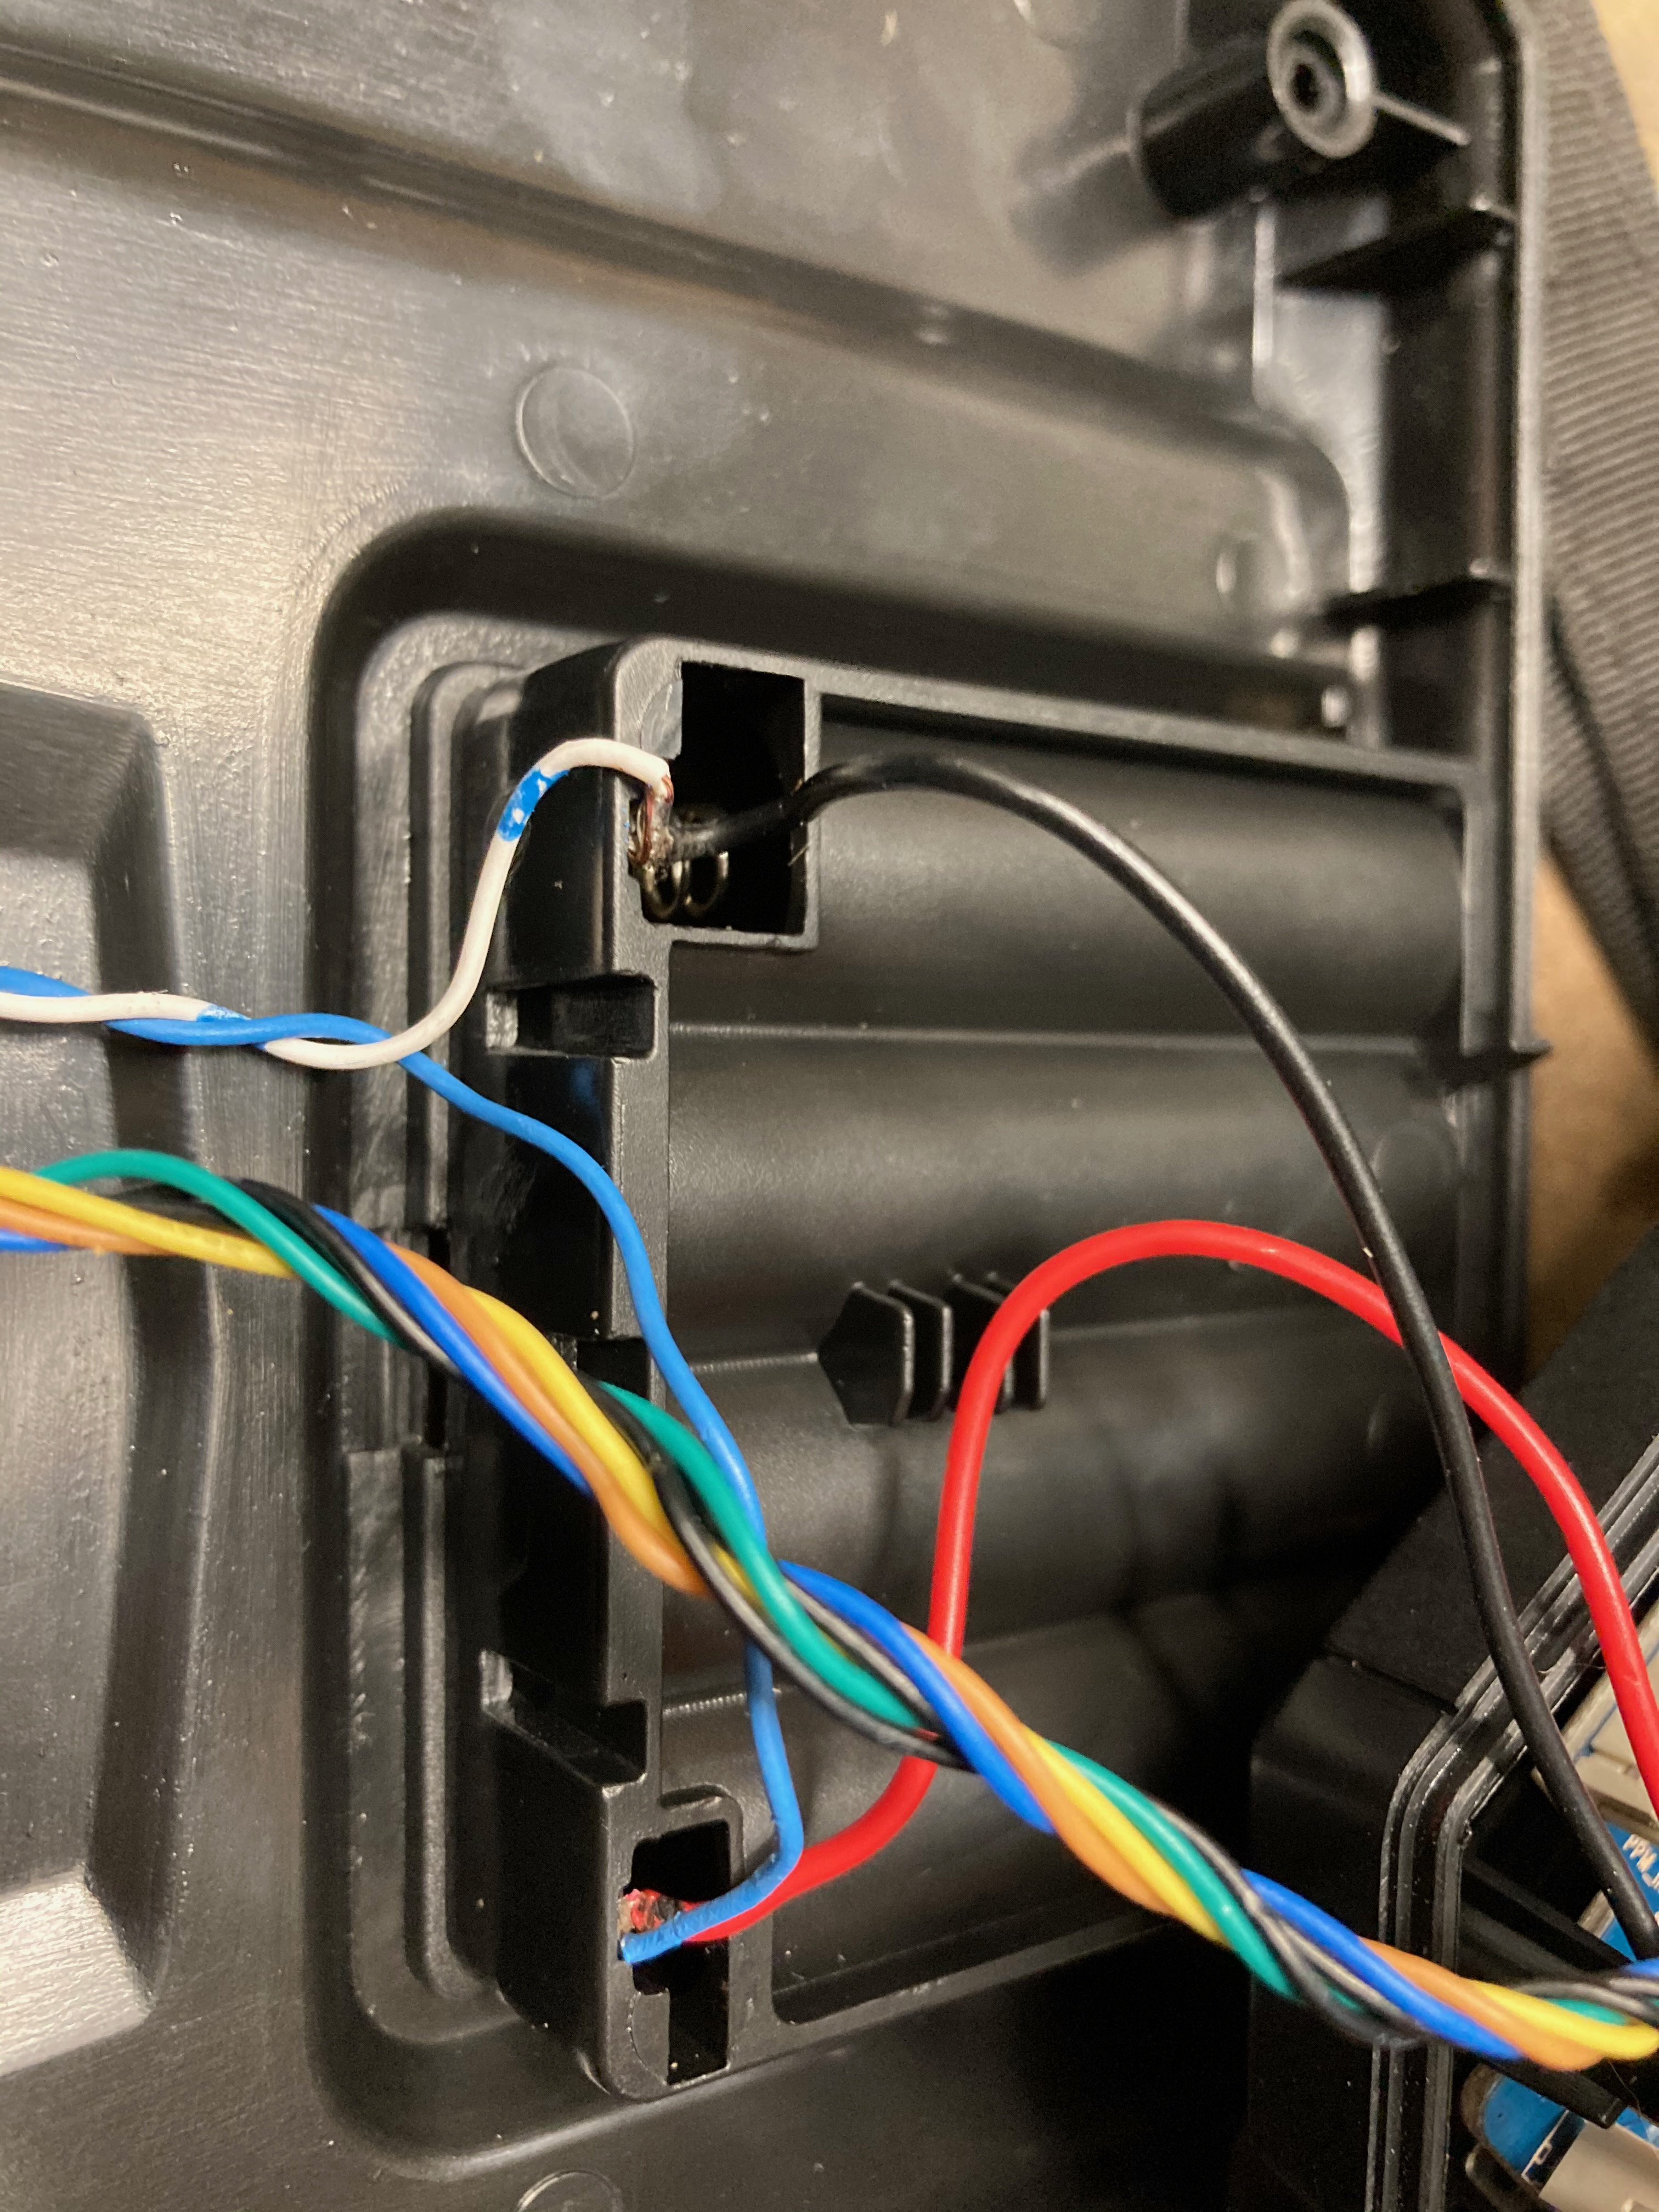
Here’s how that usb port is connected to the battery terminals.

I built my own buddy box cable out of an old s-video cable which was kind of annoying to try and use. It felt fragile and was annoying to be tied to someone else. I also thought about how easy it was to get rid of the cable and make my flight simulator work wirelessly so I experimented with using the same receiver as a buddy box and it worked great.
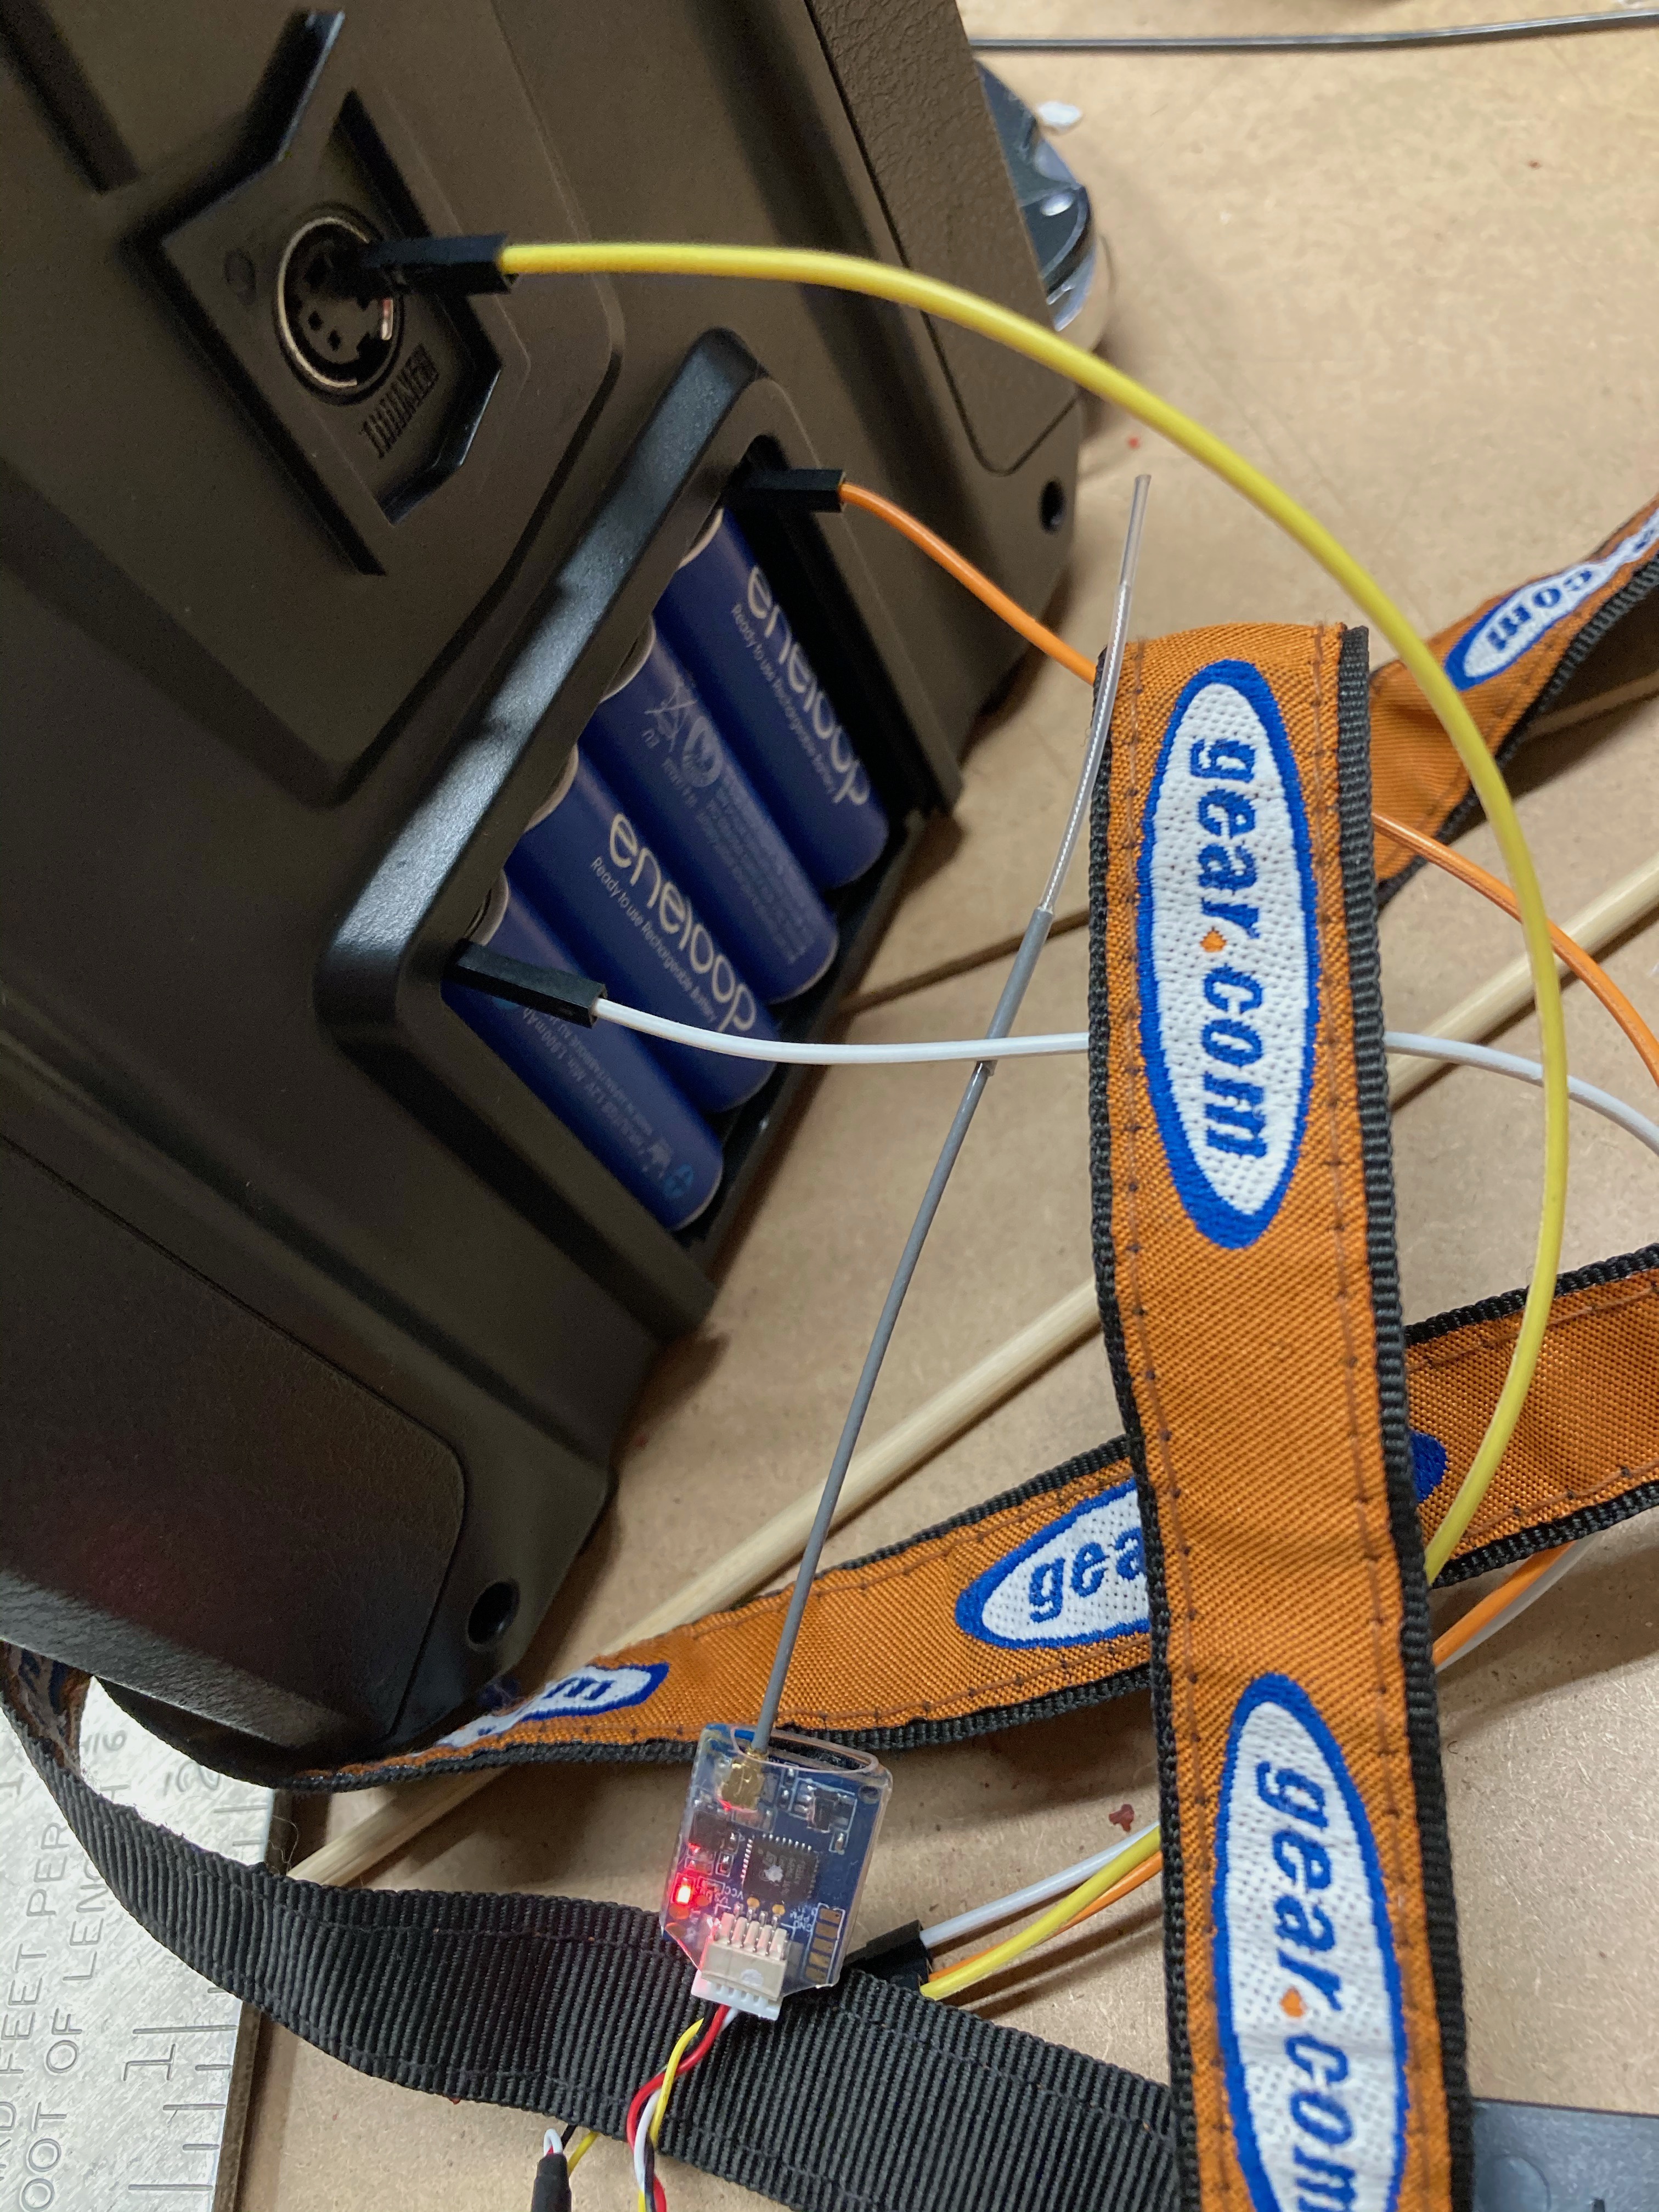
Here’s a picture of how I did the testing. I used a Flysky FS-A8S but you could also use a FS RX2A if you don’t mind soldering some wires.
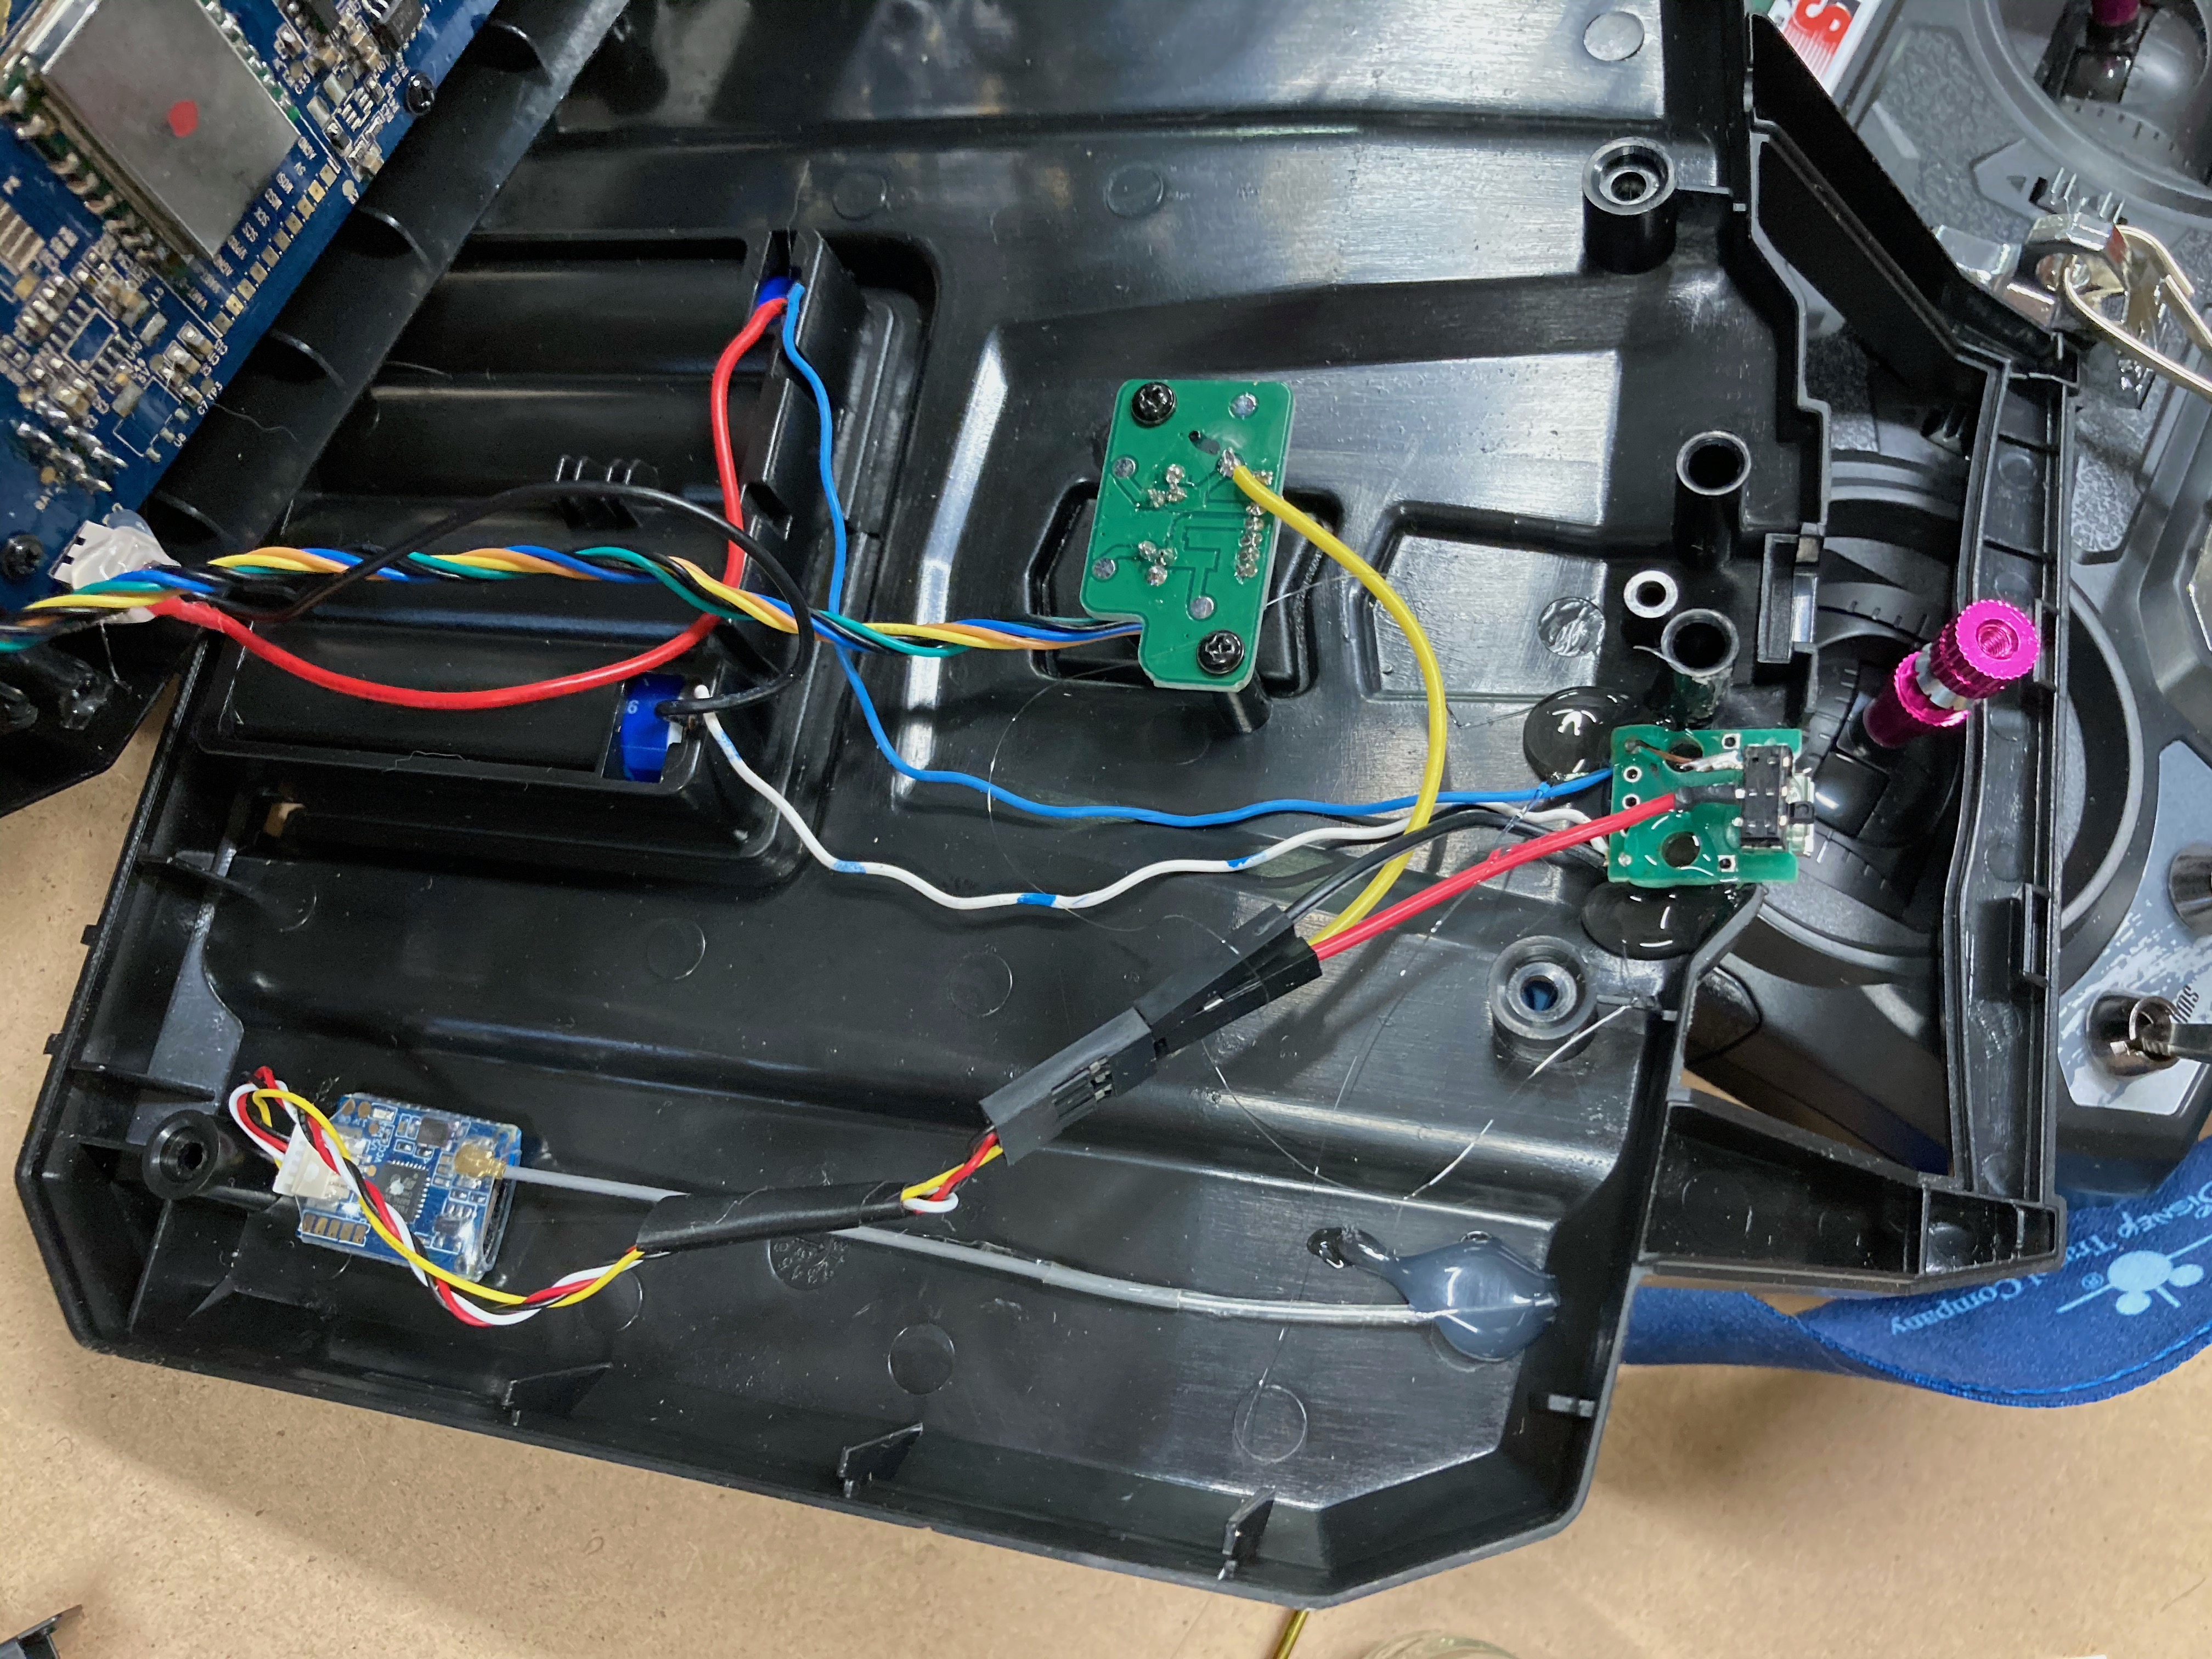
I then connected it all up with a switch and hot glued it into place inside the case. I really should drill a little viewing port so you can see if the receiver is on or not, but meh. There’s also no way to bind a new transmitter without opening the case. I guess I could drill a hole to get to the bind button but it’s something I’d do so rarely I don’t even care about it.
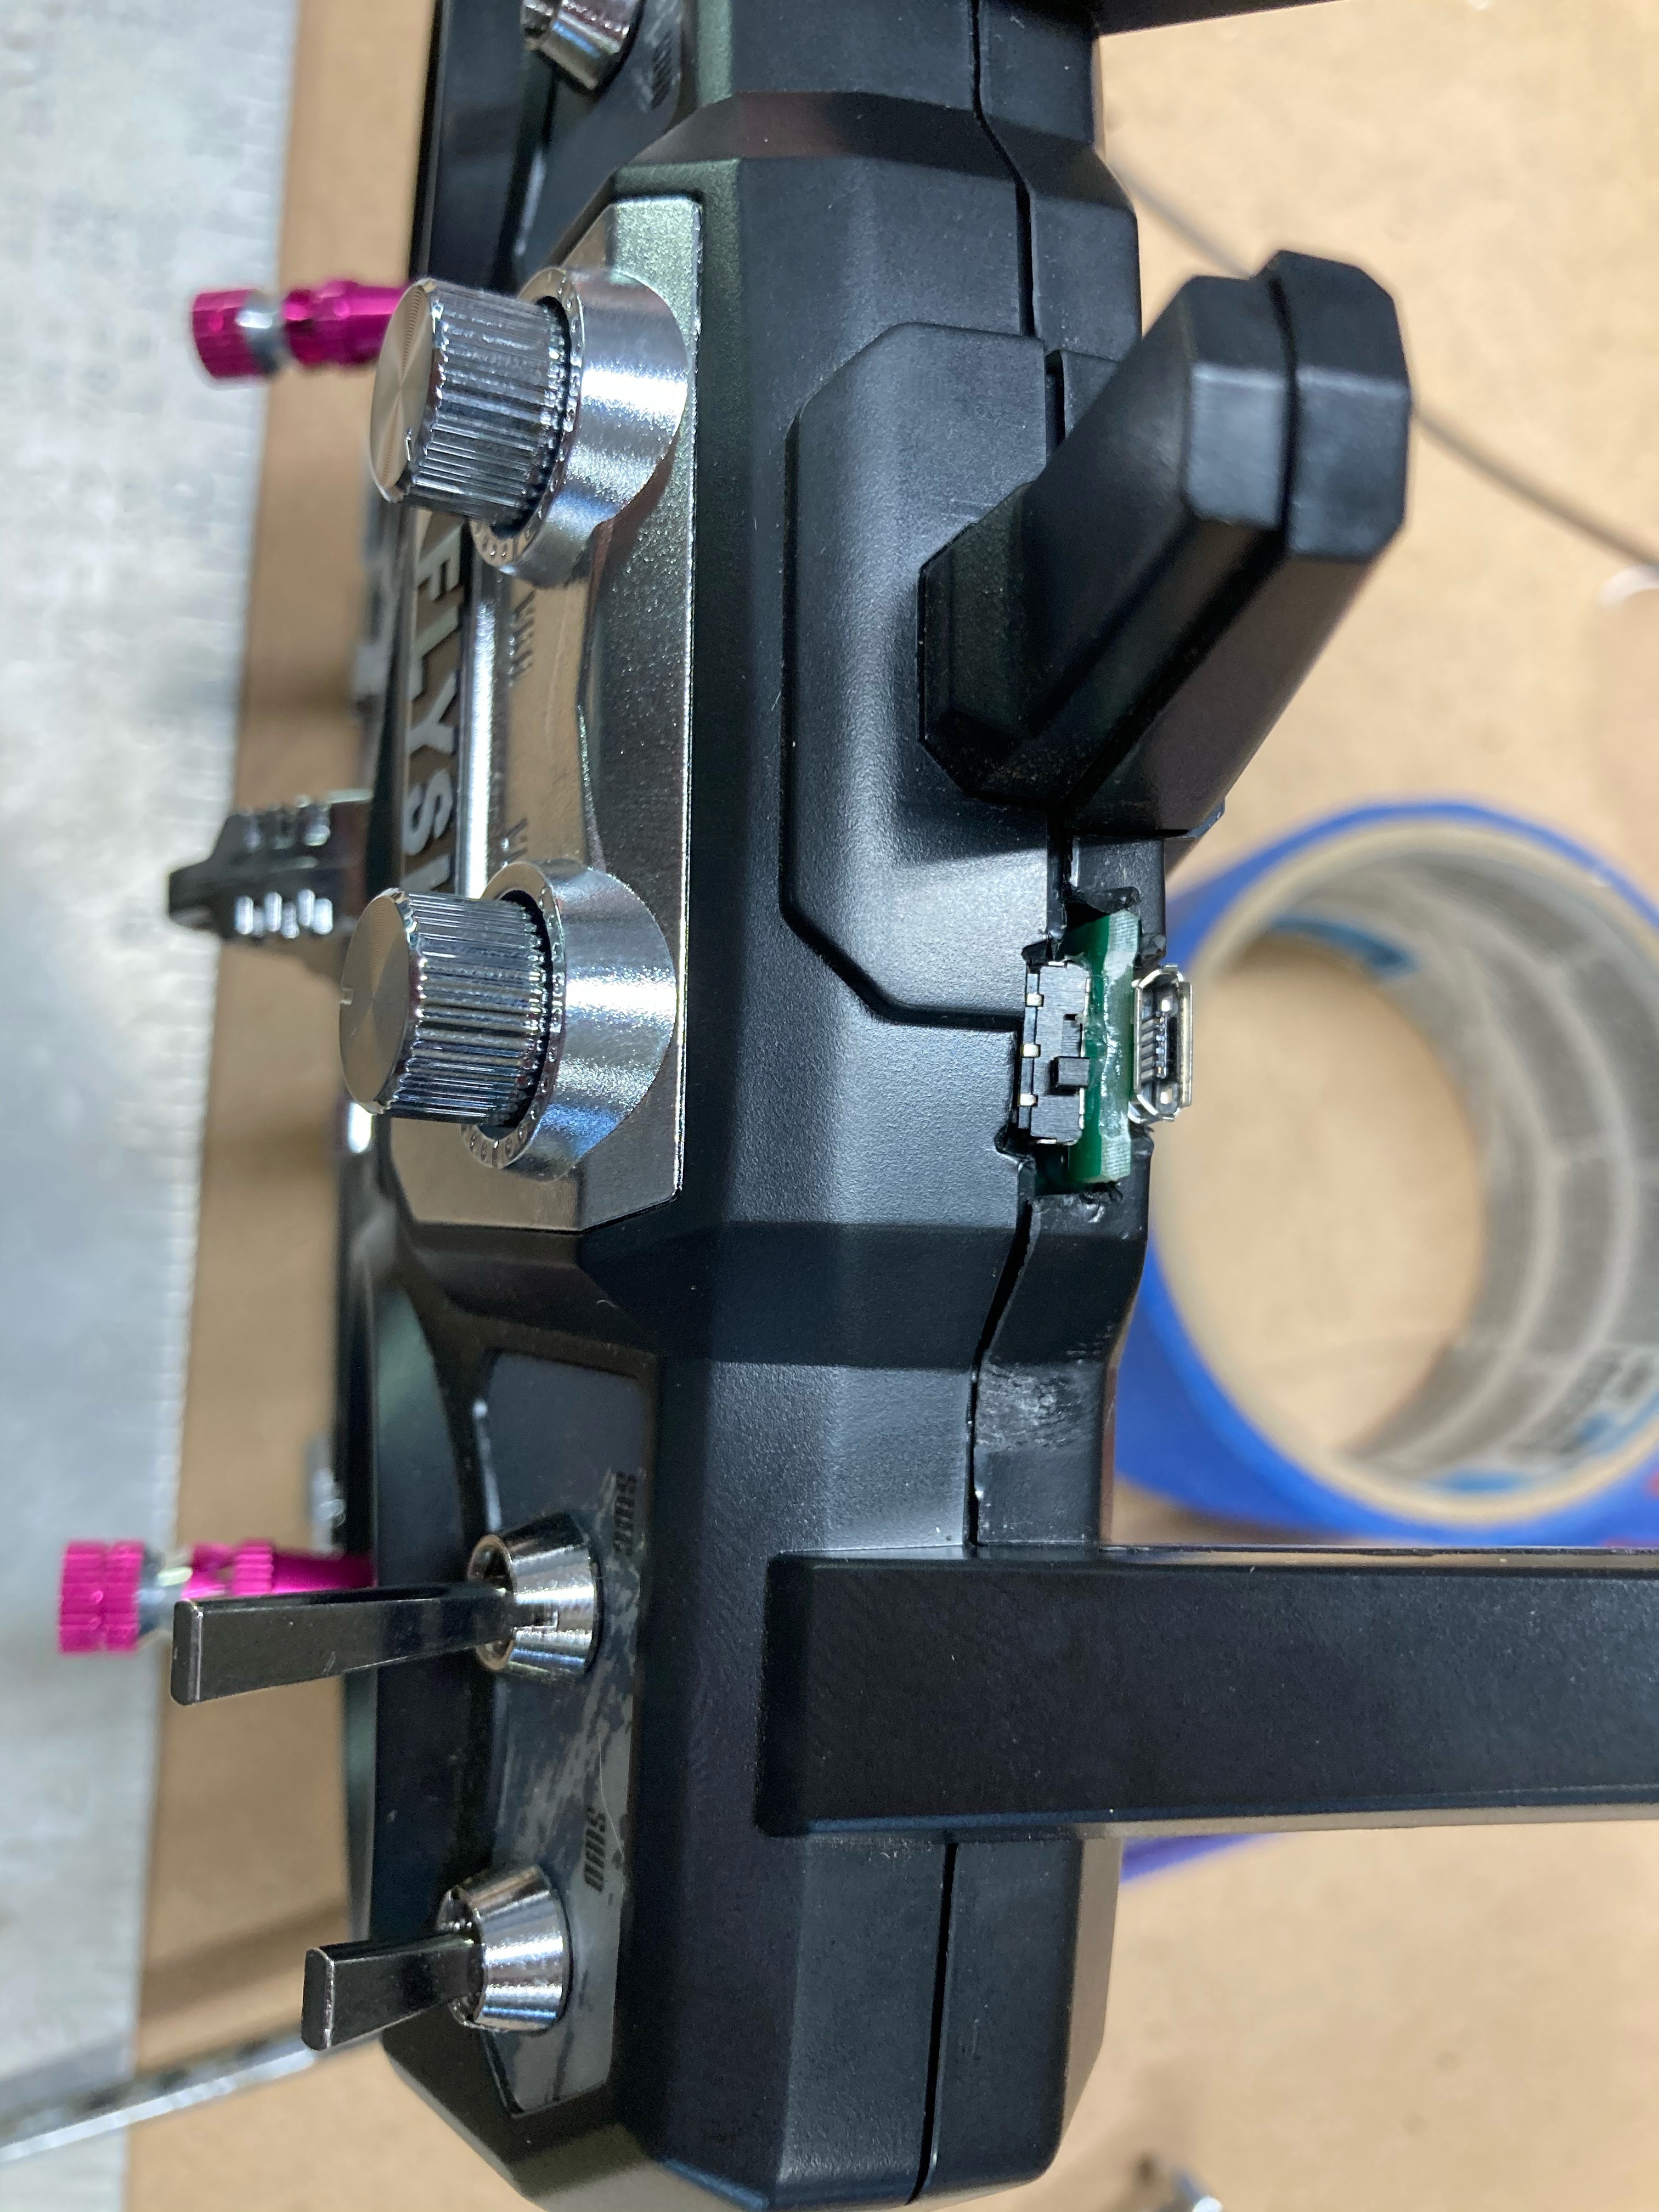
Both the USB port and switch look o.k. from the outside.
Flite Test Storch
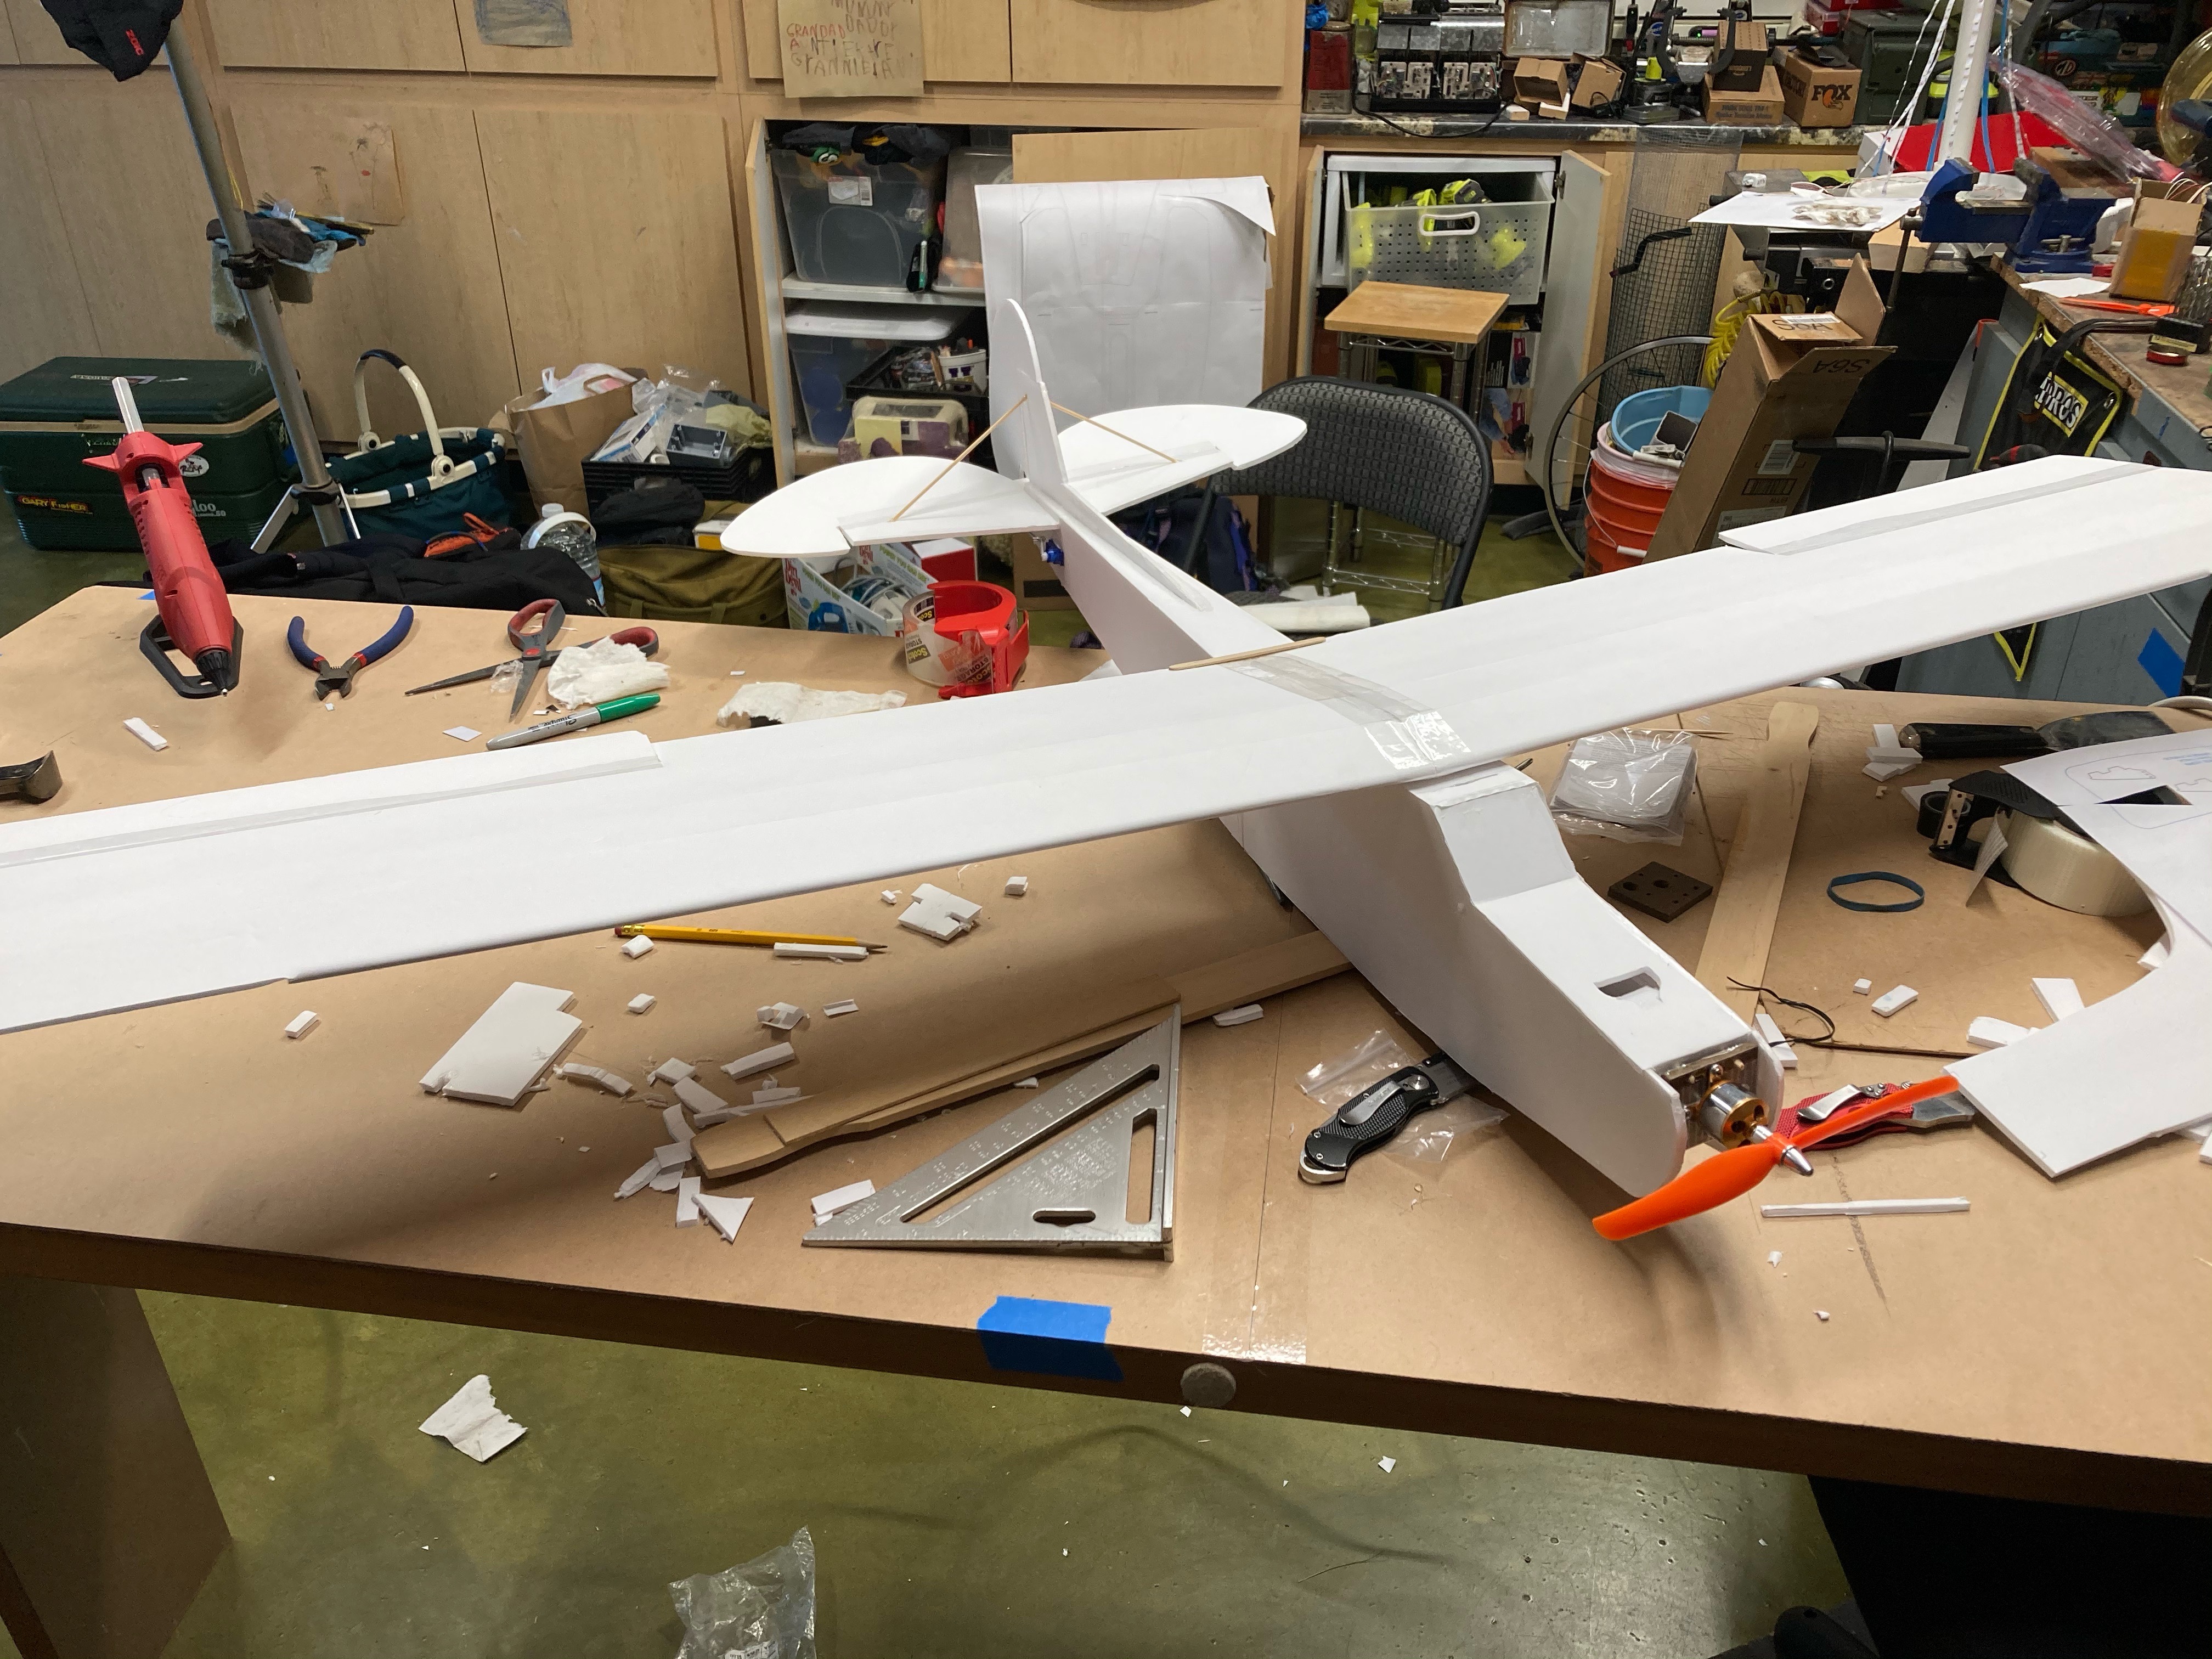
Here’s our almost finished Flite Test FT Storch, it was a good learning experience building it with my daughter. It certainly looks plane-y. The motor is the 1000KV 30A one from here which was $11.14 shipped when I got it. We’ve not yet flown it so I’ll report back when we have.