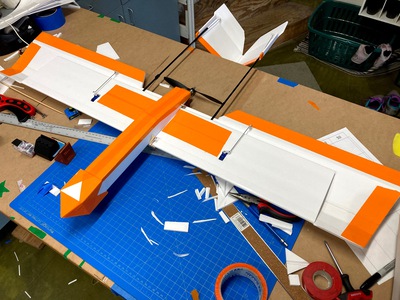
Before I was even finshed building the Purple Pusher I had plans on how to make it better. I had ordered a variety of carbon fiber tubes and they finally came in so I set about building this plane.
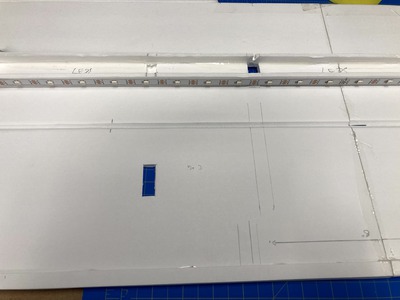
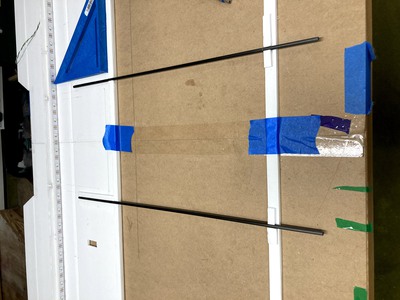
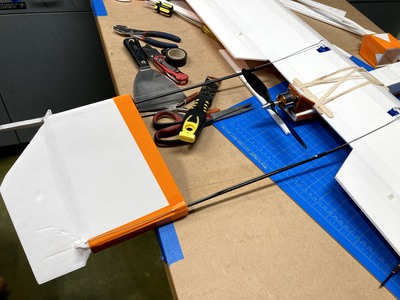
I built a standard hanger simple stick airfoil, it didn’t have to be quite as wide as the purple pusher. I also threw in some LEDs just in case I’d like to light them up in the future. The carbon rods weighed 9g each which is much less than the 41g for the tent poles I was using.
I tried really hard to make sure the booms were parallel.
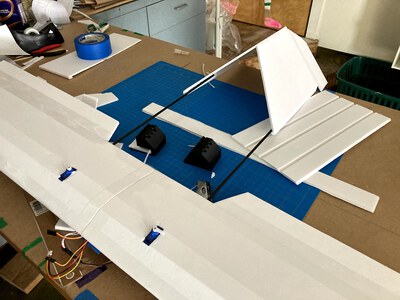
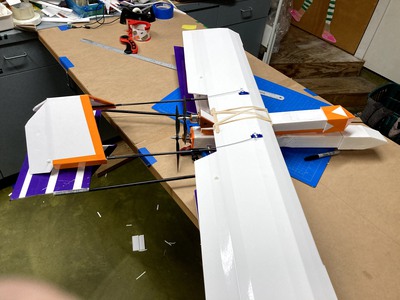
I thought the tail on the purple pusher was too heavy and thought about doing a v-tail and have it be held at the tips rather than the bottom of the V, then I thought I could just invert it and my radio would likely know what to do. I felt clever about thinking about that idea and then learned that lots of planes already do this. Turns out the flaps are called a ruddervator.
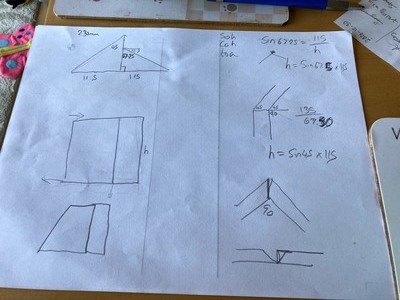
I also did some math to try and work out the size of the tail. I wanted to keep the vertical and horizontal surface area and the size of the rudder and ailerons the same as a simple stick.
This website about plane design and common dimensions was super helpful.
In the end the tail looked stupid being this big. so I ended up chopping off quite a lot and it was fine. I had tried to look up some recommended values.
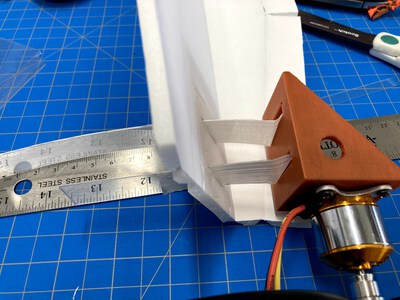
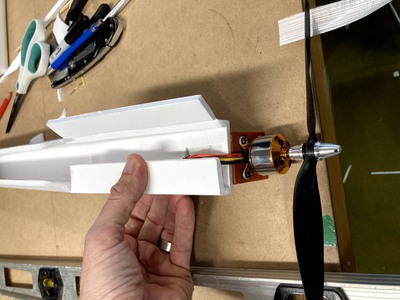
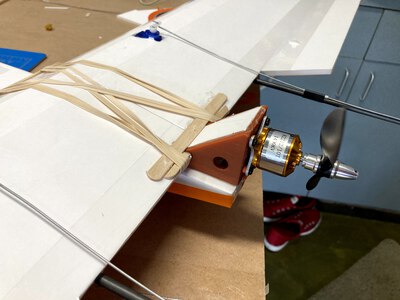
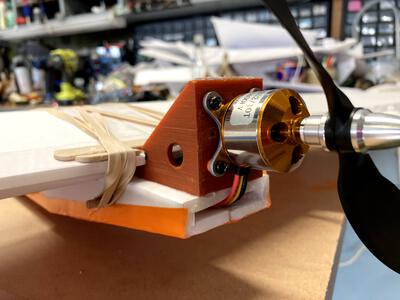
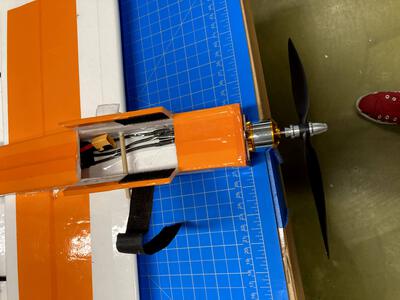
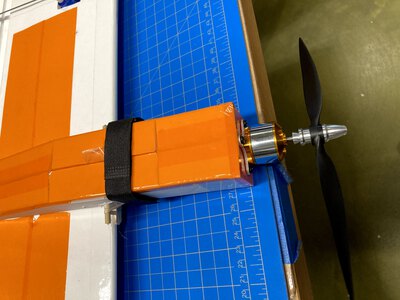
Part of my plan for a quieter plane was to mount the motor above the wing slightly. I also read that the axle of the motor should point through the center of gravity so I angled it down slightly. This aligned with what I had seen on my AXN fLoater first plane. I glued and then used reinforced packing tape to hold the motor firm to the fuselage.
Lots of bevel cuts led to a really tidy fuselage.
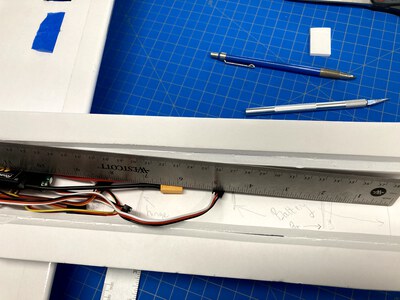
After working out where the battery should be I cut cut teh fuselage to length and add a battery compartment.
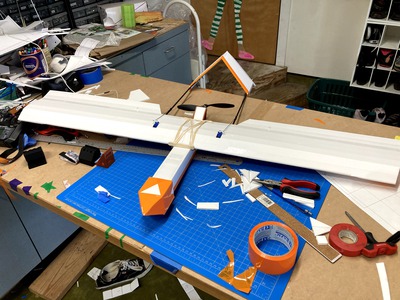
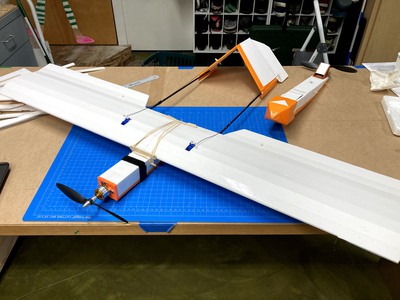
The finished boom boom! It’s called the boom boom because it’s orange and so is Basil Brush.
It’s extra orange underneath.
I put some foam on the front of the motor mount to help the air flow over it.
You can see the washers I used to shim up the motor so it pointed slightly down.
Compared the the Purple Pusher it’s quite a bit shorter. But still not as short as I’d like.
Maiden Flight
The maiden flight has to be one of the funniest fails I’ve ever done. good grief.
Here’s what I had done WRONG:
- I moved my motor higher and angled it down a little so it still pushed through the CG which I’d read about. This just pushed the nose down when I throttled. This is the real reason for the crash. Once I had it pointed level it flew better.
- I had the tail control rods set up so that they pushed to pull up, which is awful, since they can flex, this made the pull up the spongiest direction.
- I had the ailerons flat with the TOP of the wing rather than with the flat bottom and I feel this might have also caused some downward pressure too.
Considering how bad that crash was, the damage was pretty minimal, even with that huge long nose.
The second maiden flight went much better!
After the maiden flight I found I had trouble pulling up. I traced this down to my elevator being controlled from a control rod underneath. so when trying to climb the thin wire was pushing the elevator up. I moved the wire to the top of the boom so now it would need to pull to make the elevator go up and it was much better after that.
It flew o.k. as a pusher, but I still didn’t like the long nose. Because the fuselage was so easy to change I made a new one to have the plane be a tractor with the motor at the front.
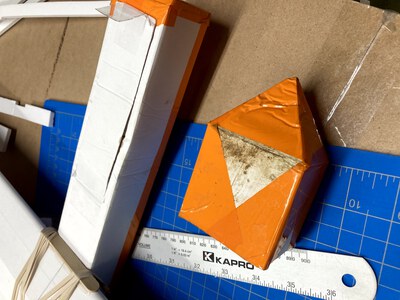
I made these bomb bay doors for the battery access.
A velcro strap around the fuselage held everything in. It worked well!
Final wight without battery is 455g.
I really liked having both servos in the wing and feel like I could put the receiver up there too and then switching the fuselage would be even easier, a short servo extension wire could be used to connect to the speed controller.
Posted Monday 1 March 2021 Share
