This is a followup post to my ESP8266 tinkering, internet button, mailbox alert post.
FInally my ESP-06 with external antenna arrived and it was time to replace the janky wire up the hill to my ESP-01 in my mailbox alerter. V1 had been working great. The UPS battery ran out sooner than expected because the 12v-3.3v DC-DC board was using a lot of power I guess.
I’m glad I’d had the foresight to order a breakout board because the pins the ESP-06 module were too close for breadboard. Then the breakout board was too wide for my breadboard. I could connect stuff underneath it, or use jumpers to move the connections from underneath the board, but I feel clever that I just stuck a smaller breadboard to the top of my breadboard and used that.

I got it working and decided to go super simple and small and just solder the wires I needed to the raw board and to a 18650 battery holder. It was going to be so tidy. But then I realized I needed to flash the board and trying to get that working was proving to be difficult.
So I figure I’ll solder it to the breakout board but only the pins I need, program it, get it working and then unsolder it and wire it up nice and small. This’d make it really hard to upgrade it in future but it’d be small and I thought that was important.
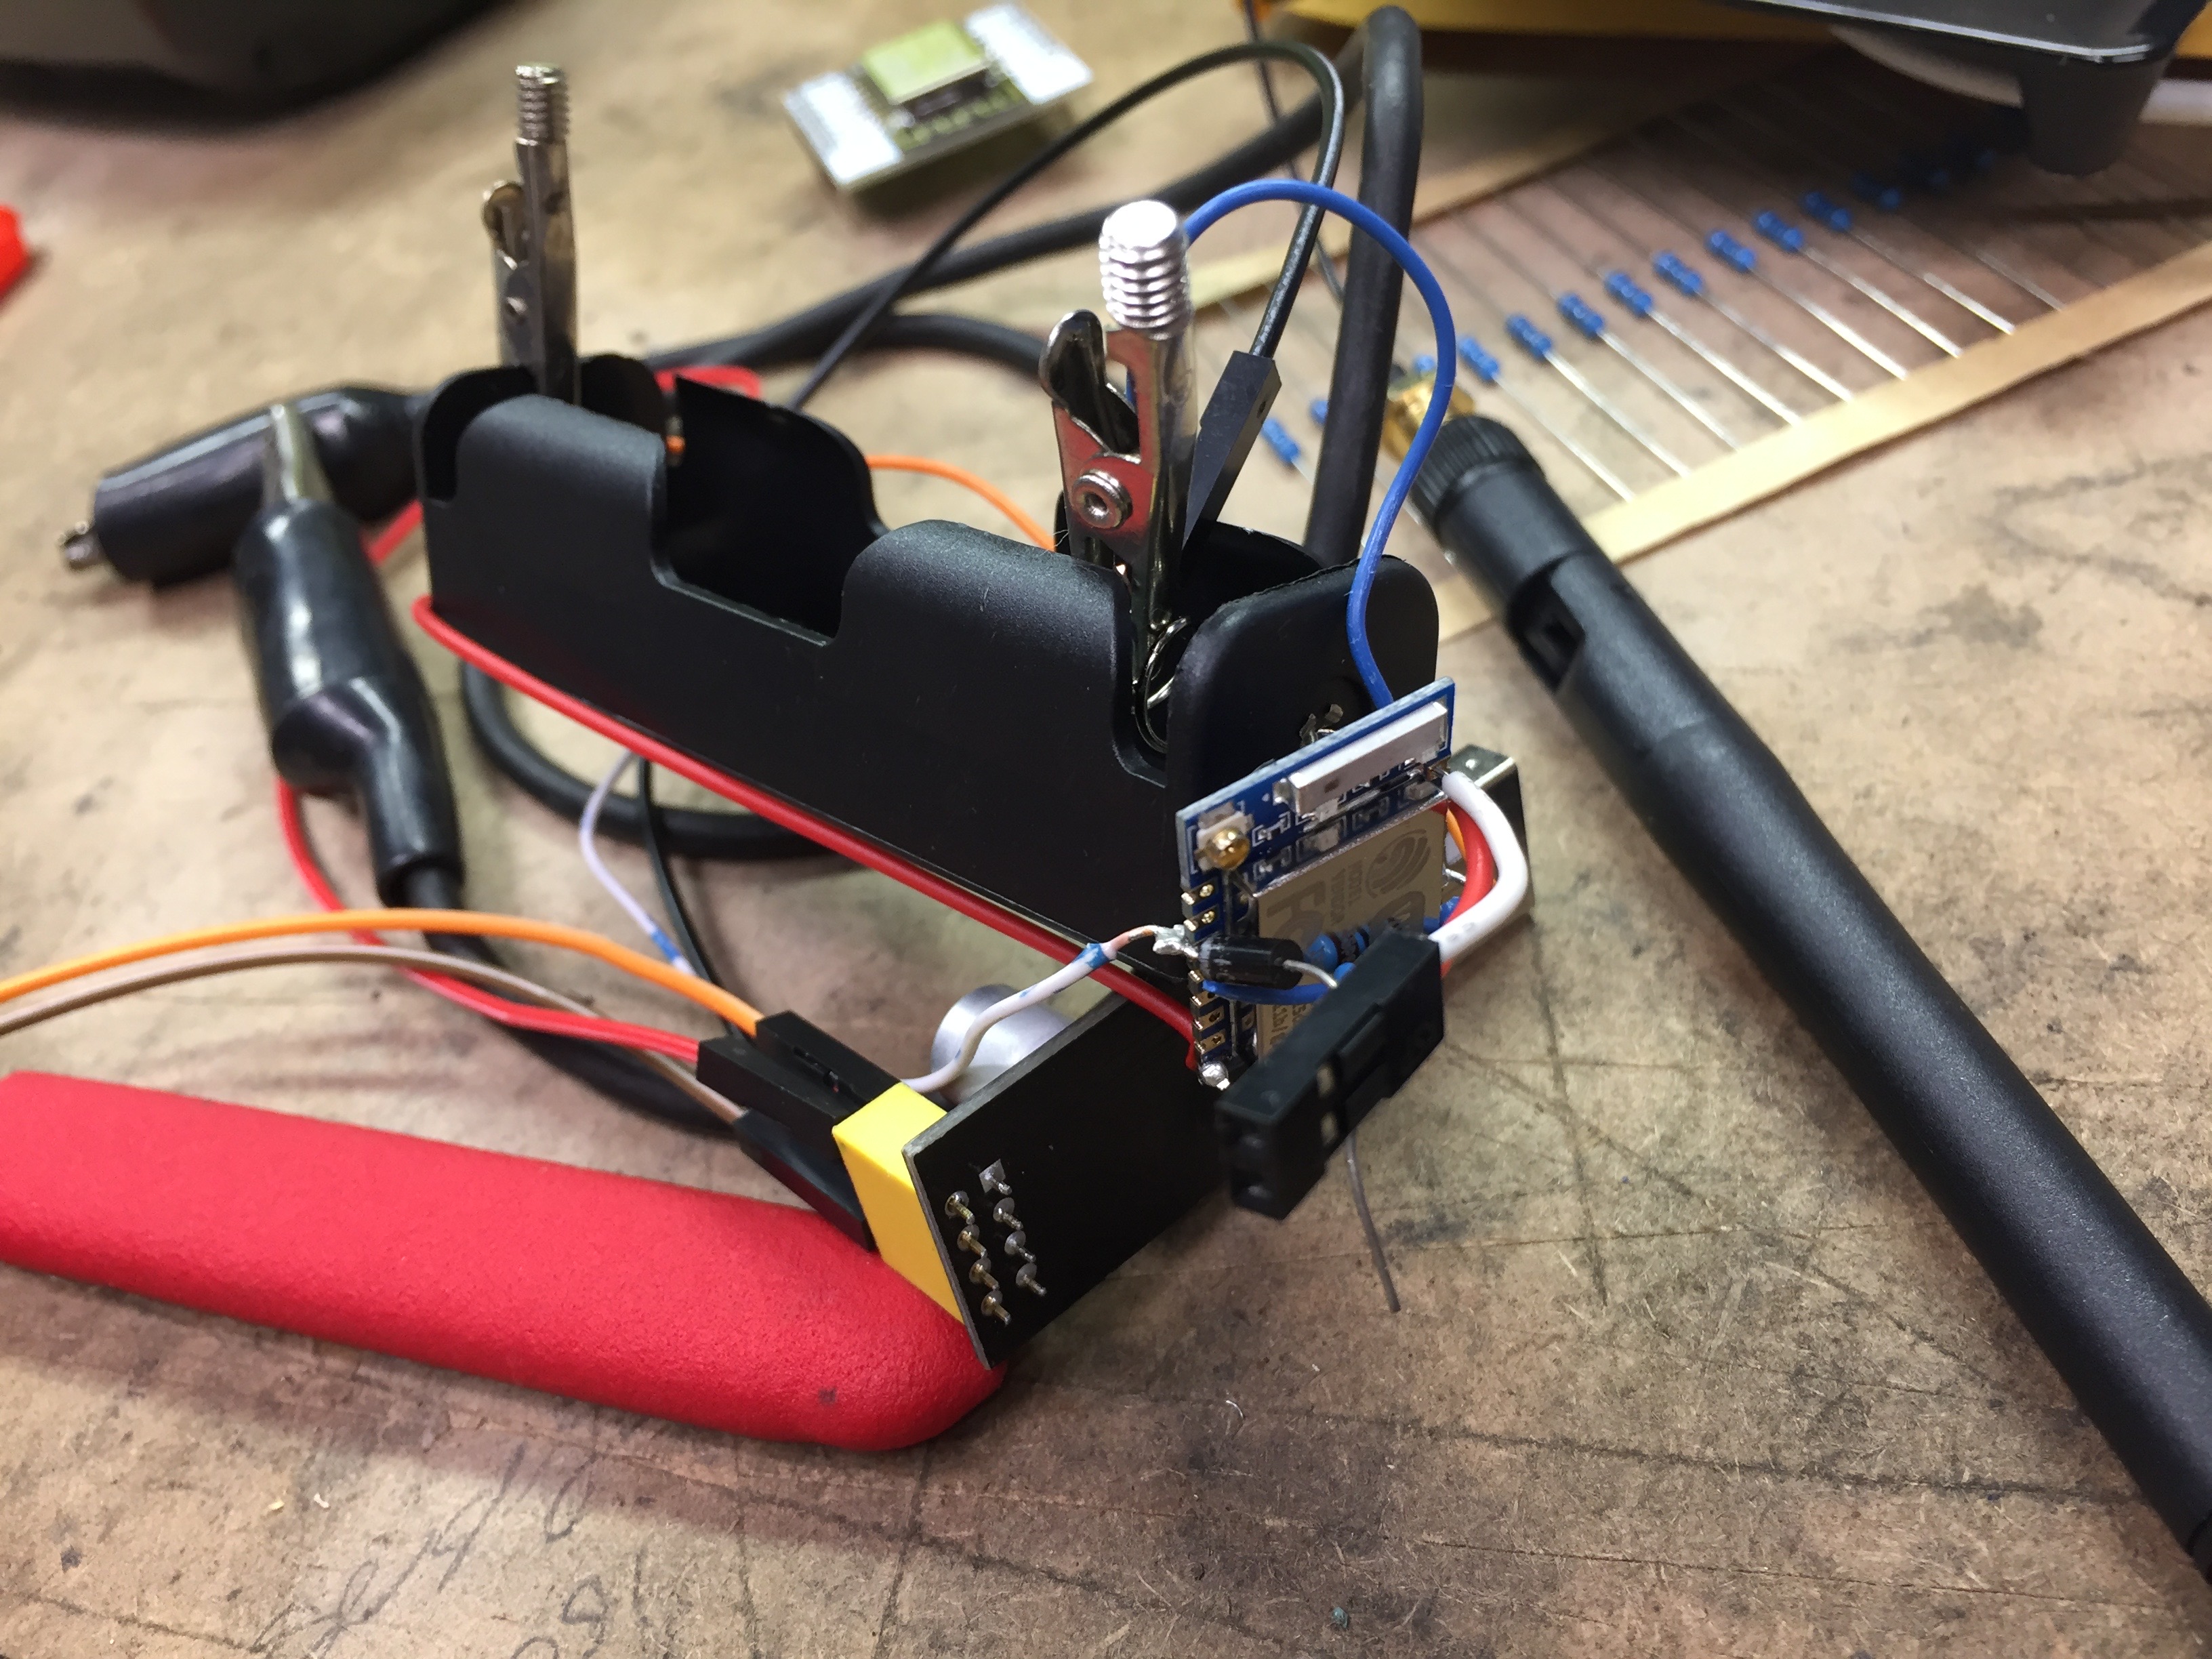
This is where the problems happened. I tried to recreate the setup I had with a momentary on to power up the board (like from the reed switch in the mailbox) and it just did not work. It powered up as soon as I provided power and wouldn’t shut down. I did lots of research and found a forum discussing the ESP12 breakout board and those three tiny SMD components were pull up and pull down resistors. One of them was pulling up the CH_EN pin which I was trying to use to enable the board. So I removed both the resistors and it wouldn’t start up at all. Turns out the other resistor was pulling down GPIO15/CS which I needed to do. Of course in the thread it mislabeled it as GPIO2 which added to the confusion. Finally I got it working, it was very frustrating.
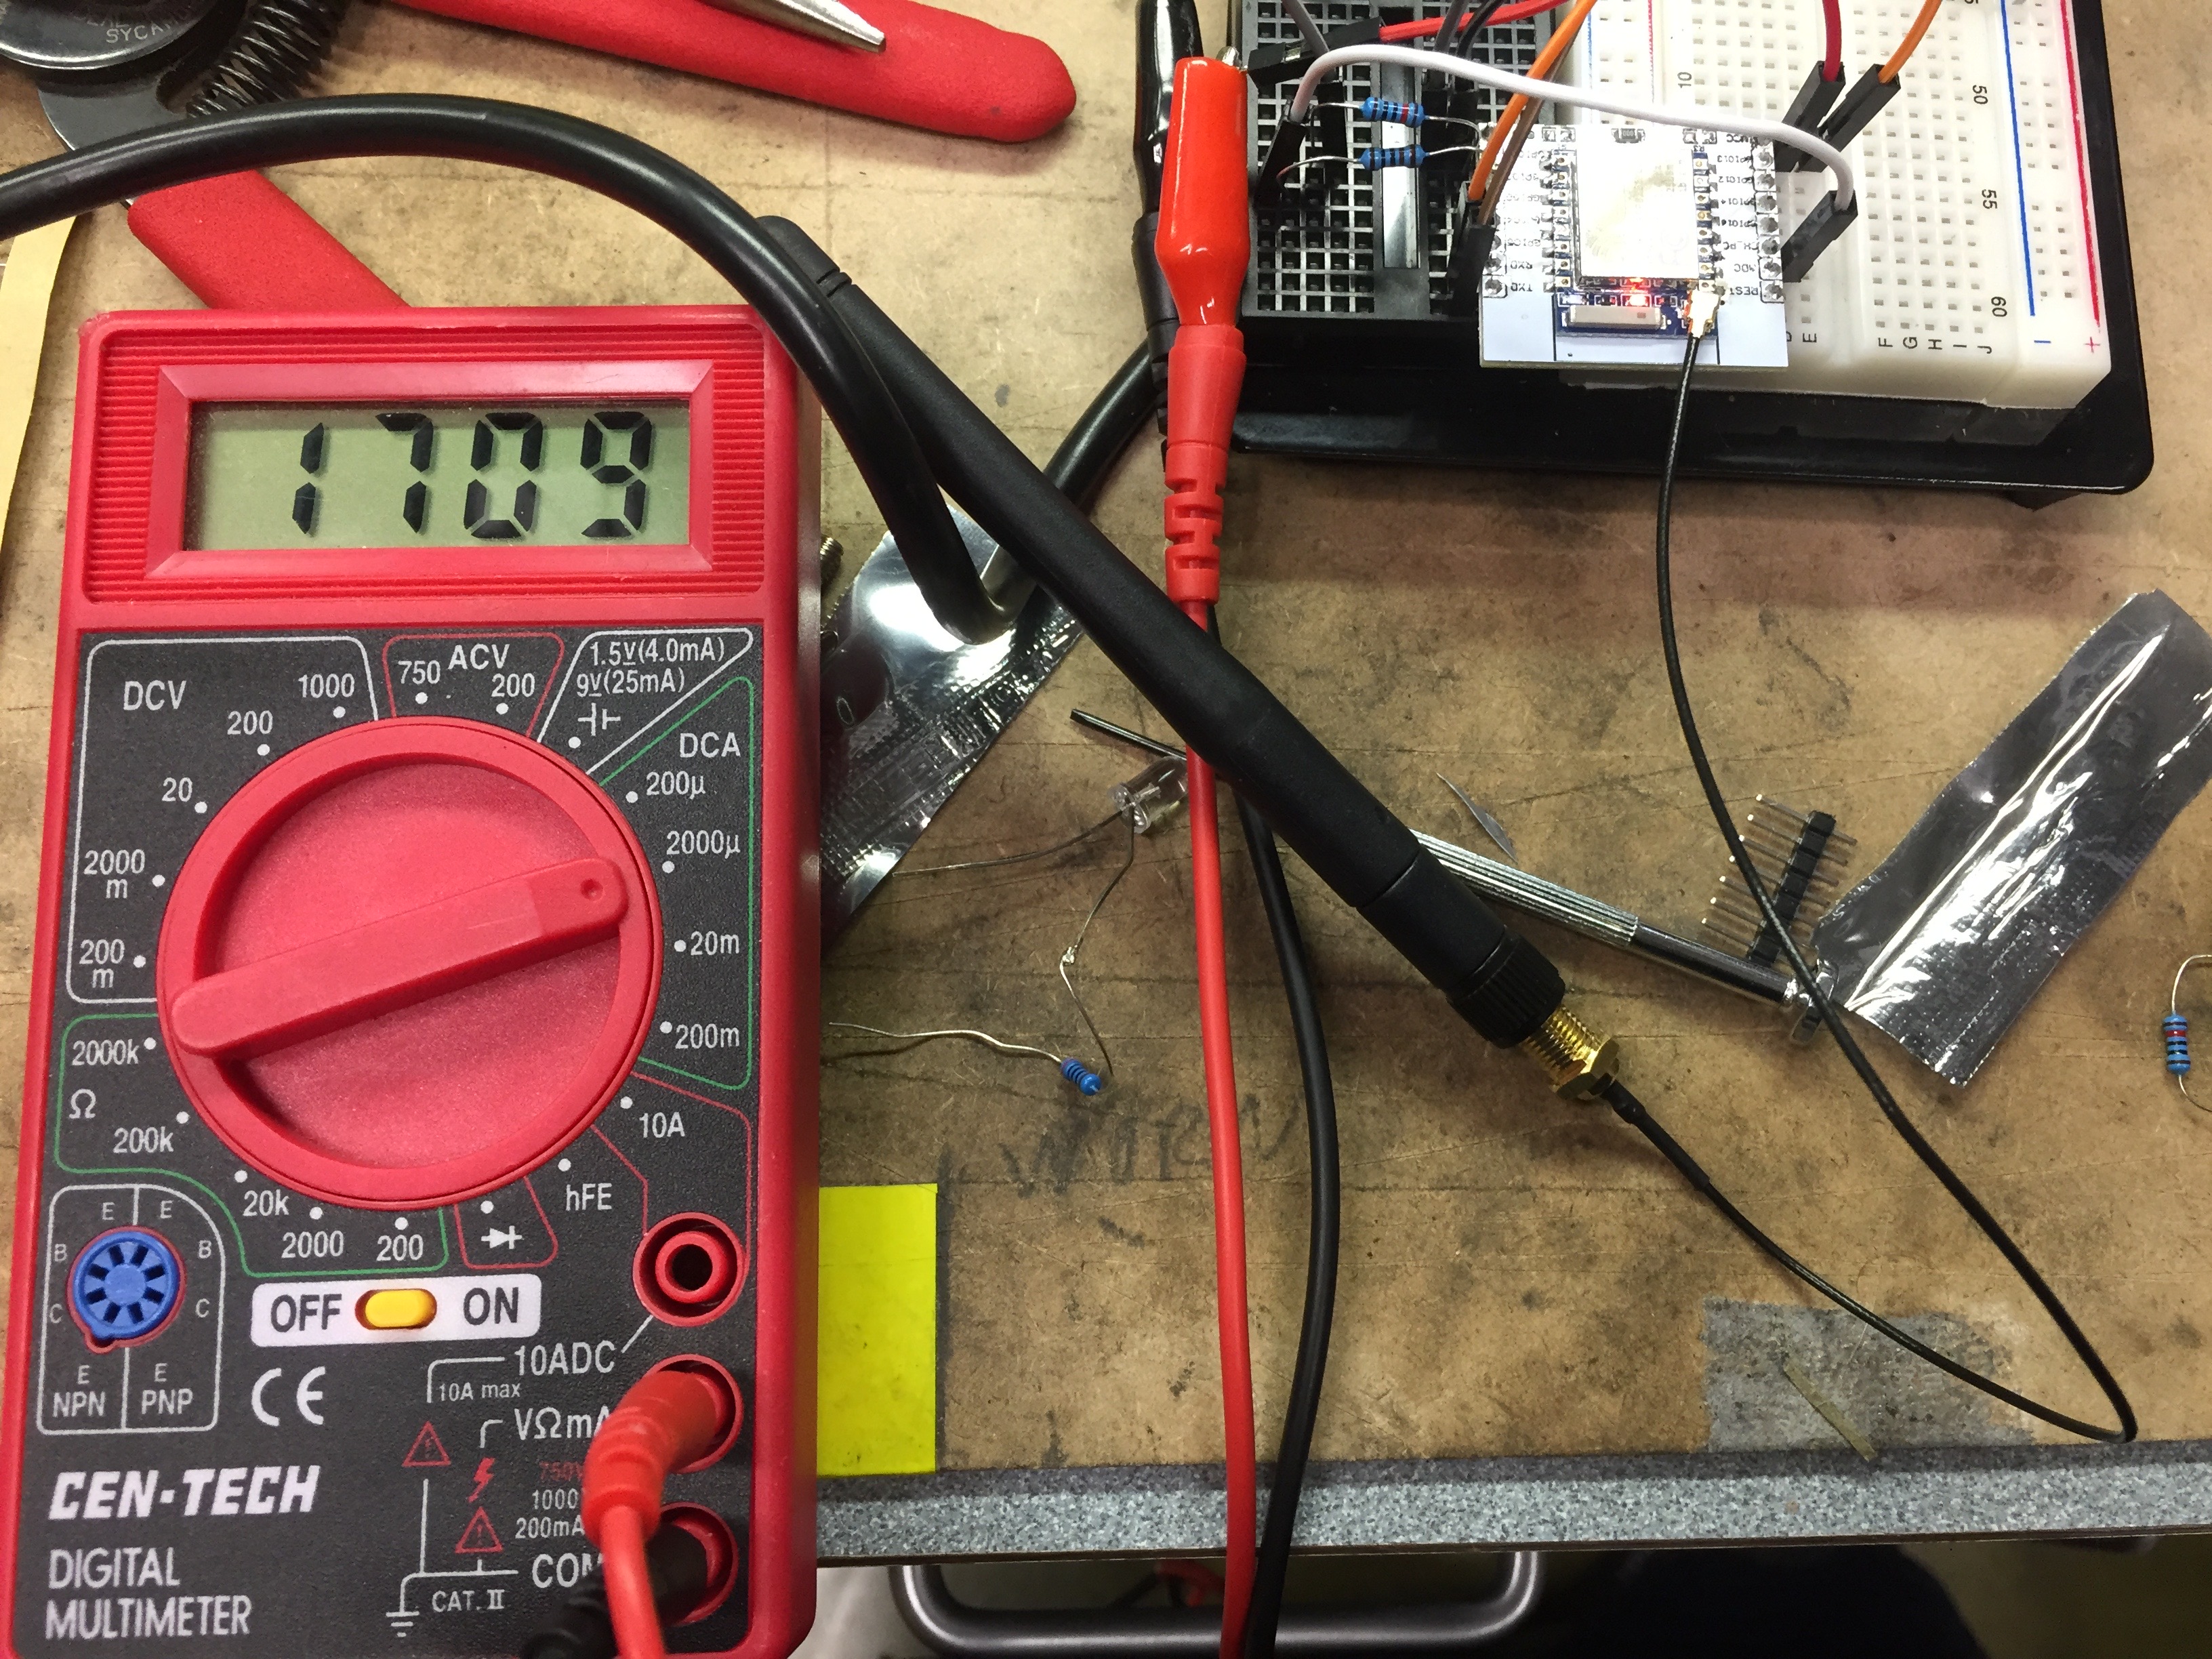
Here’s standby power consumption with the LEDs on there 1.7mA.
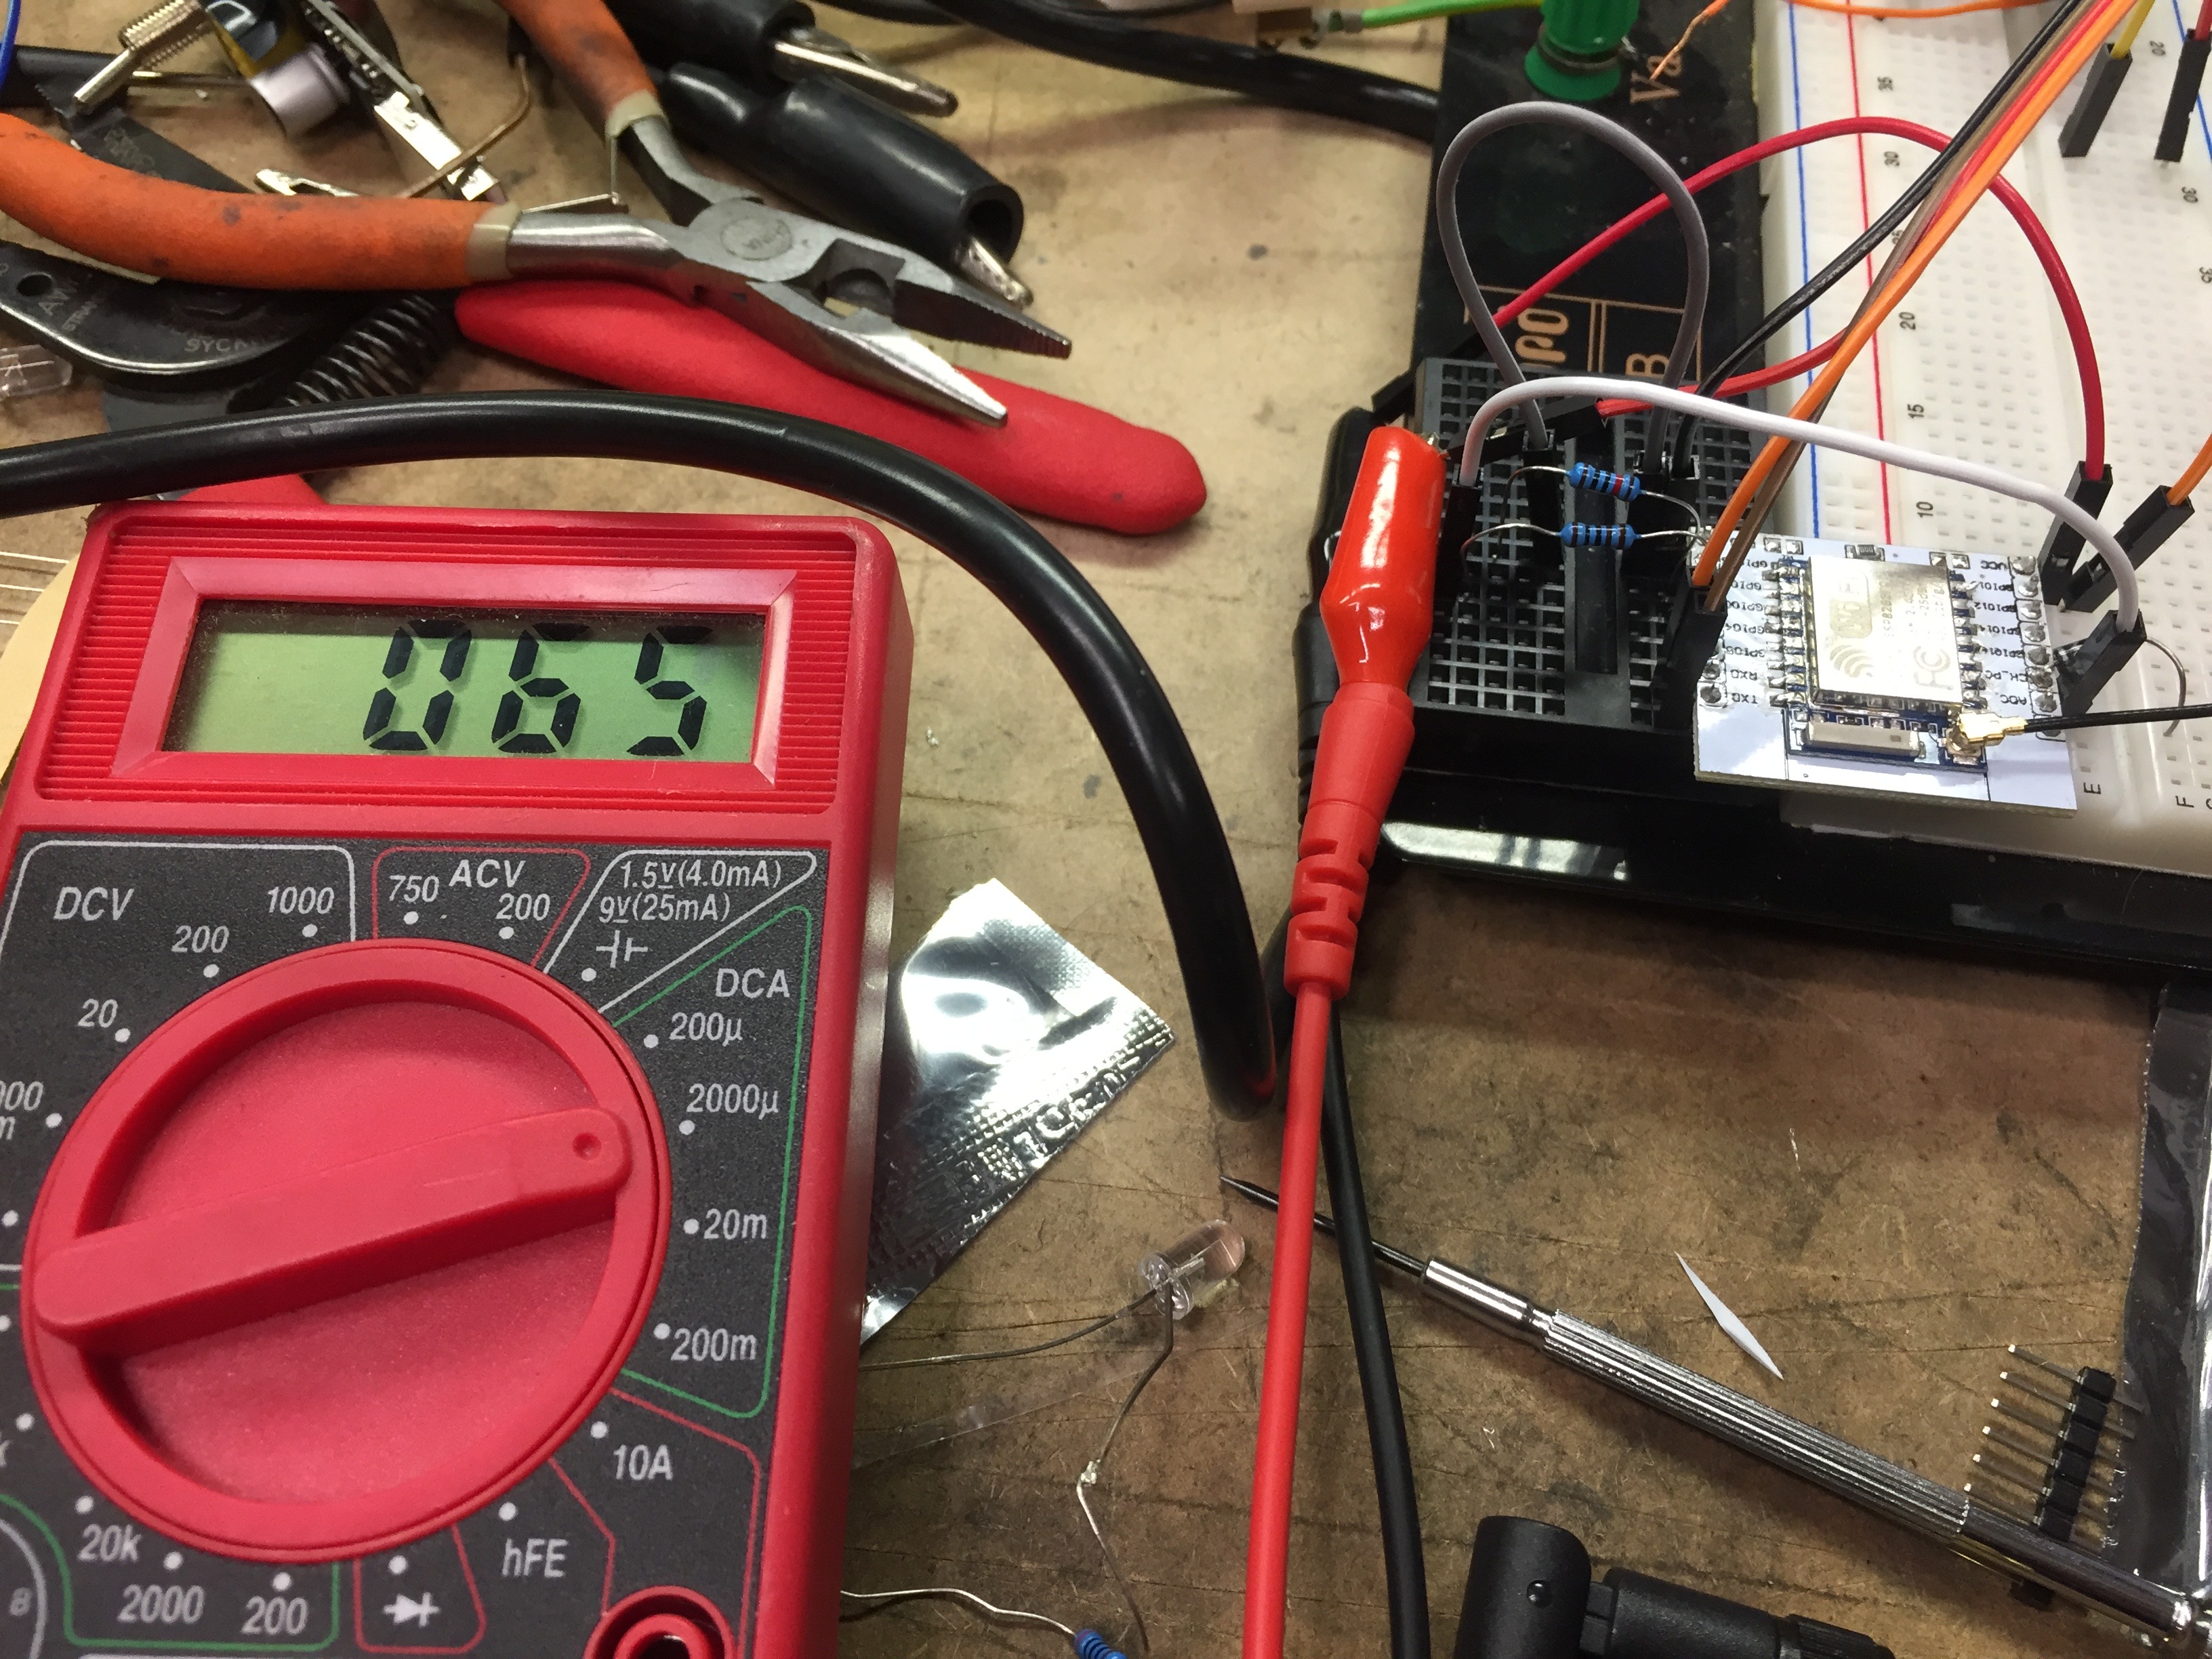
I was happy it was so easy to pop off the LEDs with a small screwdriver, I wasn’t looking forwad to trying to get a soldering iron between the RF shield and the other part of the antenna mount. With the LEDs popped off it went down to 65uA. Nice.
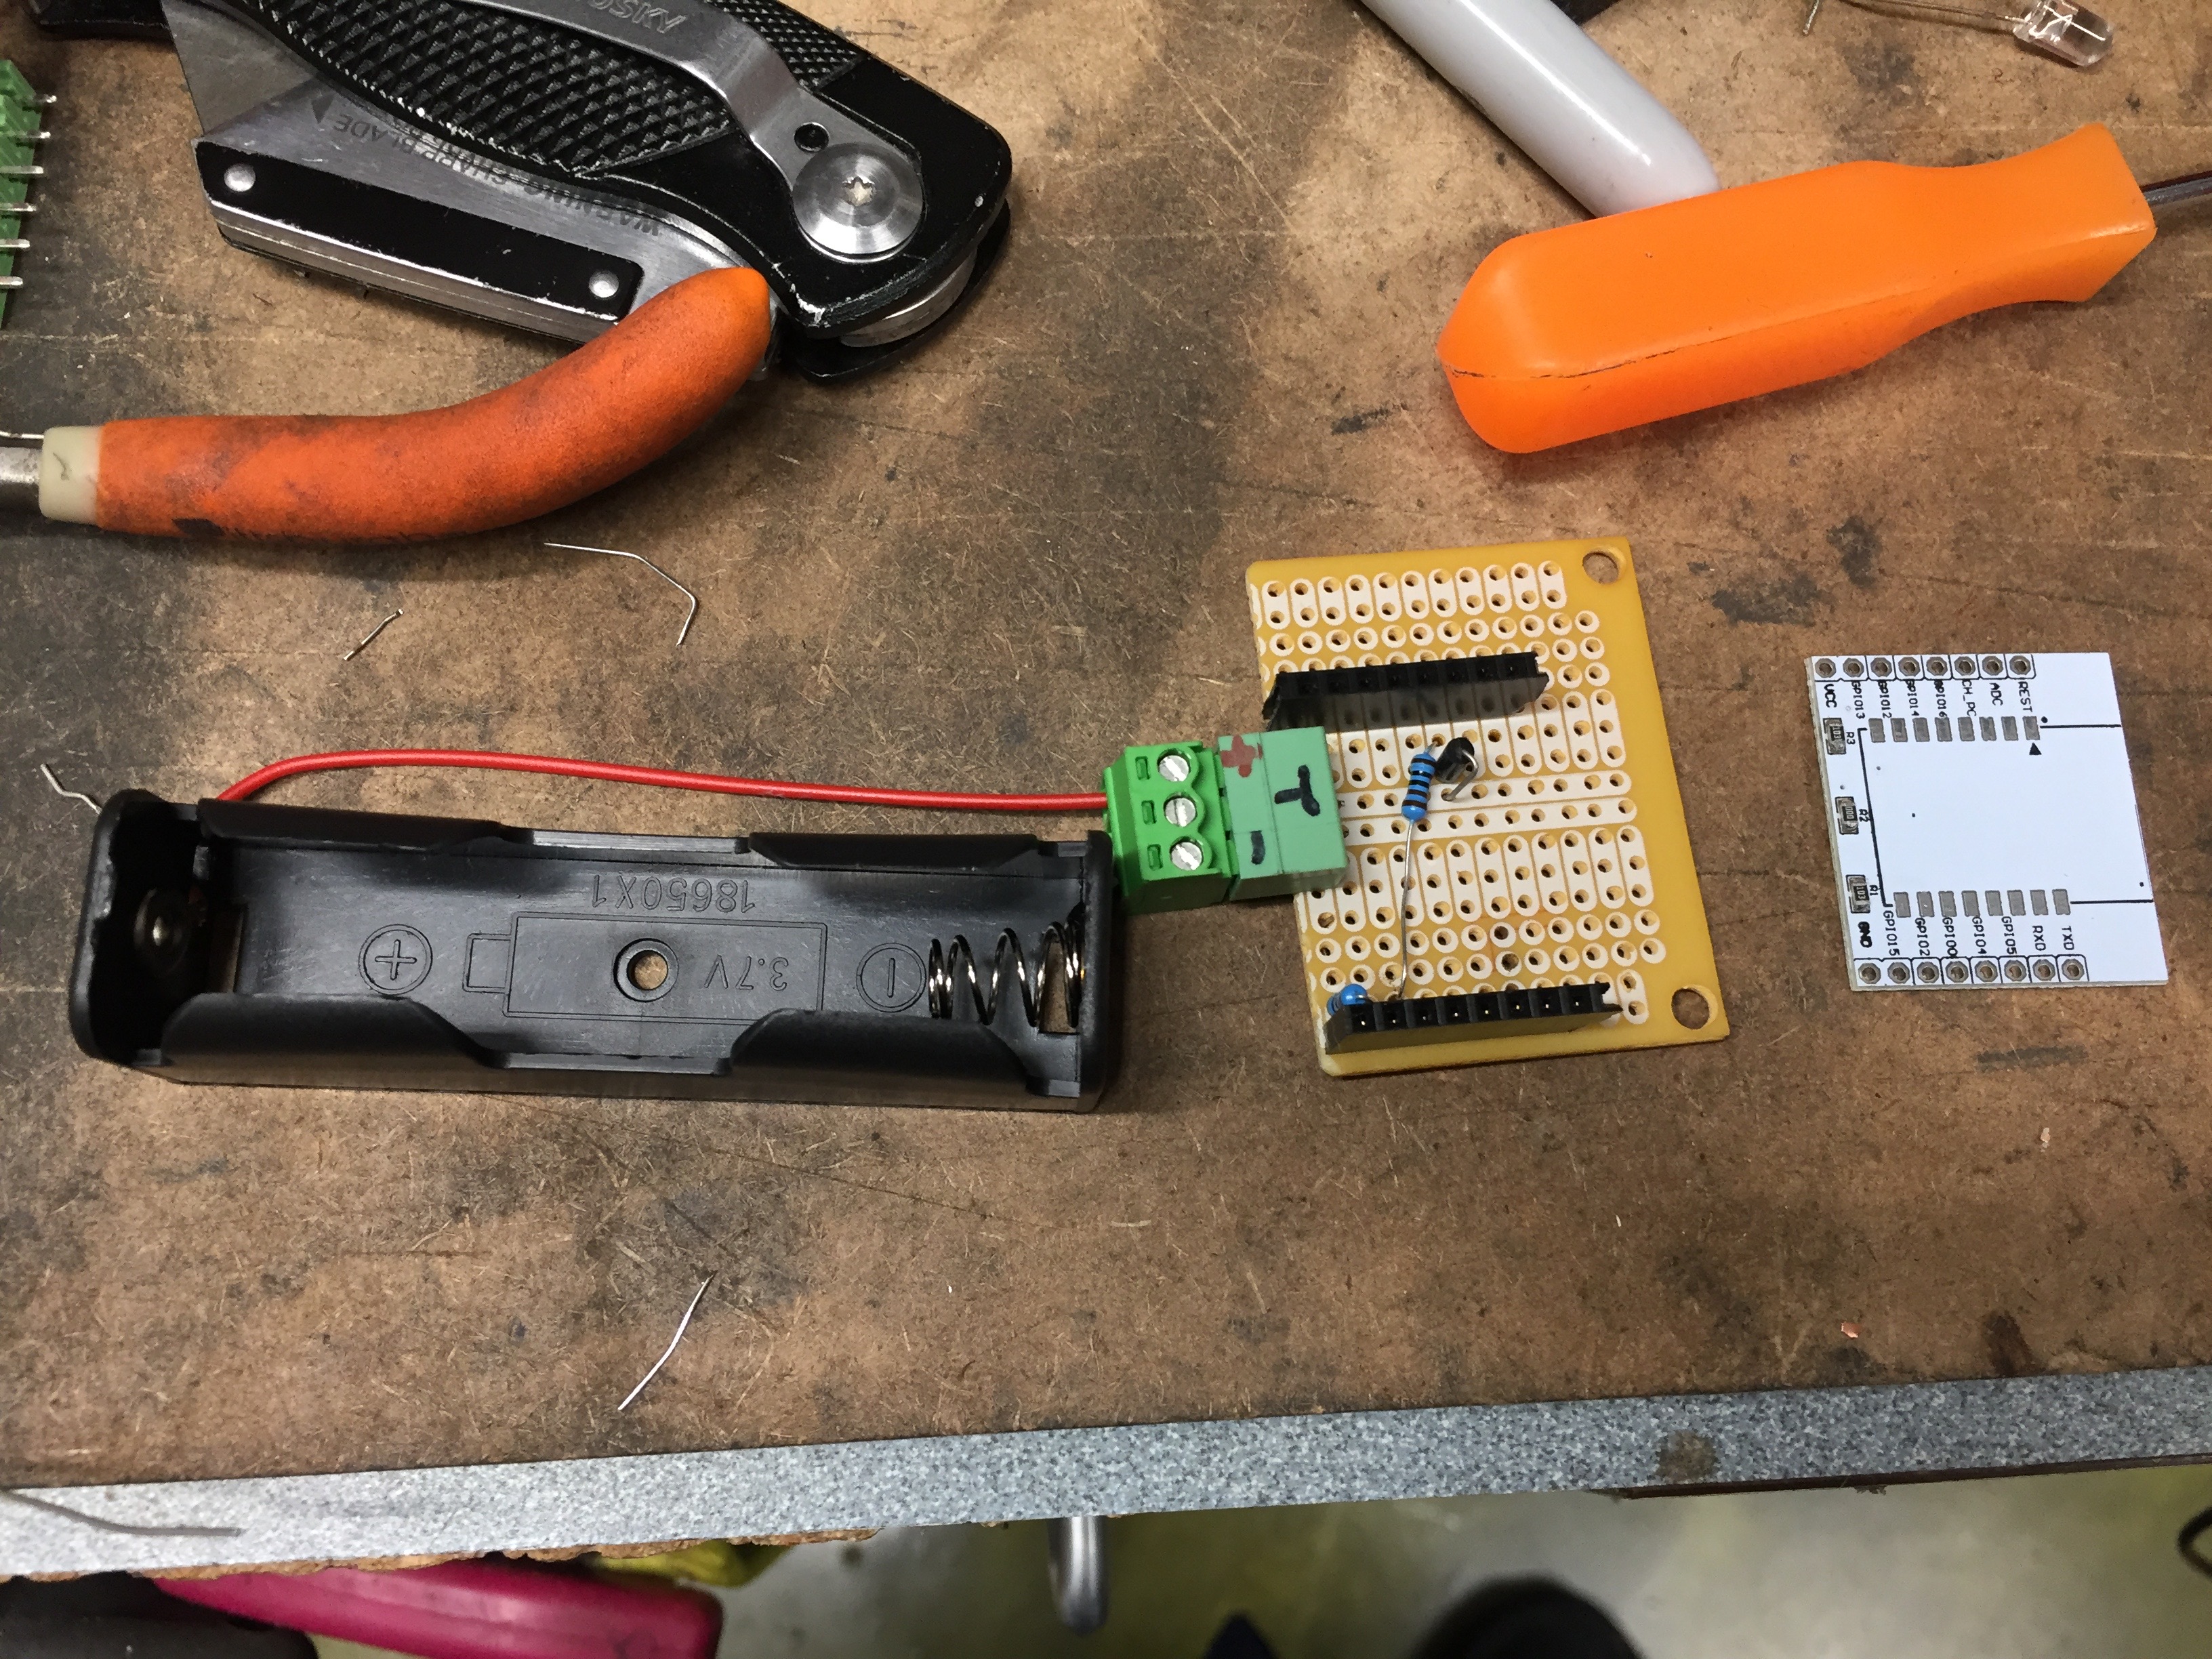
I realized that trying to make it all small was going to be a pain in the long run so set up some perfboard with a header and even a 3 connector plug for the power and trigger signal, I recreated the one resistor I removed from the breakout board and it turned out pretty nice.
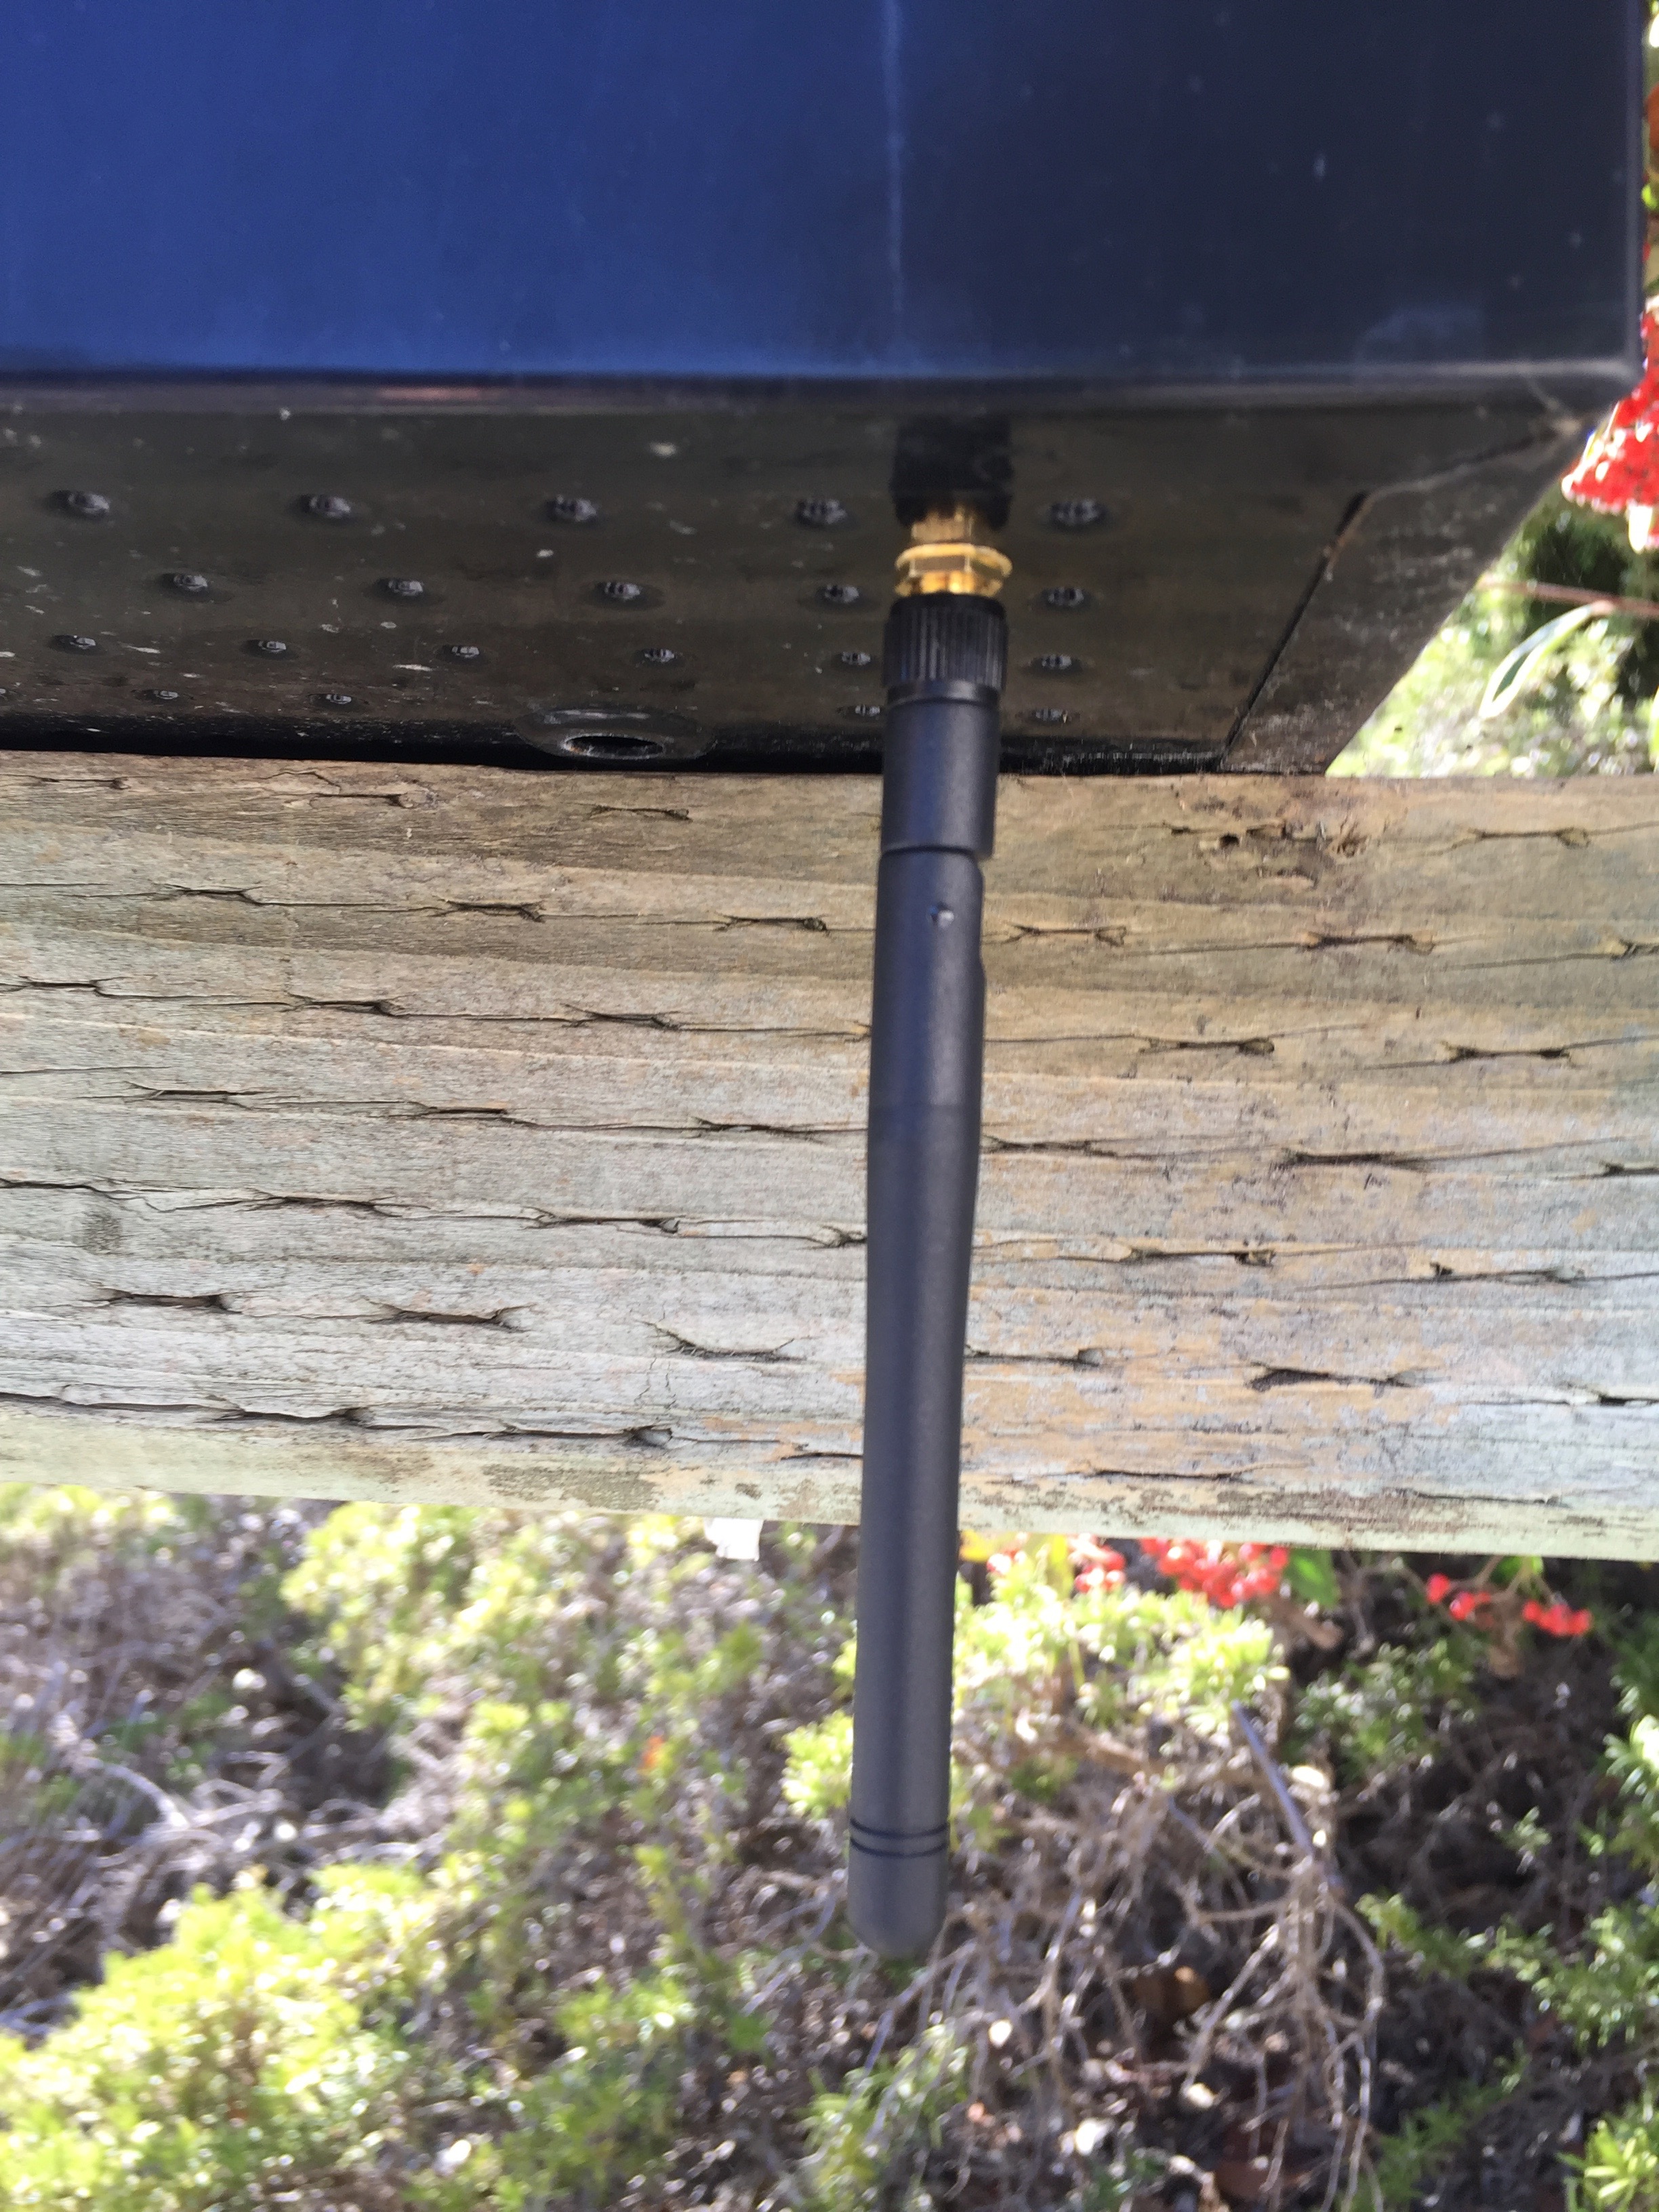
I unstalled it with a little velcro to make it easy to remove. the 18650 battery has no voltage regulator I’m just driving the board directly with it. It’s a little over voltage, but it seems to work and it’ll really help prolong the battery life. I was even able to reuse one of the holes already in the bottom of the mailbox for the antenna.
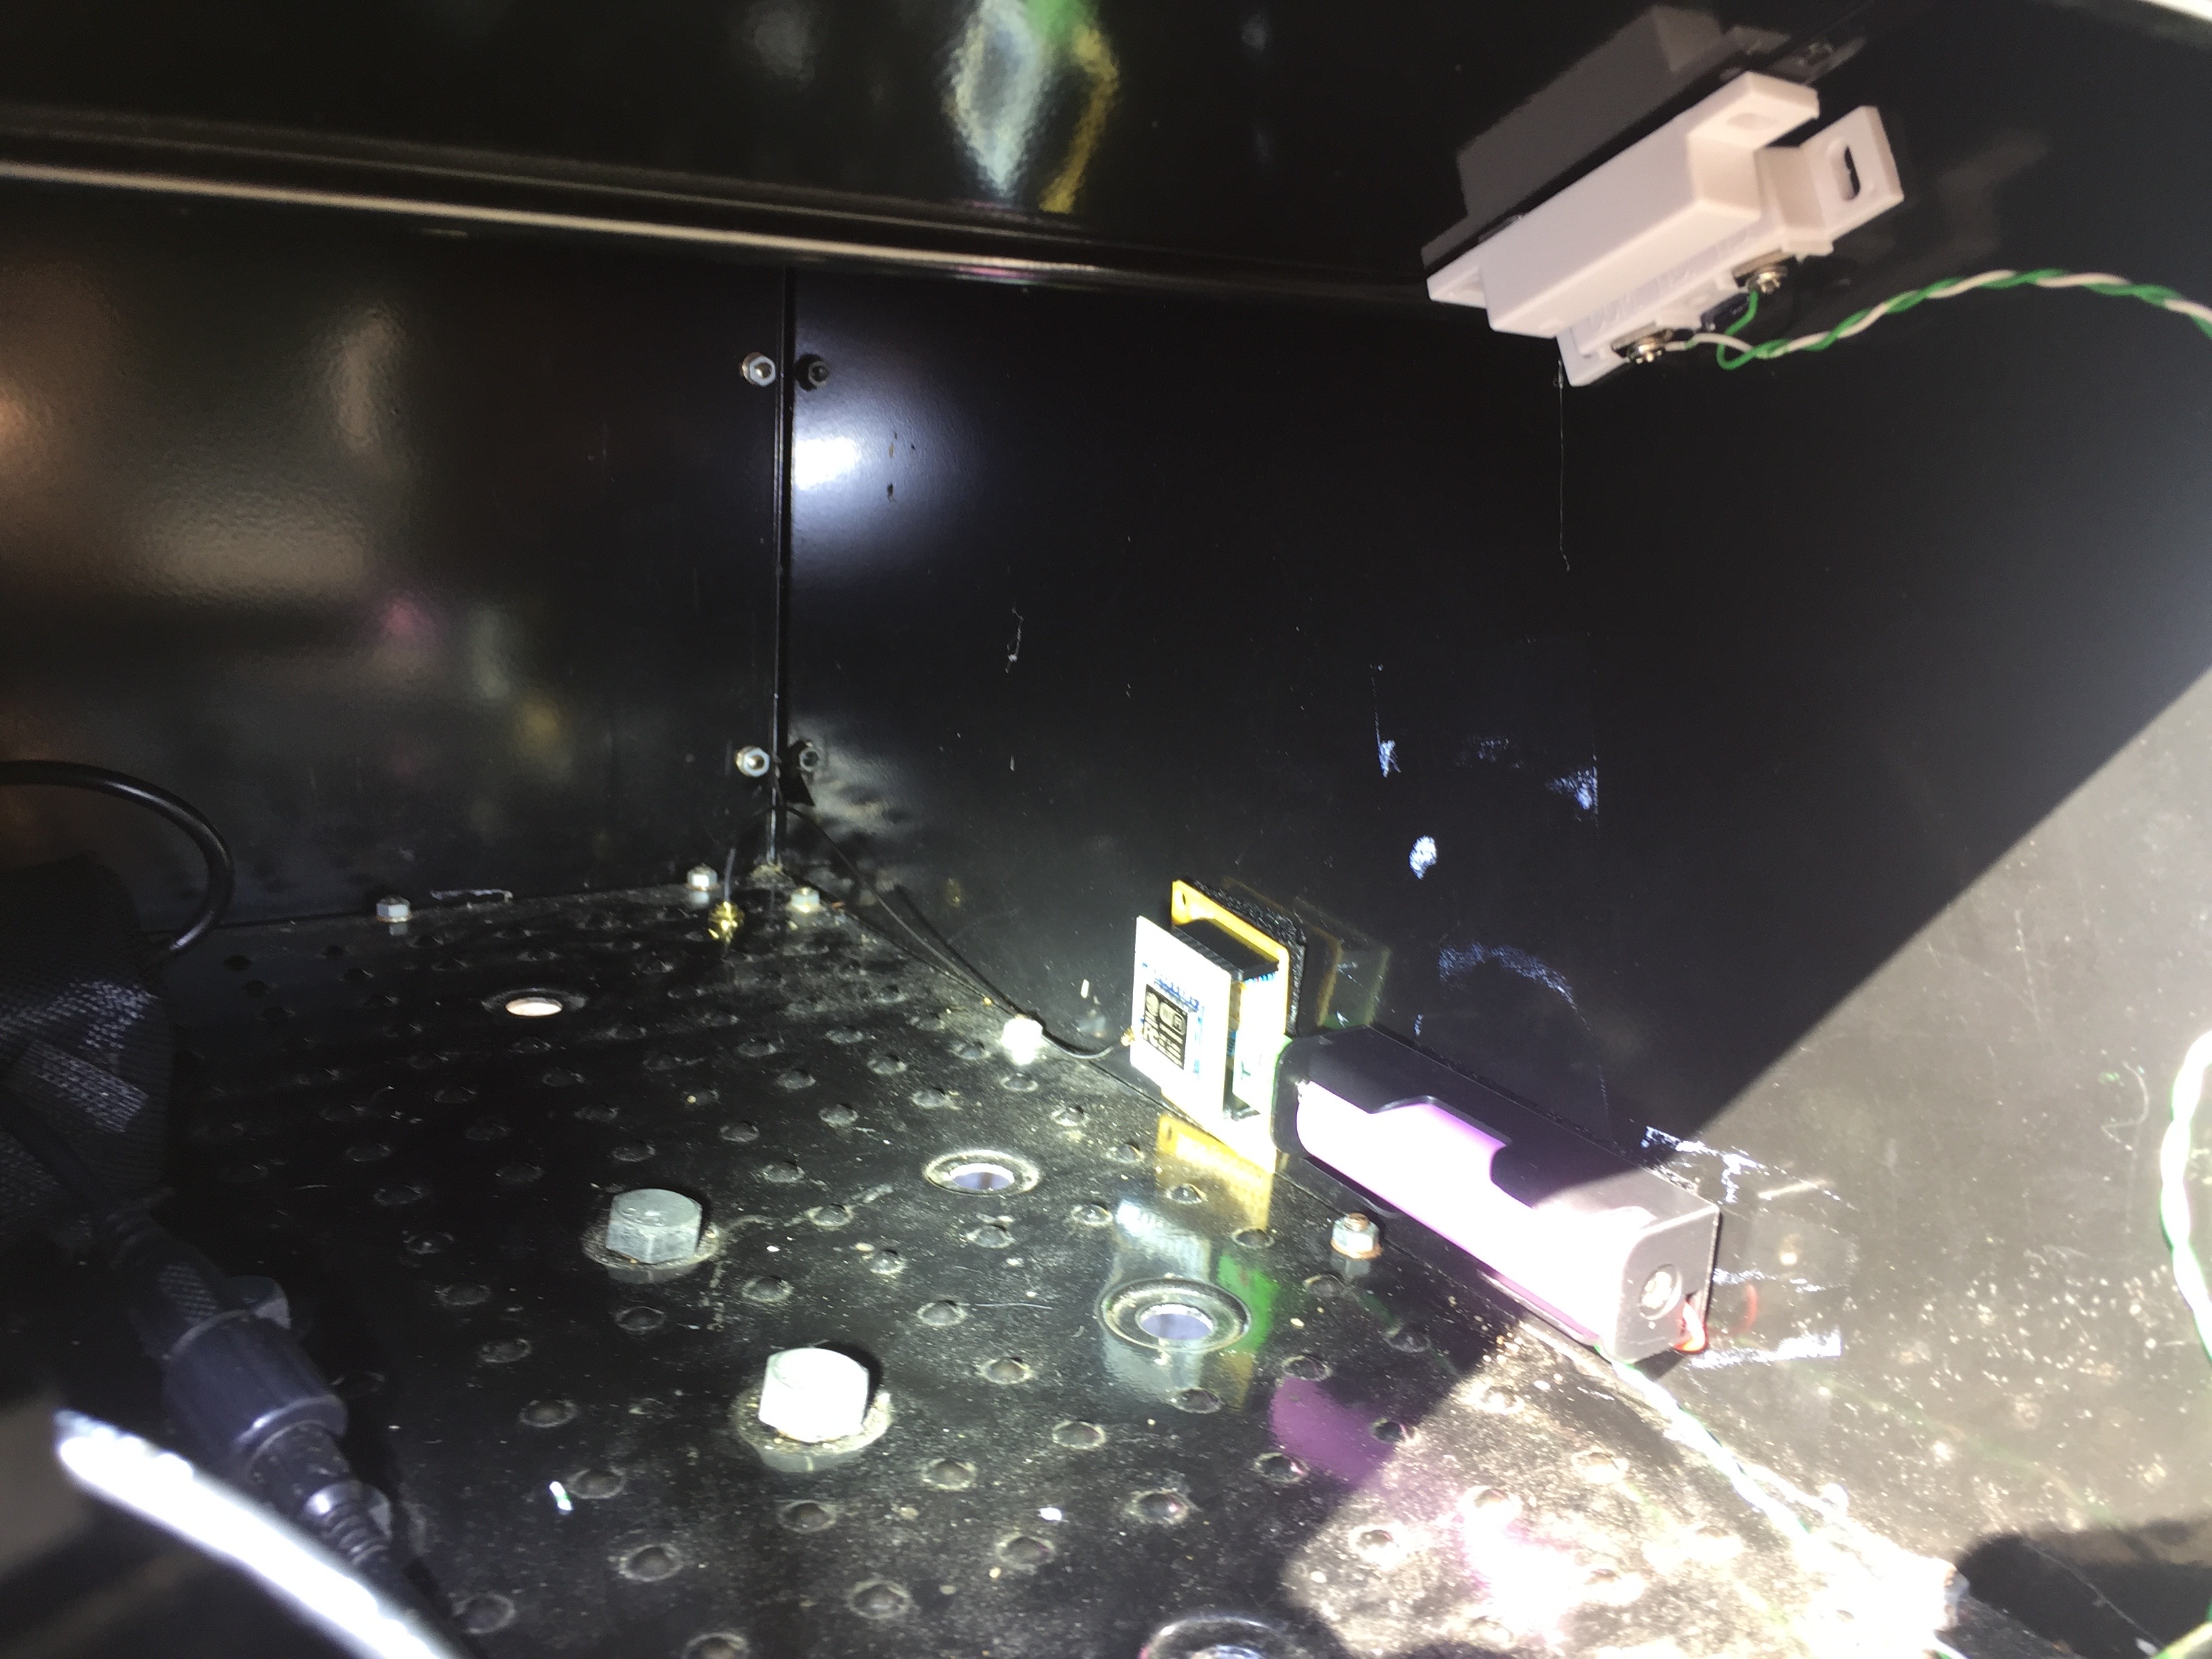
The Antenna on the bottom seemed to get a signal so I left it there. It’s less conspicious and also likely to stand up to the weather better.
Here’s what it all looks like from the outside.
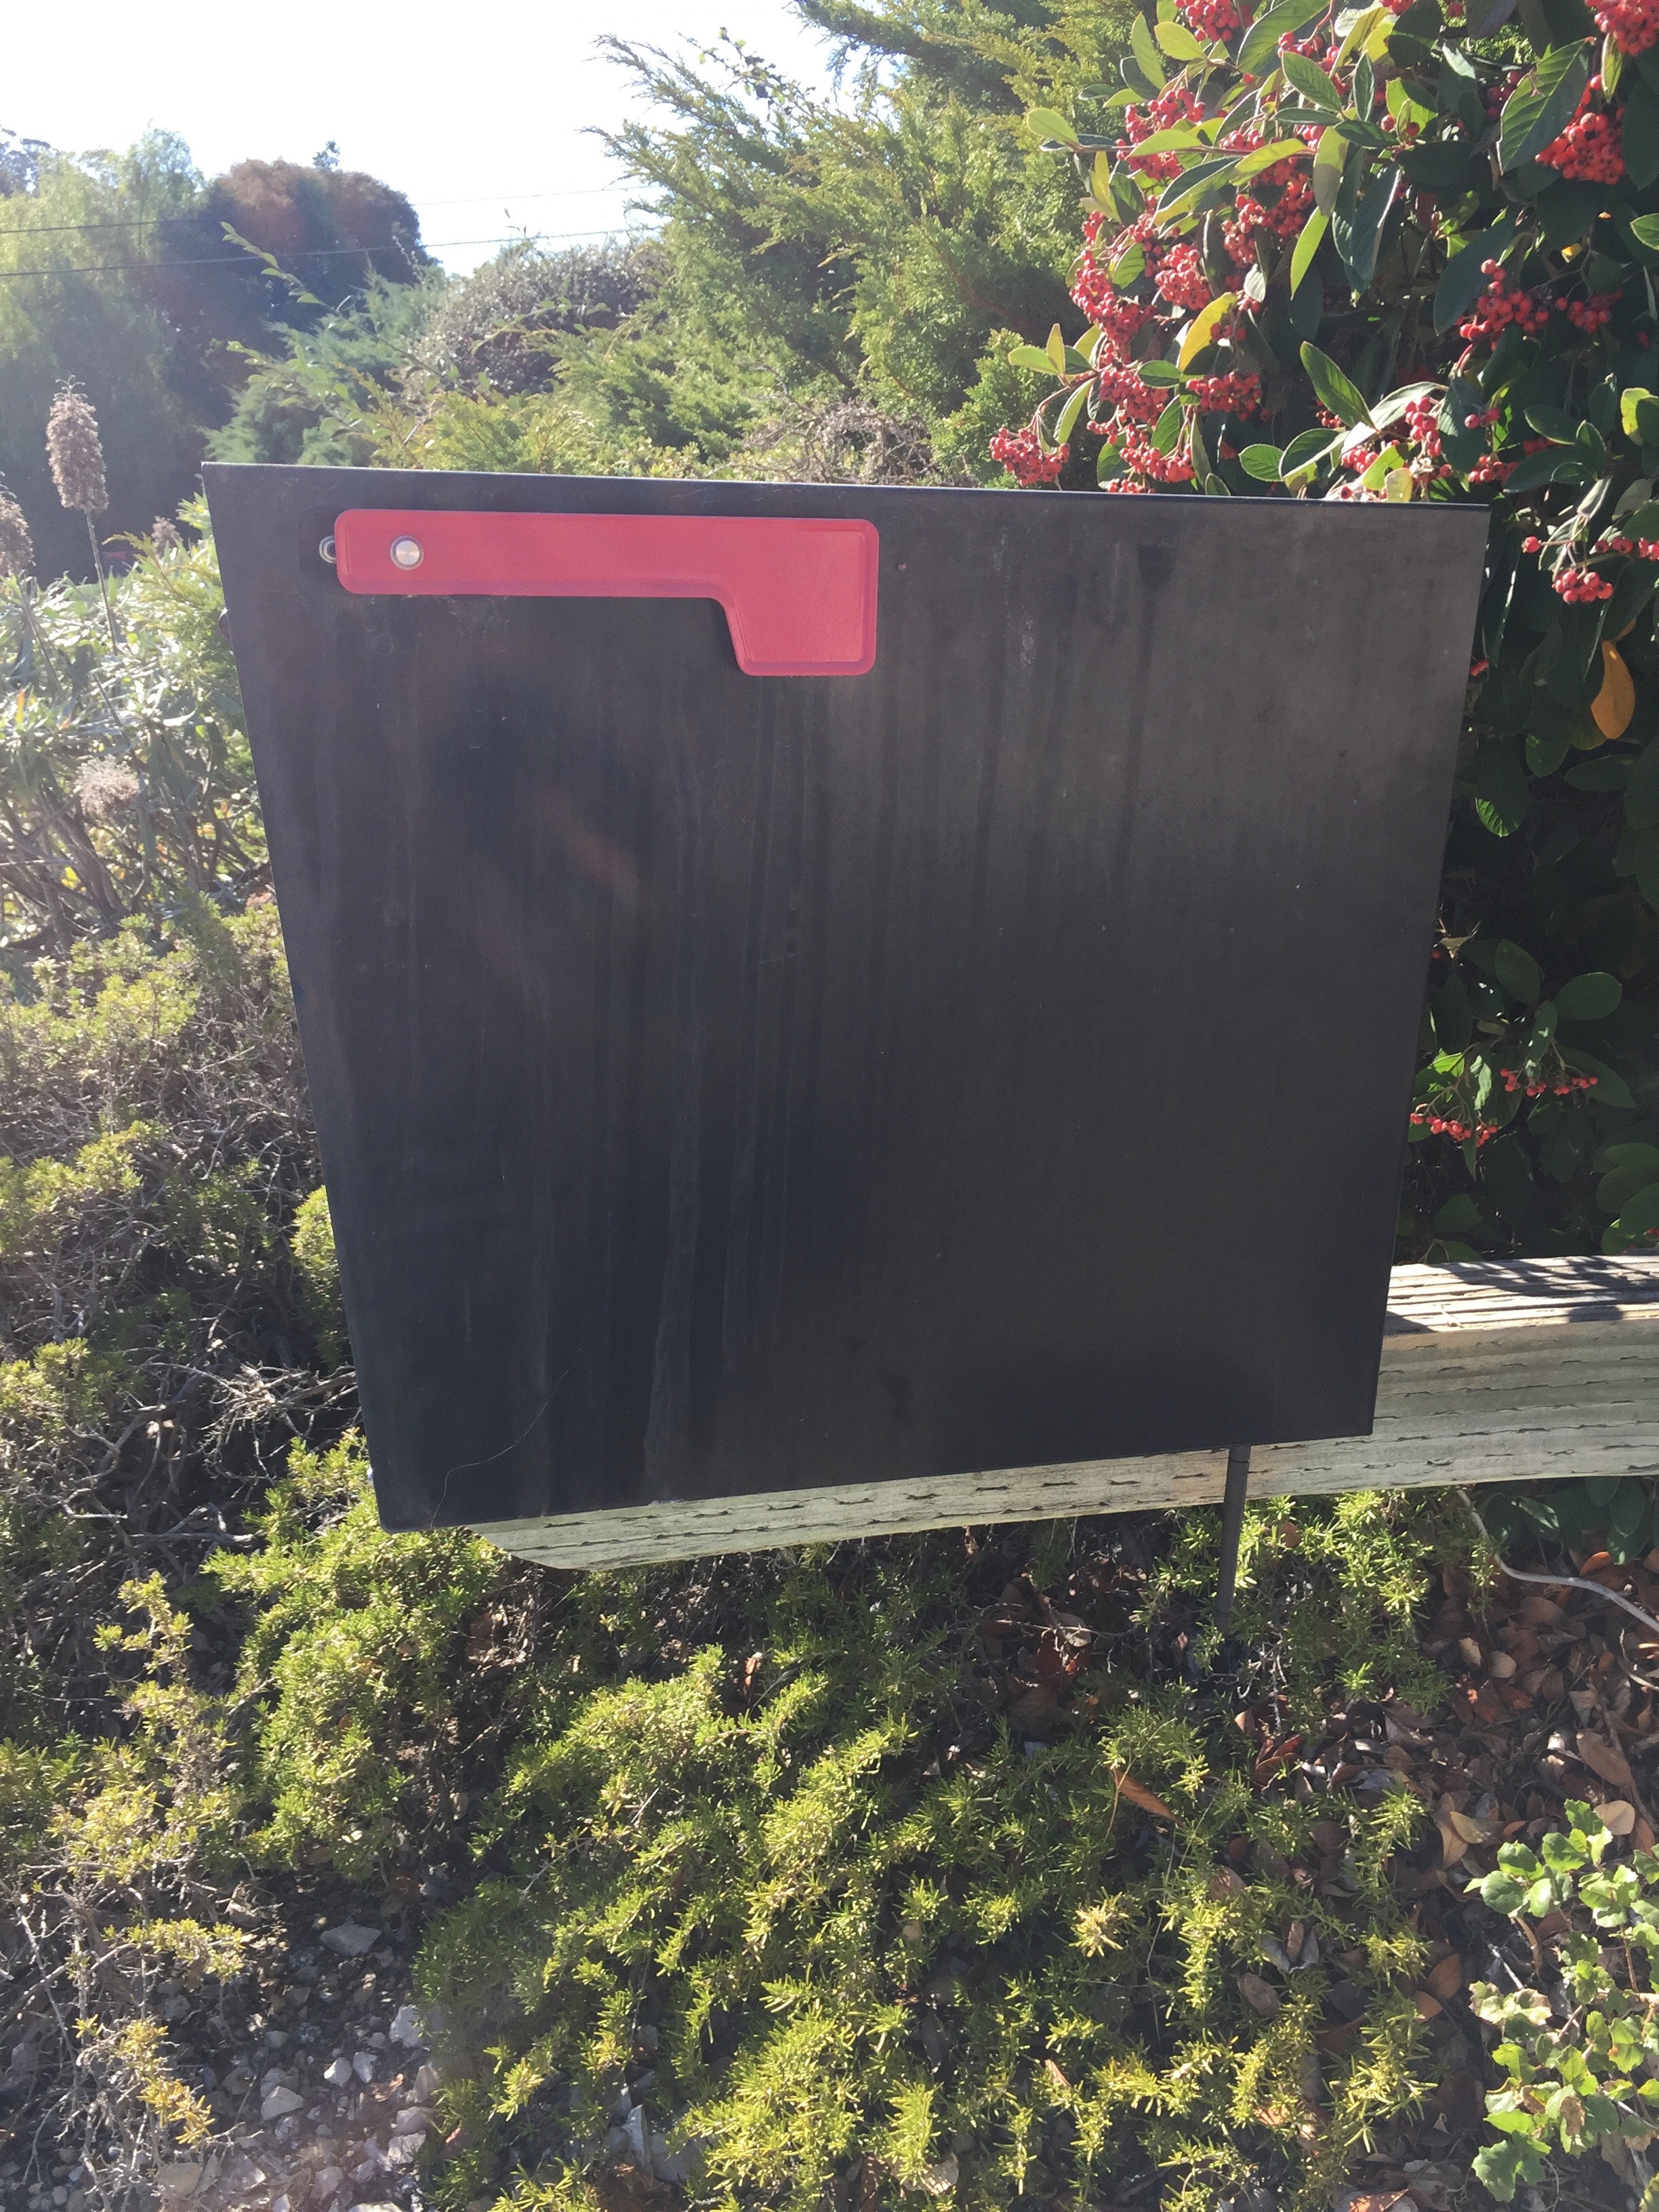
I’m really happy with the end result. I changed my code a little bit to print out all the access points sorted by strength whcih was useful when testing signal strengths. It’s still not particularly strong down there, but it’s good enough.
I have three new favorite blogs since I started this hardward kick. hackster.io, hackaday.io and Random Nerd Tutorials. They’ve been super interesting. Recently ESP32 LoRa Sensor Monitoring popped up in feedly and piqued my interest. I want to get alerts when my wheely bins are picked up but they’re even further away from the house and so wifi is going to be harder. LoRa might be the answer (maybe using this code) and I ordered some boards to play around with it. I also ordered some mercury tilt switches so I know when the can’s been picked up.
Next, while I wait for more components to arrive I might play around with the WS2812 LED strips I bought (I’ve done this now, read all about it). I also have some OLED screens I’m interested in playing with.